Pickle Brine: The Foundational Guide to Ratios, Safety, and Technique
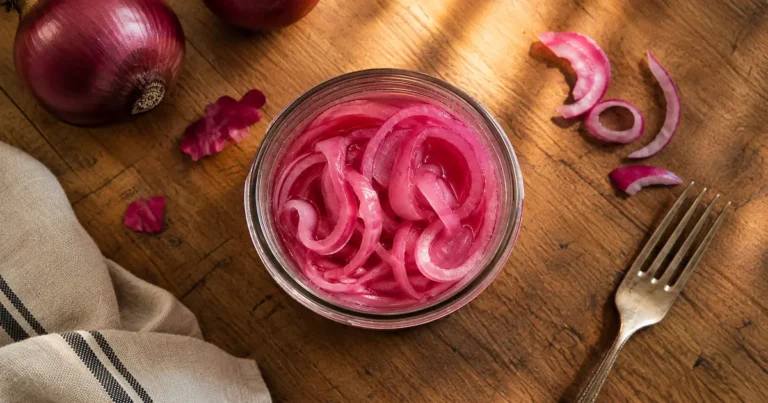
Every pickle recipe on this site — including our pickled red onions — starts from the same place: a brine. Once you understand how a brine actually works, you stop following recipes blindly and start understanding why they’re written the way they are. This guide covers the basic ratios behind a balanced brine, the safety rules that matter, and the technique details that separate a crisp, bright pickle from a mushy, dull one.
This is meant to be the page you come back to. Every specific pickle recipe on the site links back here for the base brine explanation, so you’re not re-reading the same ratio breakdown in every single post — you’ll find it once, here, in full.
Quick answer: For refrigerator pickles, a common starting point is equal parts 5% vinegar and water, with salt and sugar adjusted to taste. For shelf-stable canned pickles, don’t treat that ratio as a universal formula — use a tested canning recipe and follow its exact vinegar, water, and processing proportions, since safety for shelf-stable canning depends on the specific tested recipe rather than a general rule of thumb.
What Pickle Brine Actually Is
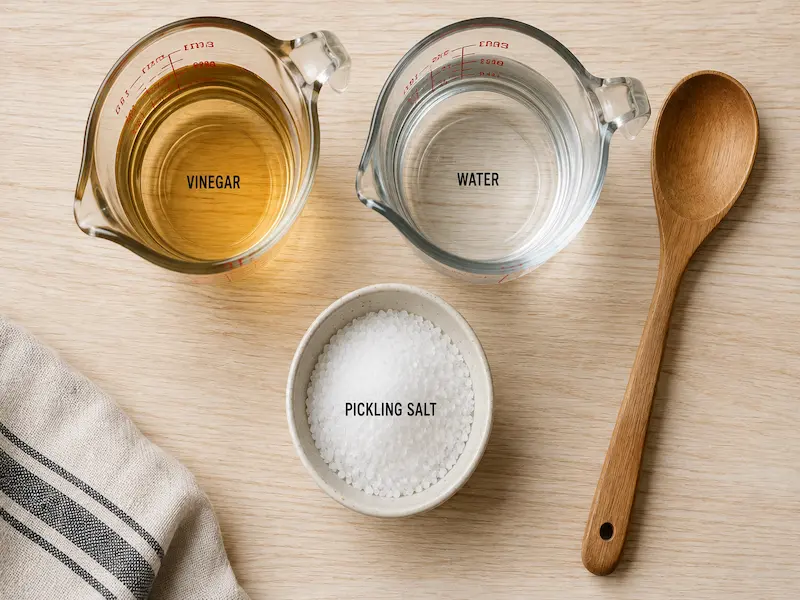
At its core, a vinegar pickle brine is a mixture of four ingredients: vinegar, water, salt, and often sugar. Each one does a specific job, and understanding that job is what makes the difference between guessing at a recipe and actually knowing what you’re doing.
Vinegar is the primary preservation factor in vinegar pickling. It supplies acetic acid, which lowers the brine’s pH and creates conditions that inhibit the growth of harmful microorganisms, including the bacteria responsible for botulism.
Water dilutes the vinegar to a drinkable, palatable acidity while still keeping the brine acidic enough to be safe, provided the ratio stays within tested bounds (more on that below).
Salt in a vinegar-based brine primarily influences water movement in the vegetables and contributes to their texture and flavor, rather than doing the safety work itself. This is different from fermented pickles, where salt also helps create conditions that favor desirable lactic-acid bacteria over spoilage organisms. Vinegar pickling and fermentation are genuinely different processes that both get called “pickling” — our sauerkraut recipe is a good example of the fermented side — and it’s worth keeping that distinction straight, since the safety rules for each are different.
Sugar is optional and purely a flavor choice — it balances the vinegar’s sharpness and is the defining ingredient in sweet pickle styles like bread-and-butter pickles. It plays no role in preservation.
The Standard Ratio, and What It’s Actually For
The most common starting ratio for a vinegar pickle brine, and the one you’ll see in most refrigerator pickle recipes, is 1 part vinegar to 1 part water. Salt amounts vary by recipe and by salt type, so treat any figure here as a starting point rather than a fixed formula. For example, a refrigerator-pickle recipe might use 1 cup vinegar, 1 cup water, salt according to the recipe (commonly in the range of 1 to 2 tablespoons for that volume of liquid), and 1 to 2 tablespoons of sugar for mild sweetness.
This is where the often-cited “50/50 rule” comes from: you’ll often see a 1:1 vinegar-to-water ratio described as a starting point for refrigerator pickles. This is a recipe convention, not a universal safety threshold for shelf-stable canning. It’s a reasonable baseline for refrigerator pickles you plan to eat within a few weeks, but safety for a shelf-stable, room-temperature-stored pickle depends on the specific tested recipe — the vinegar’s exact acidity, the vegetable being used, its density and pH, the jar size, and the water bath processing time all interact, and a recipe that’s been laboratory-tested accounts for all of that together. A 1:1 vinegar-to-water brine that works for a quick refrigerator pickle isn’t automatically validated as safe for every shelf-stable canning application just because the ratio matches.
This is the single most important food-safety point in this entire guide, so it’s worth stating plainly, in the same language used by the National Center for Home Food Preservation (NCHFP): do not alter the vinegar, food, or water proportions in a tested recipe, and do not use a vinegar of unknown acidity. There must be a minimum, uniform level of acid throughout the finished product to prevent the growth of botulinum bacteria, and that minimum only holds if you’re following the exact proportions the recipe was tested with. For shelf-stable canning specifically: follow a tested recipe exactly rather than treating any general ratio, including the one above, as a substitute for it.
A note on vinegar labels: always check the acidity percentage printed on the bottle before you start. For home canning, use vinegar with the acidity specified by the tested recipe you’re following — commonly 5% acidity in U.S. recipes — and verify the label rather than assuming, since some store-brand vinegars, particularly certain imported or bulk options, have been sold at lower acidity without that difference being obvious at a glance. If you’re unsure whether a batch made with lower-acidity vinegar is safe, the National Center for Home Food Preservation and local extension offices are the right resource to check before deciding whether to refrigerate, use quickly, or discard it — err on the side of caution rather than guessing.
Refrigerator Pickles vs. Shelf-Stable Canned Pickles
This distinction matters more than most home pickling guides make clear, because it changes how strict you need to be about the ratio and process.
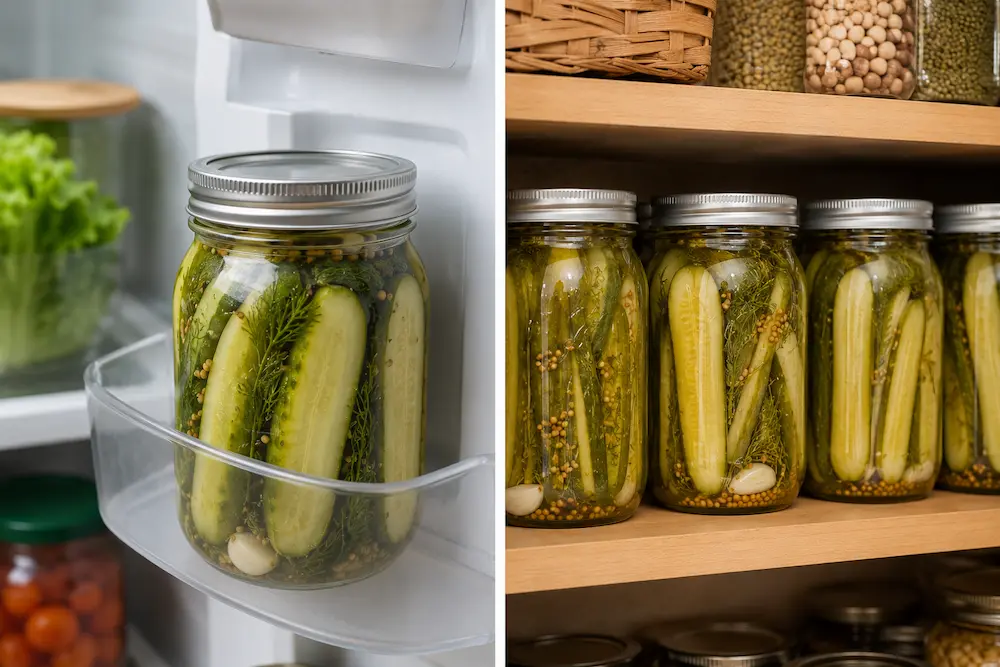
Refrigerator pickles (sometimes called “quick pickles”) are made by pouring brine over vegetables, letting them cool, and storing the jar in the fridge rather than processing it in a water bath. They can begin taking on pickle flavor within hours, though many recipes benefit from a day or more of refrigeration for the flavor to develop fully. Storage time varies by recipe, so follow the storage guidance provided with the specific recipe rather than assuming a universal timeline. Refrigeration slows microbial growth and changes how the pickle needs to be stored — but it’s important to be clear about what it doesn’t do: refrigeration is not a substitute for using an appropriate, reliable refrigerator-pickle recipe, and it doesn’t make an arbitrarily low-acid brine safe. Use a recipe genuinely designed for refrigerator storage rather than assuming any brine becomes safe simply because the jar goes in the fridge.
Shelf-stable canned pickles are processed in a water bath canner, sealed, and stored at room temperature on a shelf for up to a year or more. Because there’s no refrigeration providing any additional safety margin, these need to follow a tested canning recipe’s exact ingredient proportions, vinegar acidity, and water bath processing time — with no substitutions or improvised reductions.
If a specific pickle recipe on this site is meant for the fridge only, it’ll say so explicitly. If it’s written for shelf-stable canning, follow that recipe’s ratio and processing time exactly — this page explains the general concepts behind a brine, but individual canning recipes give their own tested, specific instructions rather than deriving them from a general formula.
Choosing Salt and Vinegar
Use pickling or canning salt, not table salt. This isn’t a snobbish preference — table salt contains anti-caking additives that can cloud your brine, and the iodine in iodized table salt can darken pickled vegetables and occasionally affect flavor. Kosher salt works in a pinch for refrigerator pickles where cloudiness is purely cosmetic, but pickling salt is the standard for a reason: it dissolves cleanly and leaves a clear brine.
Vinegar type affects color and flavor, not just acidity. White distilled vinegar is the standard choice when you want vegetables to stay a bright, clean color — this is why most cucumber and cauliflower pickles use it. Apple cider vinegar adds a fruitier, slightly sweeter background flavor but will darken lighter vegetables over time. Both are typically sold at 5% acidity, but always confirm on the label rather than assuming.
How to Make a Basic Brine
- Combine vinegar, water, salt, and sugar (if using) in a saucepan over medium heat.
- Stir until the salt and sugar are fully dissolved — this usually takes 2 to 3 minutes once the liquid is hot, well before it reaches a boil.
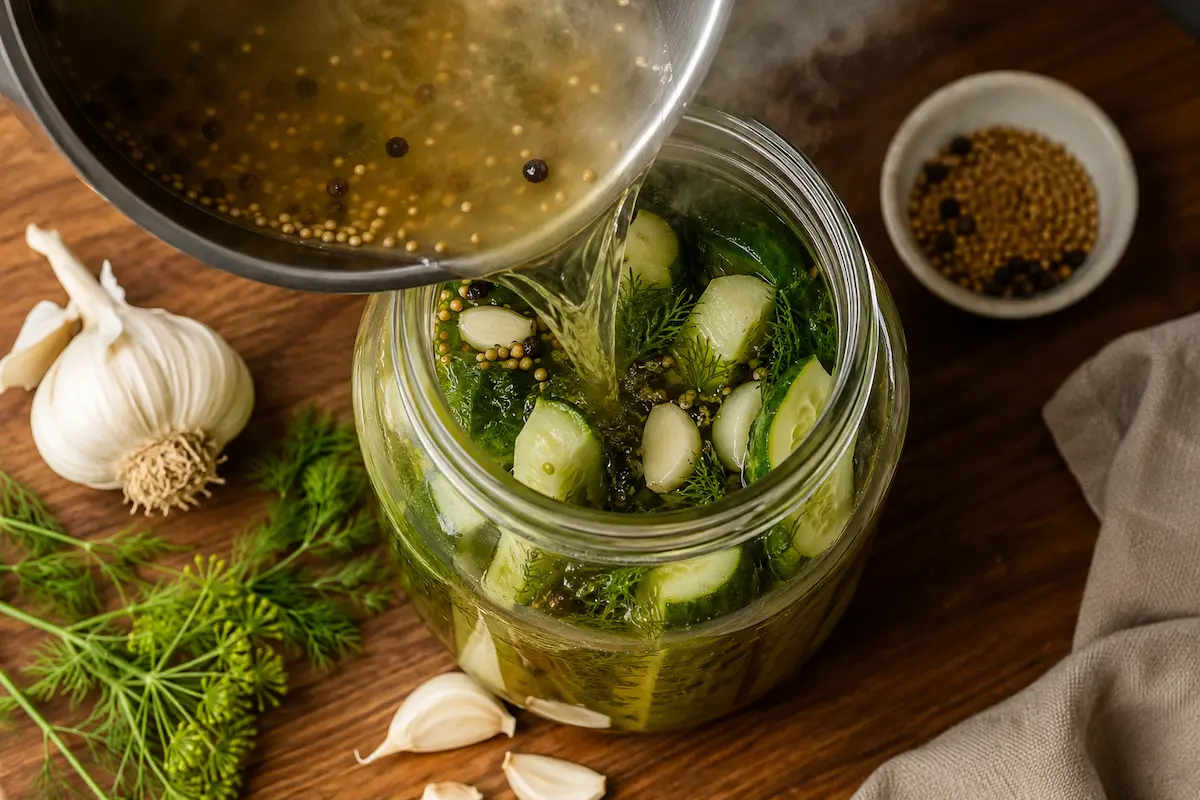
- Heat the brine according to the specific recipe you’re following. For refrigerator pickles, heating is commonly used to dissolve the salt and sugar and combine the ingredients evenly — some recipes use a cold brine instead, poured directly over the vegetables without heating at all. A rolling boil is sometimes called for as part of a specific hot-pack canning process, but isn’t a universal requirement of the brine itself.
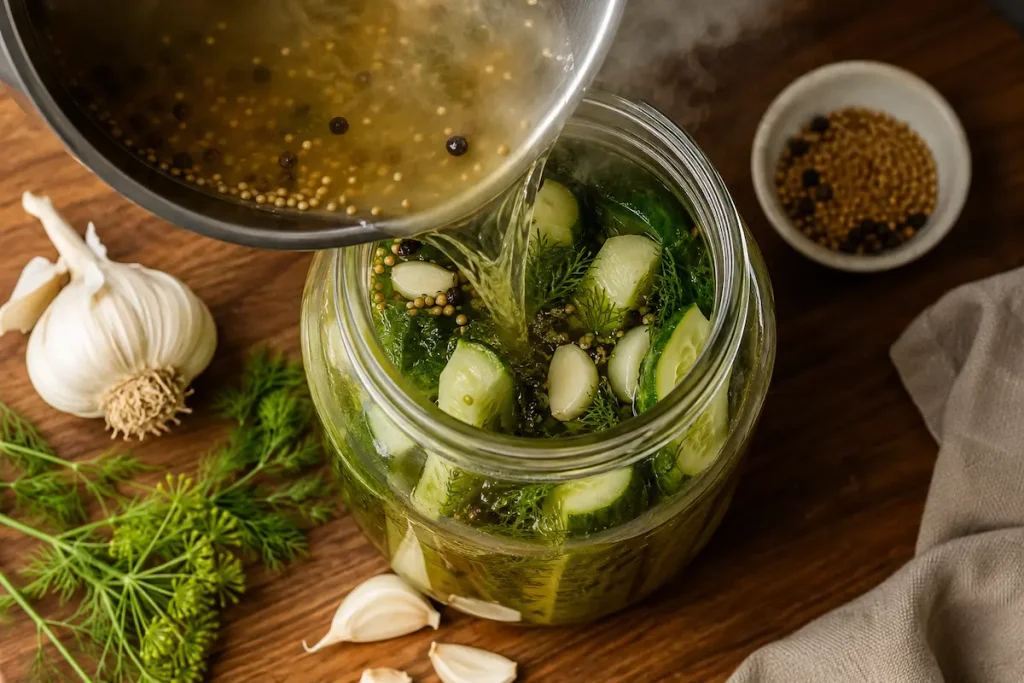
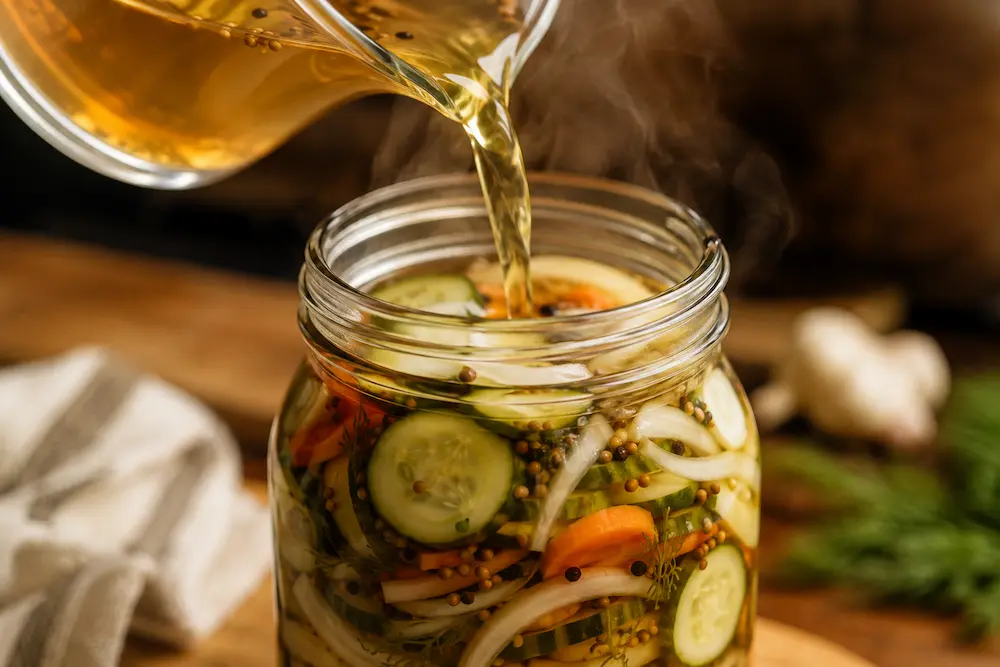
- Pour the brine over your prepared vegetables, packed into a clean jar, making sure everything is fully submerged. Any vegetable exposed to air above the brine line is more likely to develop mold.
- For refrigerator pickles: let the jar cool to room temperature on the counter if you used a hot brine, then seal and refrigerate. For shelf-stable canning, follow the specific water bath processing instructions in that recipe.
Why Vegetables Need to Stay Fully Submerged
Any part of a vegetable sitting above the brine line is exposed to air, and that exposure is where mold and spoilage most commonly start — even in an otherwise correctly made brine. Keep the vegetables covered by the brine when a recipe calls for full submersion, and use a clean, food-safe weight if needed to hold floating pieces below the surface.
What You Can and Can’t Change
Once you understand which ingredients are doing safety work and which are doing flavor work, it’s easier to know what’s actually safe to improvise on.
Usually flexible for flavor:
- Salt — the amount varies by recipe and salt type, so use the specific quantity given by the recipe you’re following, and adjust in small increments based on taste in future batches.
- Sugar — can range from none at all (savory dill-style pickles) to several tablespoons per cup for a sweet, bread-and-butter style, without any safety implications either direction.
- Aromatics — garlic, dill, mustard seed, coriander, bay leaf, peppercorns, chili flakes — can be added freely. None of these affect the brine’s preservation ability; they’re purely flavor.
Don’t improvise, especially for shelf-stable canning:
- Vinegar concentration or type
- The vinegar-to-water ratio
- Vegetable proportions relative to the brine
- Jar size specified in a tested recipe
- Water bath processing time or method
For shelf-stable canning specifically, treat a tested recipe as fixed on all of the items in that second list. This is exactly why every specific pickle recipe on this site keeps its own tested ratio and processing instructions rather than just pointing back here for everything — this page explains the concepts and gives you a reliable refrigerator-pickle starting point, but the canning specifics live in each individual recipe.
Troubleshooting
- Brine is cloudy: In a freshly made vinegar pickle, cloudiness is most often caused by table salt’s anti-caking additives rather than spoilage — switching to pickling salt next batch usually resolves it. If a sealed, previously clear jar turns cloudy over time, that’s a different situation and worth checking for other spoilage signs (off smell, soft or slimy vegetables, a bulging lid) before assuming it’s safe.
- Pickles turned out mushy rather than crisp: Usually traced to overripe or lower-quality produce, vegetables that sat too long before brining, cucumbers that weren’t firm to begin with, or too long in storage overall. Trimming the blossom end off cucumbers before pickling also helps, since an enzyme concentrated there can cause excessive softening.
- Vegetables floating above the brine line: Use a weight, as described above — floating produce is the most common cause of spoilage in an otherwise correctly made batch.
- Not sure if a batch is still good: When in doubt, don’t taste-test to find out. Any visible mold, an off or yeasty smell, sliminess, or a bulging lid means the jar should be discarded rather than eaten.
Scaling the Recipe
For refrigerator pickles, a brine can generally be scaled by multiplying the ingredients proportionally — a single pint jar might use 1/2 cup vinegar, 1/2 cup water, and 1 tablespoon salt, while a half-gallon batch would use 2 cups each of vinegar and water with 4 tablespoons salt. For shelf-stable canning, don’t create your own scaled version of a tested recipe — use the quantities and processing instructions the recipe actually provides, since jar size and processing time are tied to that specific tested combination, not something that scales safely on its own.
Frequently Asked Questions
Can I use less vinegar to make my pickles less sour?
For shelf-stable canning, don’t reduce the vinegar in a tested recipe — the ratio it specifies is part of what makes it safe for room-temperature storage. For refrigerator pickles, use a recipe specifically designed for refrigeration rather than modifying a shelf-stable canning formula. If you want a less sharp flavor within a recipe’s safe range, add a bit more sugar to balance the tartness instead of reducing the vinegar itself.
What’s the difference between pickling and fermenting?
Vinegar pickling uses acetic acid from vinegar to lower the brine’s pH quickly, and the process is fast, generally ready within a day to a week. Fermented pickles instead rely on salt to encourage naturally occurring lactic-acid bacteria to produce their own acid over one to several weeks, with no vinegar added at all. Both are commonly called “pickles,” but they’re different processes with different safety rules — this guide covers vinegar pickling specifically.
Can I reuse pickle brine from a jar I already ate?
Leftover brine can sometimes be used for a small refrigerator-pickle batch, but its acidity and salt concentration aren’t guaranteed to match a tested recipe once the original vegetables have been sitting in it. Don’t reuse leftover brine for shelf-stable canning, since it’s no longer a known, tested quantity at that point.
Does the brine need to be boiling hot when I pour it over the vegetables?
It depends on the recipe. Heating is commonly used in refrigerator pickle recipes to dissolve the salt and sugar and combine the ingredients evenly, but some recipes use a cold brine instead. A full rolling boil is sometimes specified in canning recipes as part of a specific hot-pack processing method — follow whatever the individual recipe calls for rather than assuming one approach applies everywhere.
How long do refrigerator pickles last?
Storage time varies by recipe. Keep refrigerator pickles consistently refrigerated and follow the storage period given by the recipe you used rather than assuming a universal timeline. Quality is often best during the first few weeks, and any signs of spoilage are a reason to discard the batch rather than taste-test it.