Pickled Cherry Peppers Recipe (Easy Refrigerator Method)
Cherry peppers are small, round peppers that range from sweet and mild to noticeably hot depending on the variety, and they have just enough heat to be interesting without taking over a dish. Pickling mellows that heat further while adding a bright, tangy edge. This recipe uses a refrigerator method rather than canning, which means no water bath, no special equipment, and a jar of pickled cherry peppers ready to eat after a few days — a good fit for a small apartment kitchen with limited storage for canning gear.
This is a refrigerator pickle, not a shelf-stable canned product. Keep it refrigerated throughout storage — it isn’t intended for room-temperature storage the way processed, canned pickles are.
What You Need
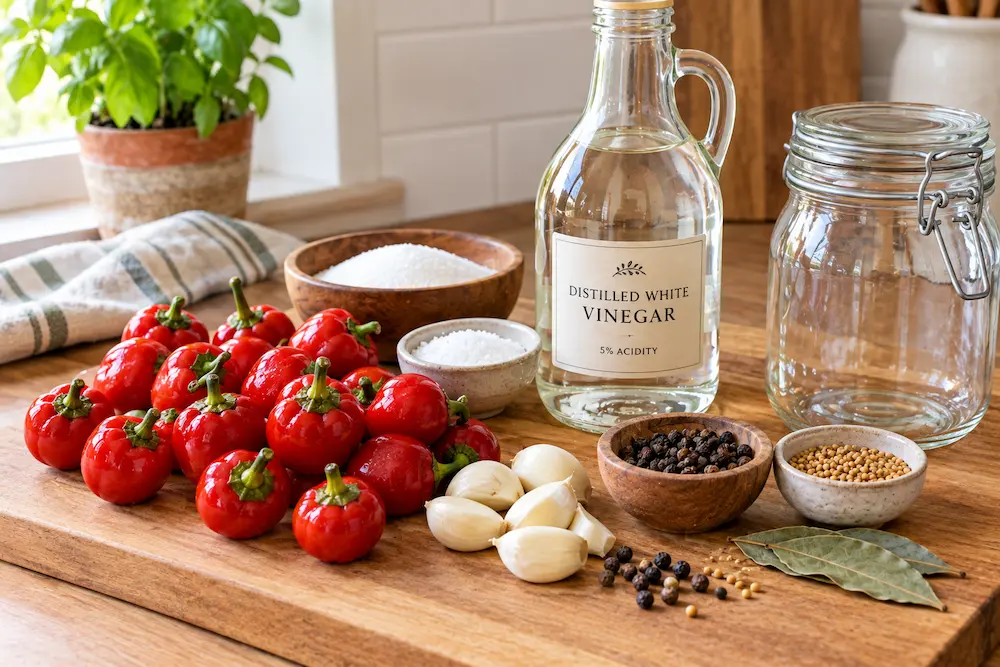
- 1 lb fresh cherry peppers, whole or sliced into rings
- 1 cup distilled white vinegar (5% acidity)
- 1 cup water
- 2 tbsp sugar
- 1 tbsp pickling or canning salt (table salt can also be used, though some varieties contain additives that may affect clarity)
- 3 garlic cloves, peeled and lightly crushed
- 1 tsp whole peppercorns
- 1/2 tsp mustard seeds (optional)
- 1 bay leaf
Check the label on your vinegar and confirm it’s 5% acidity — this matters more than most people expect, since acidity is an important part of pickle safety, and vinegar of unknown strength shouldn’t be substituted in.
Recipe note: This is a refrigerator pickle intended for short-term refrigerated use, not a tested shelf-stable canning recipe. Do not use this formula for room-temperature storage.
Before you start, wash a glass jar and lid thoroughly in hot, soapy water and rinse well. Since this is a refrigerator pickle rather than a processed, heat-treated one, starting with a genuinely clean jar matters more than it would for a recipe that gets a hot water bath afterward.
If using whole peppers, pierce each one once or twice with a clean knife or skewer so the brine can reach the interior. Sliced peppers pickle a little faster and are easier to portion out for sandwiches or salads.
How to Make Pickled Cherry Peppers
- Prepare the peppers. Wash the cherry peppers and either leave them whole (pierced) or slice into rings, removing seeds and membranes if you prefer a milder result.
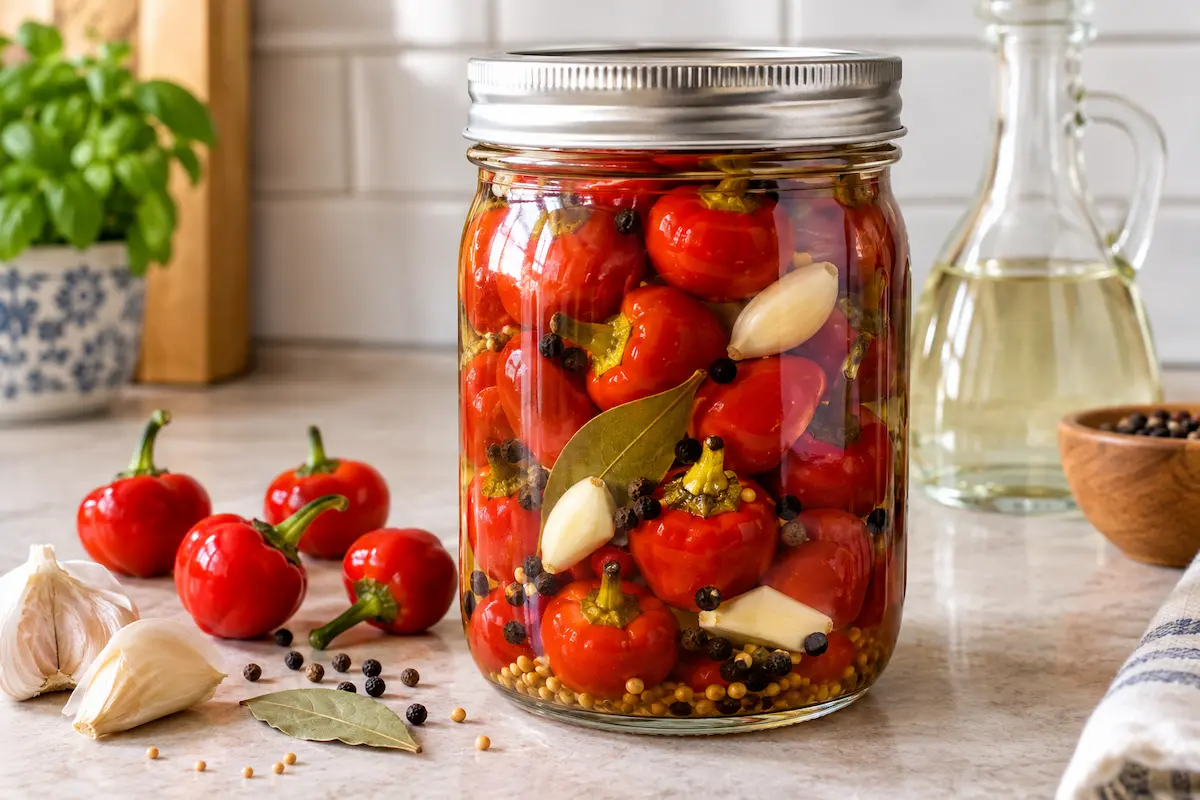
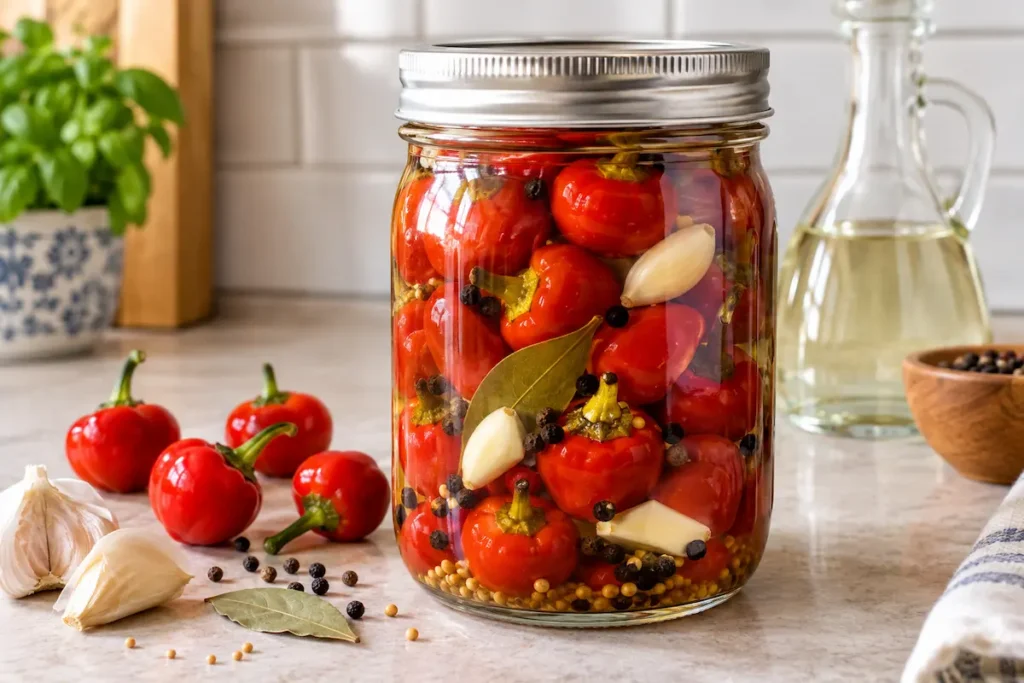
- Pack the jar. Layer the peppers, garlic, peppercorns, mustard seeds, and bay leaf into the clean jar.
- Make the brine. In a small saucepan, combine the vinegar, water, sugar, and salt. Bring to a simmer, stirring until the sugar and salt fully dissolve.
- Pour over the peppers. Carefully pour the hot brine over the peppers in the jar, making sure they’re fully submerged. Leave about half an inch of headspace at the top.
- Cool briefly, then close. Let the jar cool for a few minutes on the counter so it isn’t going straight into the fridge scalding hot, then close the lid completely — there’s no need to leave it loosely covered.
- Refrigerate. Move the jar to the refrigerator right away. Let the peppers sit for at least 3 days before eating; the flavor keeps developing and improving through the first week.
This recipe hasn’t been lab-tested for a specific maximum storage period, so treat it as a fresh, short-term refrigerator pickle rather than a long-shelf-life preserve. Keep the peppers refrigerated and submerged in brine. If you notice mold, an unusual odor, or other obvious signs of spoilage, discard the entire batch.
How Spicy Will They Be?
Cherry peppers vary noticeably in heat from batch to batch, so it’s worth tasting a small piece of raw pepper before pickling to gauge how spicy your particular batch is. Most of a pepper’s heat comes from the membranes rather than the seeds themselves, though seeds sitting against the membrane pick up some heat too — so for a milder pickle, remove both the membranes and seeds before slicing. For more heat, leave the membranes intact, or add a few slices of a hotter pepper like jalapeño to the jar.
For an Italian-style finish, a drizzle of olive oil over the peppers just before serving is a nice traditional touch — added at serving time rather than into the storage jar, to keep the brine straightforward.
Ways to Use Pickled Cherry Peppers
Pickled cherry peppers work well chopped into sandwiches and subs, sliced over pizza, added to an antipasto platter alongside olives and cheese, or stirred into pasta salads for a tangy kick. They also make a good addition to a Bloody Mary garnish if that’s something you enjoy.
Frequently Asked Questions
How long do pickled cherry peppers last in the fridge?
Keep them refrigerated and submerged in brine, and use your judgment based on appearance and smell — this is a fresh refrigerator pickle rather than a shelf-stable preserve, so it’s best treated as a shorter-term item rather than a long-term pantry staple.
Do I need to can these for long-term storage?
No — this recipe is a refrigerator pickle, meant for shorter-term refrigerated storage rather than shelf-stable canning, which requires a properly tested recipe and processing method to be safe at room temperature.
Can I use a mix of pepper colors?
Yes — red, green, and yellow cherry peppers can all be pickled together for a more colorful jar, with only minor differences in sweetness between colors.
Why aren’t my pickled peppers very spicy?
Pickling naturally mellows a pepper’s heat somewhat, and removing the membranes and seeds reduces it further. If you want more heat, keep the membranes in or add a hotter pepper to the jar.
Can I reuse the brine for a second batch?
No — once brine has been in contact with the peppers, its acidity and flavor change, so it’s not reliable to reuse for a fresh batch. Make a new brine each time.