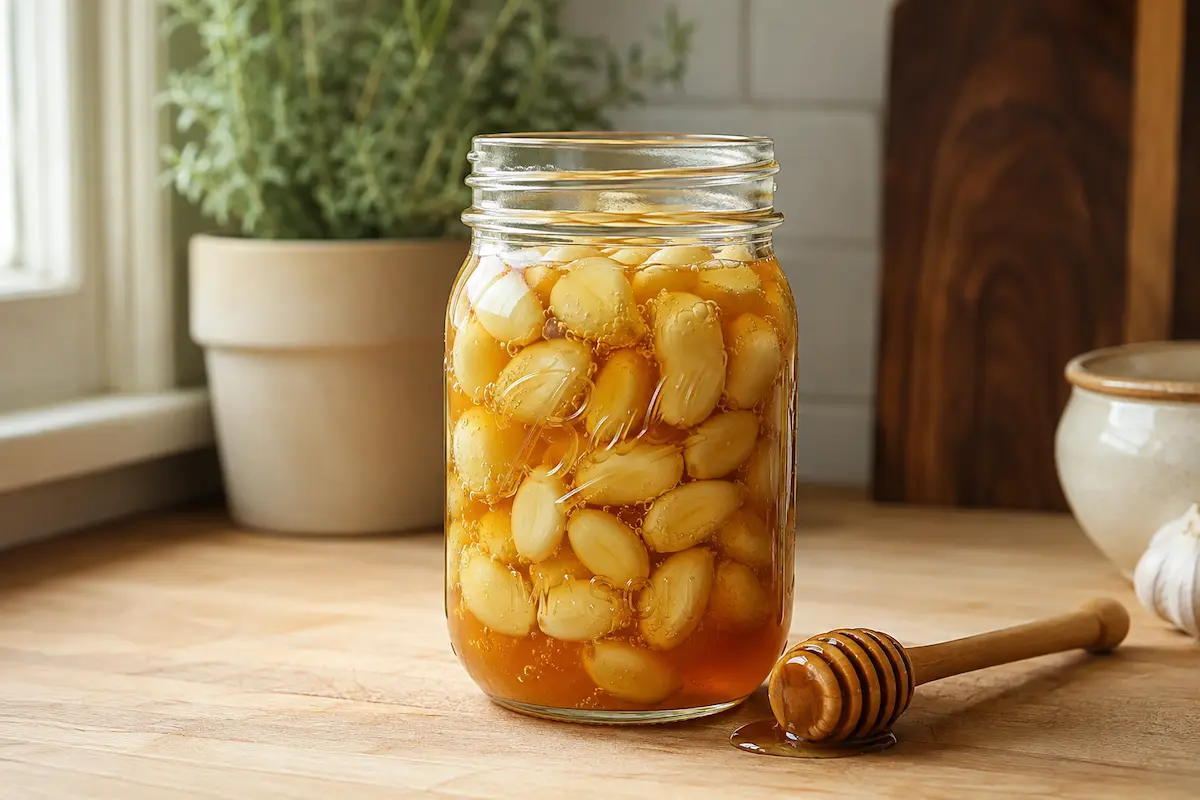
Fermented Garlic Honey Recipe: The Safe, Step-by-Step Method
Two ingredients. No special equipment. And a jar that gets more useful the longer it sits on your counter. That’s the appeal of a fermented garlic honey recipe — but it’s also exactly why so many home fermenters ask the same nervous question before they start: is this actually safe to eat?
Here’s the honest answer: this is a traditional home fermentation method, not a scientifically validated preservation process — and that distinction matters enough that it shapes almost everything below. Understanding what’s actually happening chemically inside that jar, and following a few non-negotiable rules, is what lets you make an informed choice rather than a blind one.
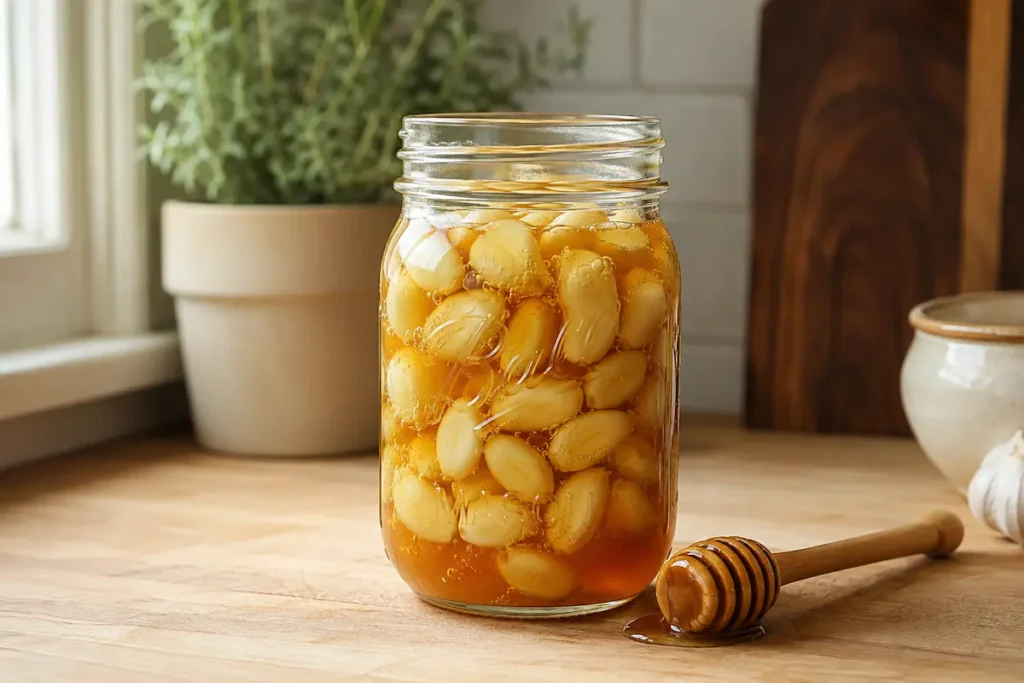
Why Garlic and Honey Ferment Instead of Just Sitting There
Peeled garlic cloves are mostly water — around 60% by weight. Raw honey, by contrast, holds almost none; its sugar content ties up nearly all available moisture, which is what makes honey shelf-stable on its own for years. When you submerge garlic in honey, the difference in solute concentration pulls water out of the cloves and into the surrounding honey, diluting it right at the surface of each clove. That’s the mechanism that makes fermentation possible here — it doesn’t, on its own, tell you whether a given batch has reached an acidity level low enough to be food-safe.
That diluted honey is thin enough for wild bacteria naturally present on the garlic — mostly lactic acid bacteria — to get to work. They consume sugars and release carbon dioxide, which is the bubbling and jar-swelling you’ll notice starting around day two or three. The same bacteria also drop the pH of that surface layer, which is part of what makes a properly fermented batch more acidic, and therefore more stable, than either ingredient started out.
It’s a related process to what happens in our small-batch sauerkraut and easy kimchi recipe, where salt brine draws water out of vegetables to create a hospitable environment for lactic acid bacteria. Here, garlic’s own water content plays that role instead — but the moisture dynamics are different enough between the two that this isn’t a like-for-like comparison, and the actual acidity a given batch reaches can vary more than it does in a measured brine ferment.
The Botulism Question, Answered Honestly
This is the section a lot of recipe sites skip or rush through. It shouldn’t be rushed.
Raw honey can carry dormant spores of Clostridium botulinum. On their own, those spores are harmless to healthy adults — stomach acid handles them fine. The danger only appears if the spores find a low-oxygen, low-acid, moist environment where they can wake up and multiply, producing the toxin that causes botulism. A sealed jar of garlic submerged in liquid is, on paper, exactly that kind of environment: little to no oxygen, and a moisture-rich interface right where the clove meets the honey.
Food-safety researchers at university extension programs have flagged this specific combination as one where the data is genuinely thin — garlic’s water activity is high enough, and honey’s pH varies widely enough by floral source (roughly 3.2 to 6.1), that no single “this is always safe” statement holds up across every batch. That’s not fear-mongering; it’s the honest state of the research, and it’s why the steps below aren’t optional garnish.
Important safety note: Bubbles, a sour or tangy smell, and a change in the honey’s texture are all signs of microbial activity — they are not proof that a batch has reached a safe level of acidity. There is no way to confirm that at home without a pH meter or test strips. Extension food-safety guidance is clear that fermented foods can’t be assumed safe just because they look and smell like they’ve fermented correctly. If you want more certainty than “it looks and smells right,” testing pH is the only way to get it — otherwise, treat this as a traditional home method with the inherent uncertainty that implies, not a guaranteed-safe preserved food.
- Don’t leave this at room temperature indefinitely. Most home fermenters see bubbling activity within days and a mellowed flavor within a few weeks — treat that window, not months of counter storage, as the norm.
- Release built-up gas daily (“burping” the jar) for the first two weeks. This manages pressure and lets you check on the batch — it’s a monitoring step, not a safety guarantee. Visible activity is evidence of fermentation, not proof of a safe final pH.
- Keep every clove fully submerged. Any garlic sitting above the honey line is exposed to air and a much higher spoilage risk.
- Once fermentation activity slows, move the jar to the refrigerator. Refrigeration slows further microbial activity and is the conservative choice for a homemade ferment like this one.
- Never feed honey — fermented or not — to a child under 12 months old. Infant digestive systems can’t yet neutralize botulism spores the way adult stomachs can.
If a batch never bubbles, smells like anything other than sharp garlic and honey, or grows anything fuzzy or discolored on top, the right move is to discard it — not taste-test your way past a warning sign.
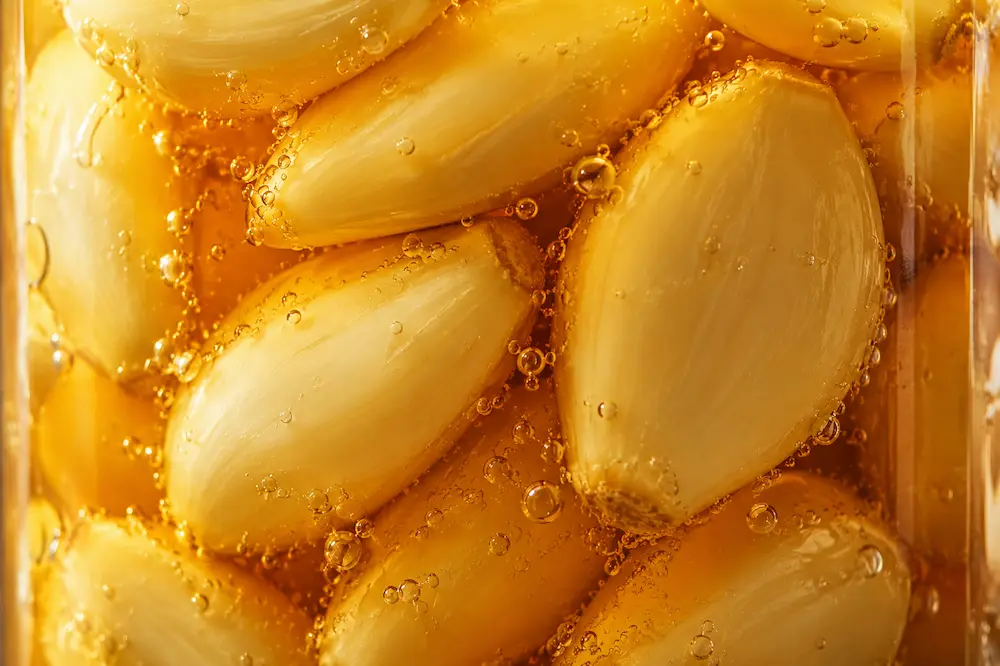
What Actually Goes Into the Jar
The ingredient list is short on purpose — the safety rules above matter far more than any flavor add-in.
| Ingredient | Amount | Notes |
|---|---|---|
| Raw, unpasteurized honey | 1½ cups | Raw honey carries more of the wild microbial activity that drives this ferment; pasteurization reduces it |
| Garlic cloves, peeled | 1 cup (about 2 whole heads) | Peel by hand; pre-peeled store-bought cloves ferment less reliably |
| Wide-mouth glass jar with lid | 1 pint-sized | Wide mouth makes daily burping and clove-pressing far easier |
Building the Ferment, Step by Step
- Peel the garlic without bruising it. Smash each clove lightly with the flat of a knife to loosen the skin, then peel by hand. Avoid crushing or slicing — whole cloves ferment more evenly and are easier to keep fully submerged.
- Load the jar. Add the peeled cloves first, then pour honey over them until they’re covered by at least half an inch. Leave roughly an inch of headspace at the top of the jar for expansion.
- Press and seal. Use a clean spoon to press any floating cloves back under the honey line, then close the lid loosely — not airtight — so building gas has somewhere to go.
- Burp the jar daily. For the first 10–14 days, open the lid once a day, press cloves back under the surface if any have floated up, and reseal. You’ll see thin bubbles rising almost immediately and the honey visibly thinning as it draws moisture from the garlic.
- Watch for the shift. Around week two, the honey will loosen further and take on a faint golden-garlic aroma. Bubbling slows as the ferment stabilizes — this is the sign it’s nearly ready, not a sign something’s wrong.
- Move it to the fridge. Once daily bubbling has mostly stopped (typically 3–4 weeks in), transfer the jar to refrigerated storage. Cold slows fermentation to a crawl and is where this ferment should live from here on.
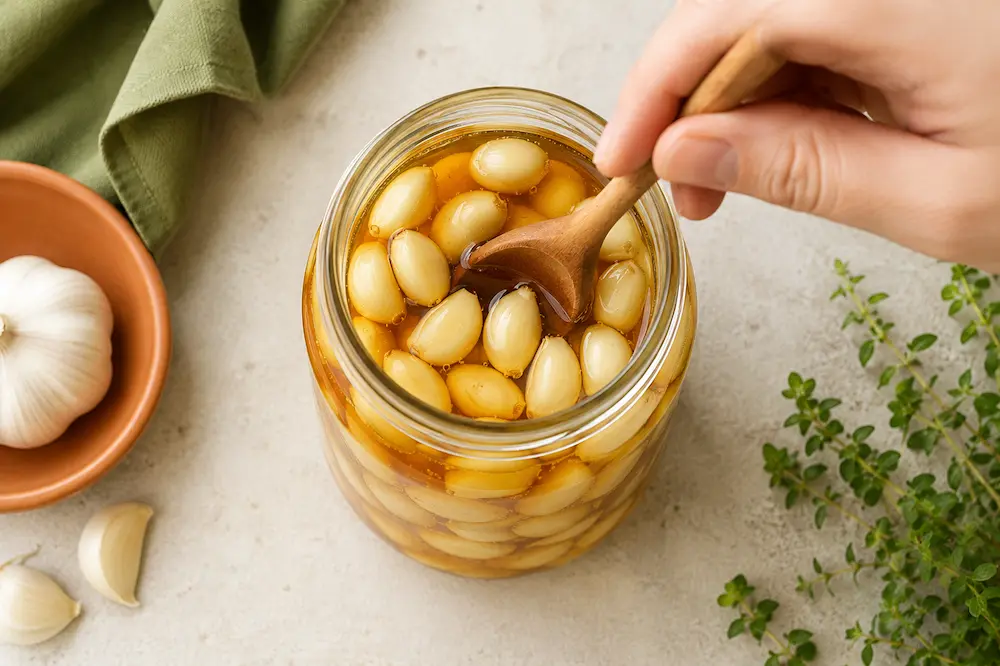
Reading the Jar: Working As Intended vs. Time to Toss It
A fermenting jar changes daily, and it’s normal to second-guess what you’re seeing. Here’s the difference between expected activity and an actual problem.
| What you see | What it means |
|---|---|
| Small bubbles rising when you open the lid | Normal — active fermentation, exactly what you want |
| Honey thinning and turning pale gold | Normal — moisture is moving from garlic into honey |
| Garlic cloves turning slightly blue-green | Usually a harmless chemical reaction common in young or wet garlic — but if it’s paired with fuzzy growth or an off smell, treat it as a discard, not a normal sign |
| Fuzzy white, gray, or colored growth on the surface | Discard the batch — this is mold, not a fermentation byproduct |
| No bubbling at all after a week in a warm spot | Fermentation likely isn’t active — refrigerate or discard rather than continuing to store it at room temperature |
| Off smell — sour in a “spoiled” way rather than sharp and tangy | Discard the batch rather than taste-testing it |
Getting the Most Out of a Finished Jar
Once fermentation activity slows, refrigerate the jar — cold temperatures slow further microbial activity and are the conservative storage choice for a homemade ferment like this one. Use your own judgment on how long to keep a refrigerated batch, checking periodically for the same off-smell or mold signs described above; both the honey and the cloves remain usable well after active fermentation has finished.
- Whisk a spoonful of the honey into salad dressing in place of plain honey — the garlic depth replaces a raw clove without the sharp bite.
- Stir it into hot tea or warm water at the first sign of a scratchy throat.
- Mince the fermented cloves straight into stir-fries or roasted vegetables; they’ve mellowed considerably and caramelize fast.
- Brush the honey over roasted chicken or salmon in the last few minutes of cooking for a sticky, savory-sweet glaze.
- Layer a spoonful alongside quick pickled red onions on tacos or sandwiches for a sweet-tangy contrast.

Where This Fits If You’re New to Fermenting in General
Garlic honey is one of the more forgiving entry points into fermentation because it needs no brine calculations, no airlock, and no starter culture — just attention and patience. If this is your first ferment, it pairs naturally with growing your own cloves to ferment via our guide to growing garlic in a pot, and with building out a low-waste kitchen through our apartment composting guide if you’re saving those garlic skins and honey drips from the trash.
Curious what else fits into a fermentation routine that starts this simply? Our ginger bug recipe is a similarly low-equipment next step, and our complete guide to apartment homesteading covers where fermenting fits alongside growing, baking, and preserving in a small kitchen.
Common Questions About Fermented Garlic Honey
Is fermented garlic honey actually safe, or should I skip this ferment?
This is a traditional home fermentation method, and university extension food-safety research on this specific combination is genuinely limited. Active fermentation (bubbling, gas release, thinning honey) is a sign of microbial activity, not proof that a batch has reached a safe acidity — that can only be confirmed with a pH test. Passive steeping, where garlic sits in honey with no visible fermentation at all, is considered the higher-risk version of this method. If you want a reasonable amount of certainty, follow the submersion and refrigeration steps above and treat this as an informed choice rather than a guaranteed-safe preserved food.
How long does fermented garlic honey take to be ready?
Many home fermenters report visible bubbling within a few days and a mellower flavor after a few weeks at room temperature, though timing varies by batch, temperature, and honey. This is about flavor and observable fermentation activity, not a validated safety timeline — the visual and taste cues tell you when it’s flavorful, not when it’s definitively safe.
Why did my garlic turn blue or green in the honey?
Blue-green discoloration can happen from natural chemical reactions between sulfur compounds in the garlic and trace minerals, and it’s more common in young, freshly harvested, or slightly damp garlic — on its own, it doesn’t necessarily indicate spoilage. That said, if the discoloration shows up alongside fuzzy growth, an off smell, or no fermentation activity at all, treat those combined signs as a reason to discard the batch rather than assuming color alone rules out a problem.
Can I give fermented garlic honey to kids?
Not to children under 12 months old — honey in any form, fermented or raw, carries a risk of infant botulism because babies’ digestive systems can’t yet neutralize the spores it may contain. For children over one year old, it’s generally treated the same as regular honey.
Do I need a fermentation weight or airlock lid for this recipe?
No. Because the cloves are denser than the honey and don’t tend to float once pressed down, a standard jar with a loosely closed lid and daily manual pressing works fine — the specialized equipment used for vegetable ferments in brine isn’t necessary here.
Does fermented garlic honey need to be refrigerated?
Yes, once fermentation activity has slowed. Refrigeration isn’t strictly required for the fermentation process itself, but it’s the conservative choice that slows further microbial activity in a homemade batch where the final acidity hasn’t been lab-tested — this recipe recommends moving the jar to the fridge rather than leaving it at room temperature indefinitely.