Sourdough Sandwich Bread Recipe (Soft Loaf, No Dutch Oven Needed)
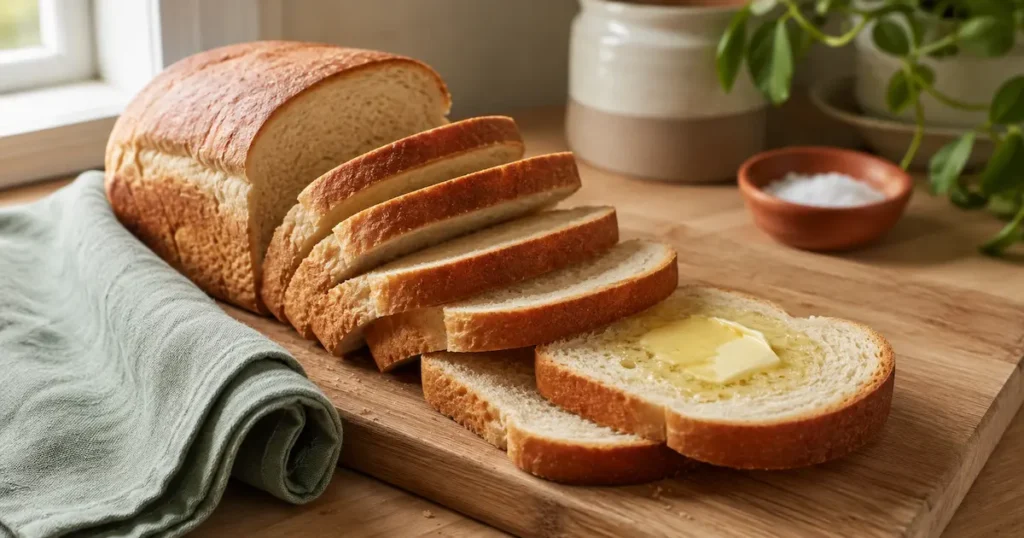
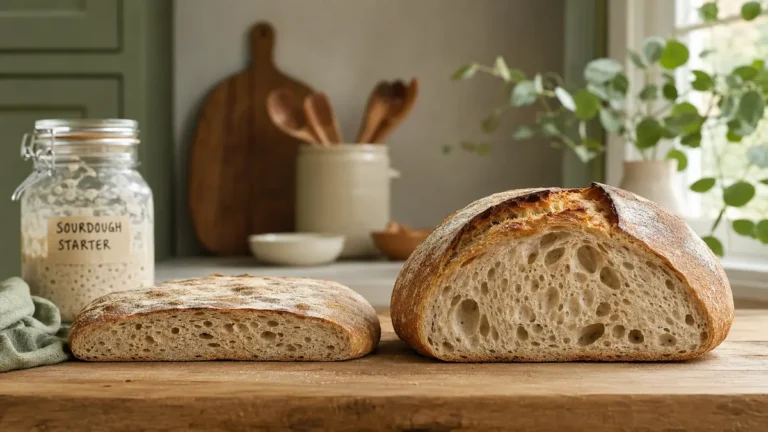
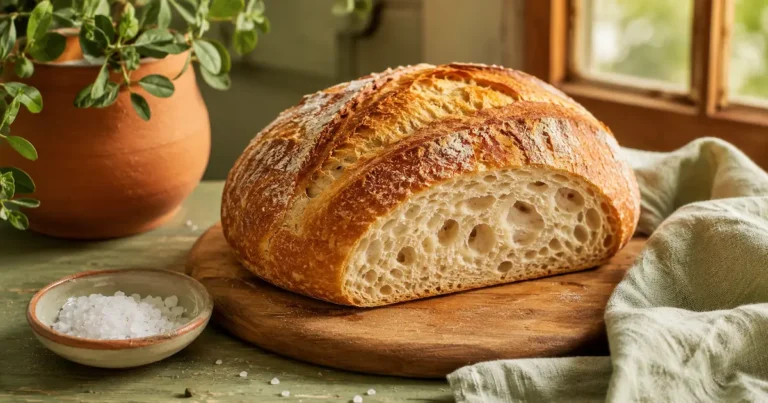
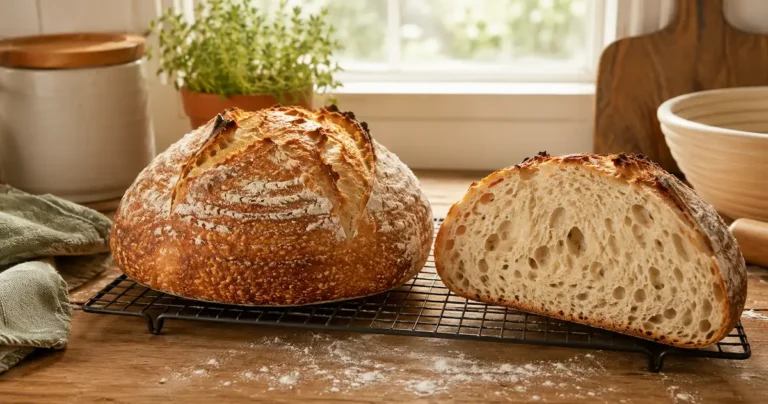
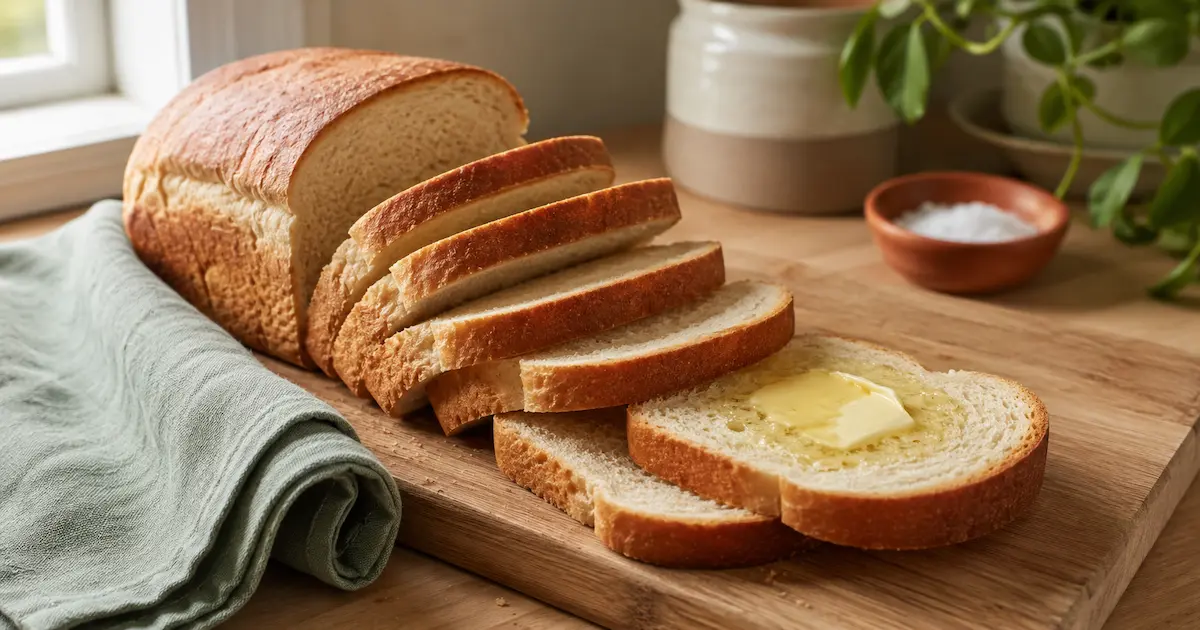
Most sourdough recipes are built for an open, irregular crumb — dramatic to photograph, difficult to build a sandwich on. Big holes mean fillings fall through, and a crust thick enough to crackle is a crust thick enough to shred the roof of your mouth on a PB&J. This recipe trades some of that rustic drama for a tighter crumb, a soft crust, and a shape that actually fits a sandwich bag.
The trade-off is fair. Baking in a loaf pan instead of a Dutch oven removes the steam step entirely, the crumb structure gets more forgiving of an imperfect rise, and you end up with a loaf that behaves the way sliced bread is supposed to — for toast, grilled cheese, and everyday sandwiches — piled with deli meat, cheese, and pickled red onions, for example — rather than for serving alongside soup with olive oil.
If you haven't got a sourdough starter going yet, the sourdough starter guide covers building one from scratch before anything here will work.
What makes a sandwich loaf different from a rustic one
Three changes separate sourdough sandwich bread recipe from the classic Dutch-oven sourdough bread most people start with:
A small amount of fat and a touch of sweetener go into the dough. Butter or oil coats some of the gluten strands as they form, which softens the finished crumb and keeps it from turning dry and chewy the way a lean rustic dough would in a loaf pan. A tablespoon or two of honey or sugar feeds a slightly faster rise and rounds out the flavor, since sandwich bread doesn't lean on the same deep tang a bare rustic loaf develops.
The dough bakes inside a pan rather than free-form on a stone or in a Dutch oven, which means no steam injection and no need for the dramatic oven-spring a scored rustic loaf depends on. The pan walls do the shaping work instead.
The crumb is deliberately tighter. A few less-aggressive folds during bulk fermentation, plus the enrichment from the fat, keep large air pockets from forming — which is exactly what you want when the goal is even slices that won't fall apart under a sandwich's weight.
Ingredients
Mixing and the first rise
Combine flour and water and let it rest 30 minutes — this autolyse step still matters here, since it's doing the same job of getting the gluten started before anything else gets added. Mix in the starter, salt, honey, and softened butter until everything's evenly worked through; it'll look a little uneven at first since the butter needs a minute to distribute; keep folding until it disappears into the dough.
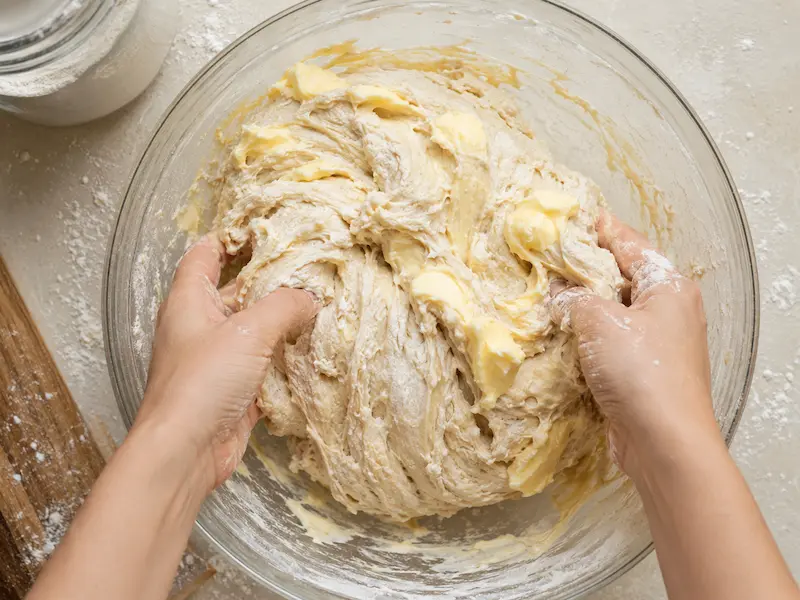
Do three rounds of stretch-and-fold, 30 minutes apart, rather than the four used for a rustic loaf — the enrichment from the fat means the dough builds strength a bit faster and doesn't need as much mechanical work. After the third round, let it bulk ferment at room temperature for 4 to 6 hours, until it's increased by about 50% in volume. It won't get quite as airy-looking as a rustic dough at this stage, and that's expected — you're not chasing the same open bubble structure.
Shaping and the pan rise
Turn the dough out and pat it into a rough rectangle roughly the width of your loaf pan. Roll it up tightly from one short end to the other, pinching the seam closed, then set it seam-down into the greased pan. Press it gently so it fills the corners rather than sitting as a loose log in the middle.
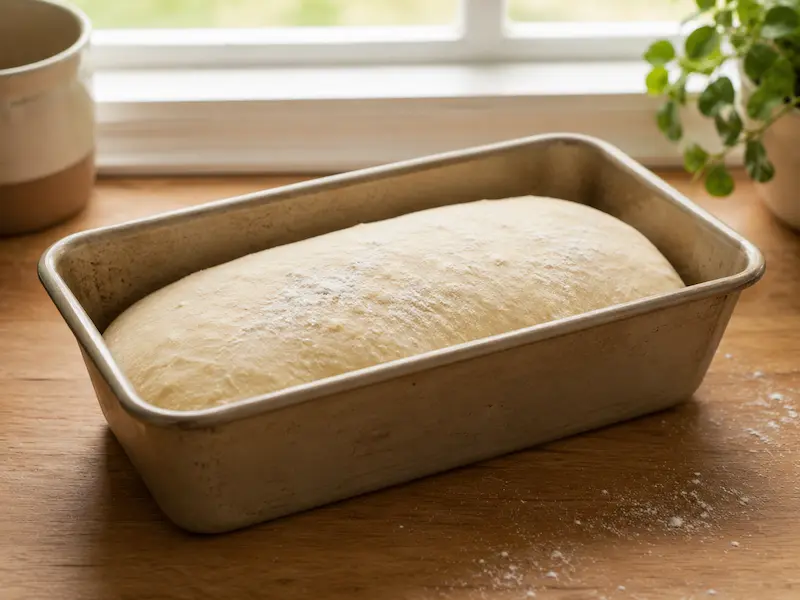
Cover and let it rise in the pan for 3 to 5 hours at room temperature, or overnight in the fridge for 8 to 12 hours if you'd rather bake in the morning. The fridge option isn't just about convenience — the slower, colder rise develops a slightly rounder flavor and makes the dough easier to score cleanly, since cold dough holds a slash better than warm, gassy dough does. If you go the fridge route, pull the pan out and let it sit at room temperature for 30 to 45 minutes before baking, so the center isn't still cold when it hits the oven.
Either way, it's ready when the dough has crested about an inch above the rim of the pan — this is the one place a sandwich loaf actually needs a slightly fuller rise than a rustic one, since there's no oven-spring from steam to help it along once it's in the oven.
Baking
Preheat the oven to 375°F. No preheated Dutch oven, no steam, no scoring required — a shallow single slash down the center helps control where it splits, but skipping it won't ruin the loaf the way it would a rustic boule.
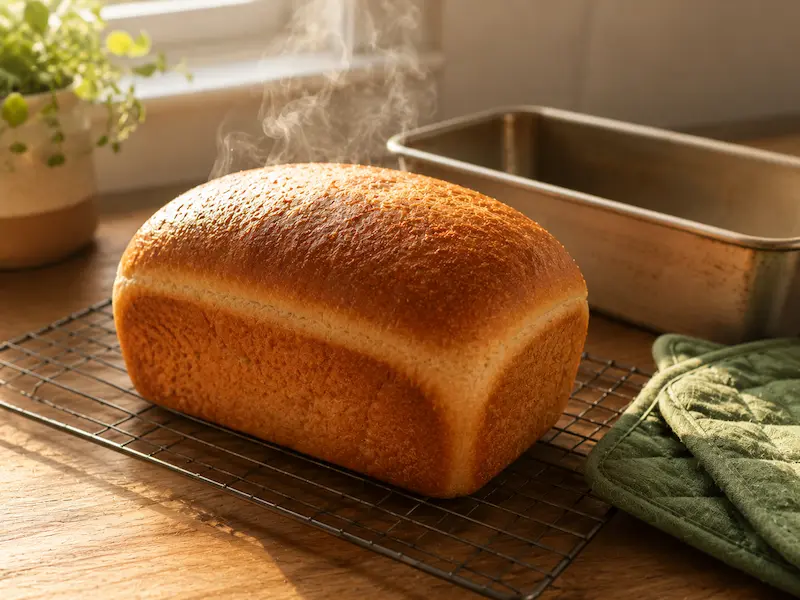
Bake 35 to 40 minutes, until the top is deep golden brown and the loaf sounds hollow when tapped on the bottom. If the top is browning faster than the inside is cooking through, loosely tent it with foil for the last 10 minutes rather than pulling it early. For a more reliable doneness check than sound alone, an instant-read thermometer inserted into the center should read 195–205°F (90–96°C).
Turn it out onto a wire rack immediately rather than leaving it in the pan, where trapped steam would soften the crust into something closer to soggy. Let it cool at least 45 minutes before slicing — shorter than the full hour a rustic loaf needs, since the tighter crumb sets faster, but still worth the wait for clean slices instead of a compressed, gummy cut.
Want it even softer? Try a tangzhong
If you want a crumb closer to store-bought sandwich bread — pillowy rather than just soft — a tangzhong is the standard technique for pushing it there. Cook 30g of the flour with 150g of the water (pulled from the main recipe's totals) over low heat, stirring constantly, until it thickens into a thick paste, then cool it fully before mixing it in with the rest of the wet ingredients at the start.
It's an extra pot and a few extra minutes, so treat it as optional rather than essential — this base recipe is already noticeably softer than a rustic loaf without it. But if the standard version still feels firmer than you want after your first bake, this is the next lever to pull rather than adding more fat, which can make the dough greasy and harder to shape past a certain point.
Where this goes wrong
For anything not covered here, the general dense sourdough troubleshooting guide covers causes that apply to any sourdough loaf, sandwich or rustic.
Storing it
This loaf keeps better at room temperature than a rustic boule does, thanks to the added fat — 4 to 5 days in a bread bag or wrapped loosely in a beeswax wrap, out of the fridge, which speeds up staling rather than slowing it down. It freezes well pre-sliced; pull individual slices straight from the freezer for toast without thawing the whole loaf first.
What to do with the heel and the discard
The end pieces make good breadcrumbs or croutons rather than getting tossed, and if you fed your starter before mixing this dough, the leftover discard doesn't have to go to waste either — the sourdough discard recipes collection covers what to do with it instead of pouring it down the drain.