How to Make Sourdough Starter from Scratch (Day by Day Guide)
Most people never get past this step.
Learning how to make sourdough starter looks intimidating from the outside, so it stops beginners before they've even mixed a bowl.
It shouldn't. If you're wondering how to start sourdough starter, here's the whole secret: flour and water, mixed and left alone to ferment. That's it. The wild yeast that will eventually leaven your bread is already sitting in your flour bag and floating around your kitchen right now. You're not adding anything special. You're just giving something that's already there the right conditions to wake up.
The hard part was never the mixing. It's not knowing whether what's happening in the jar is normal. Bubbles one day, nothing the next, a strange smell, a sudden overnight double in size — all of it is expected. This guide walks through what's actually going on at each stage of making a sourdough starter so you're not left guessing whether you've broken something.
Give it about a week in a warm kitchen, longer in a cooler one. Once it's established it more or less lives in your fridge, wants feeding every few days, and hands you a pile of discard at every feeding that goes straight into pancakes, crackers, and flatbread instead of the bin.
If you've already read ten different versions of how do you make sourdough starter and they all disagree with each other, that's normal too. This one sticks to a single method so you're not juggling five sets of instructions at once.
What You Need Before You Start
Short list. You probably own most of it already.
That's genuinely all of it. No sourdough crock, no specialist tools, nothing to buy that you don't already have.
The Flour Question — What Actually Works
Nothing causes more confusion in this process than flour. So here's the short version.
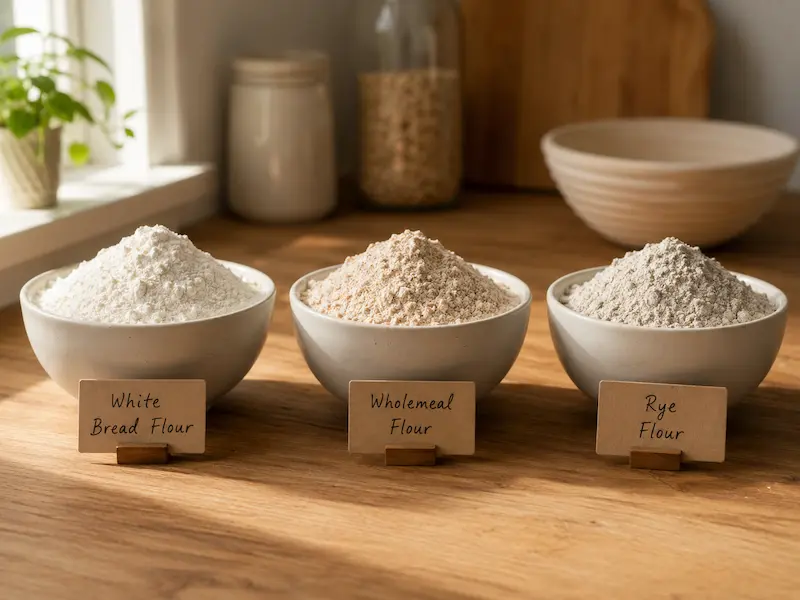
Rye flour mixed with white bread flour gives you the most reliable start. Rye carries more of the nutrients and microorganisms that wild yeast feeds on, which means it gets things moving faster and more predictably than white flour on its own.
A ratio that works well in practice: 80% strong white bread flour, 20% wholemeal rye. Only have all-purpose white flour on hand? That works too — it just takes a bit longer to establish.
Skip self-raising flour entirely (the baking powder in it fights the fermentation) and go easy on bleached flour where you can, since bleaching strips out some of the microbial content that helps things along.
The Day-by-Day Process
Days 1 and 2 — Starting From Nothing
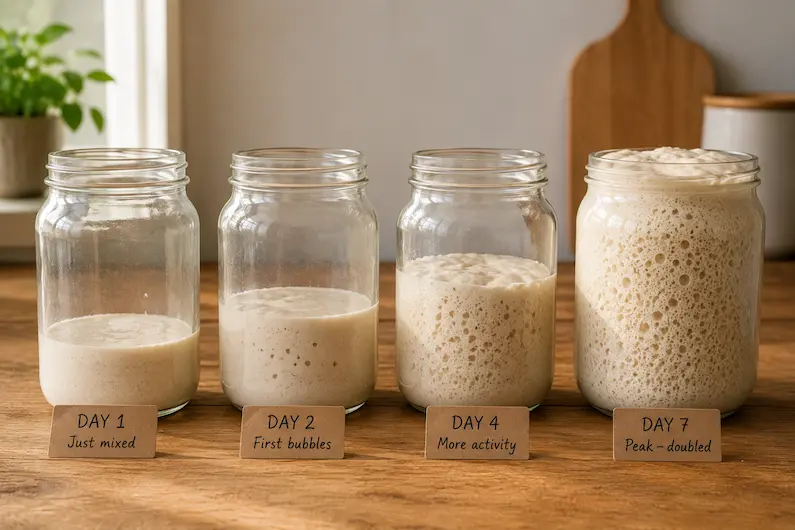
Day 1: mix flour and water in a clean glass jar. Stir it thoroughly — no dry pockets left on the sides or bottom. Cover it loosely and leave it somewhere around 70–75°F / 21–24°C for 24 hours.
Ratio for Day 1:
Stir it smooth, mark the level, cover loosely, and walk away.
Day 2 might bring bubbles. It might bring nothing. Both are fine — cooler kitchens take longer to get started. Give it a stir and leave it another 24 hours without feeding it yet.
Days 3, 4 and 5 — The First Feeds
Day 3 is where the daily feeding routine starts, and where the starter actually begins to develop.
Do this every day from Day 3 through Day 7:
Why bother discarding at all? Without it you'd end up with a jar the size of a bucket in a week. Discarding also keeps the ratio of food to yeast population in your favor — fewer cells competing for the same food at each feed.
By Days 3 to 5 you'll likely see more bubbles, a clearer rise-and-fall between feeds, and a smell shifting from bland to sour and yeasty. That's the process doing exactly what it's supposed to.
Days 6 and 7 — Signs of Life
Somewhere around Day 6 or 7, most starters in a warm-enough kitchen settle into a rhythm — rising after each feed, falling before the next one. That rhythm is what you've been waiting for.
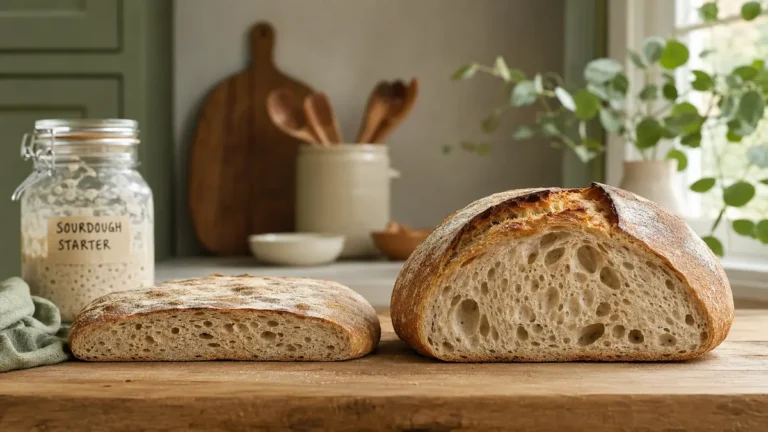
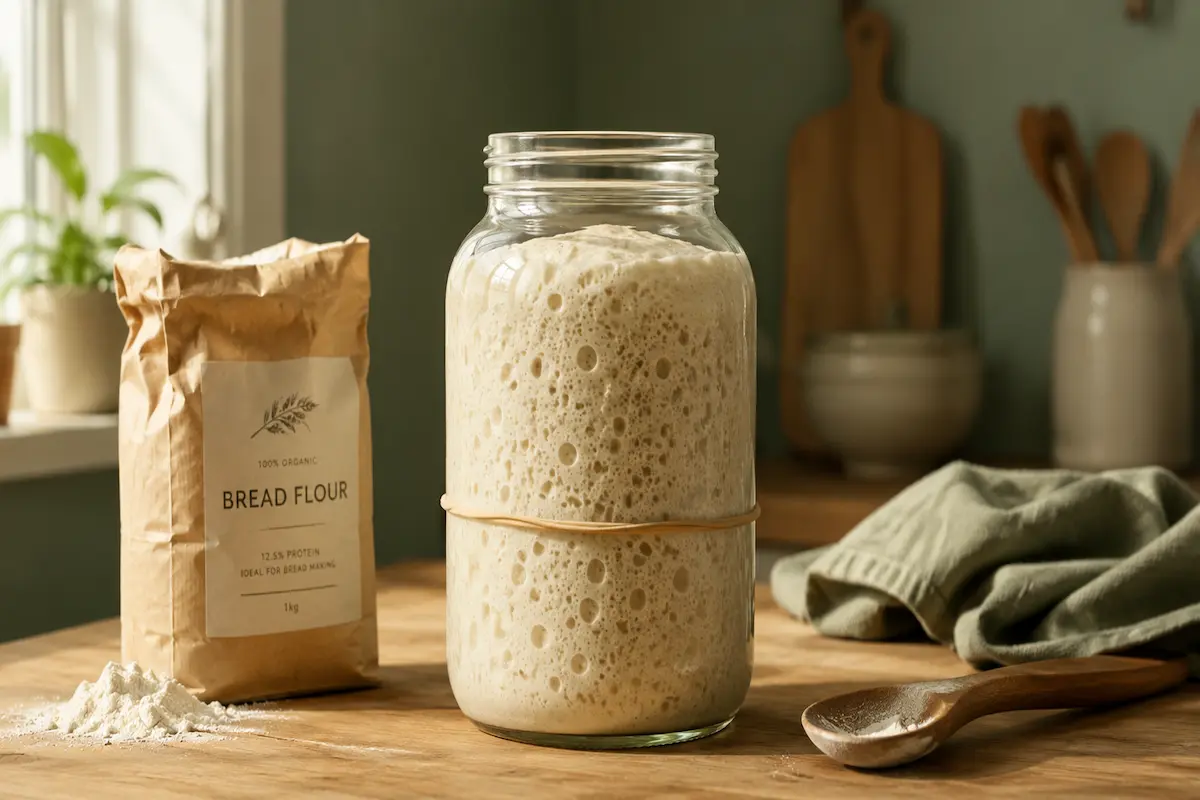
By the week mark it should smell pleasantly sour and come close to doubling after each feed. Look for a slightly domed top that flattens out at peak, plenty of bubbles and webbing when stirred, and a smell that's gone from bland to genuinely yeasty and sour.
You'll hear about the float test — dropping a spoonful in water to check if it floats. It's not the most reliable signal. A starter that floats but hasn't been doubling consistently isn't ready. One that doubles reliably and smells right is ready, float test or not.
How to Tell If Your Starter Is Ready to Bake With
Most beginners get this wrong not because it's complicated, but because they're impatient.
Your starter is ready when all four of these hold true consistently — not just once:
One strong day doesn't mean you're there. Early on it's common to see it look lively one day and flat the next. Keep feeding it and it'll get steadier and more predictable. Wait for that consistency before you bake with it.
The Feeding Ratio — What the Numbers Mean
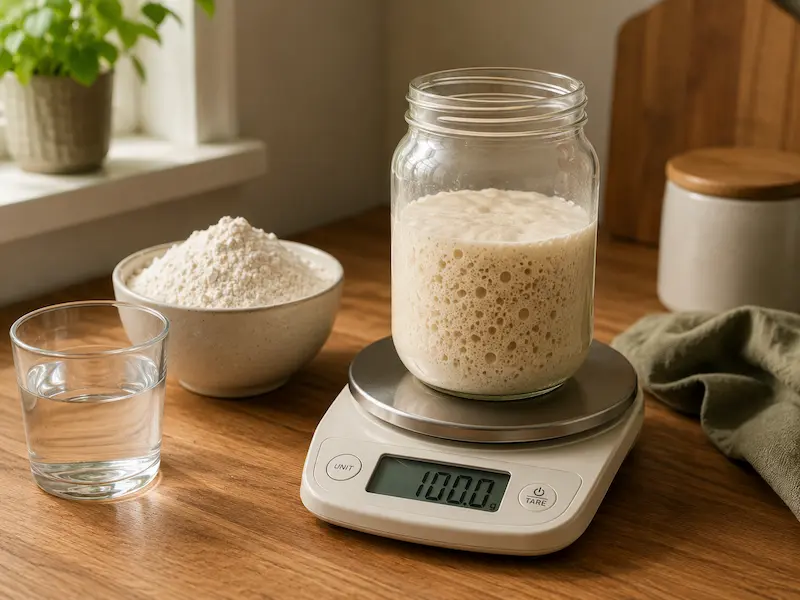
Once it's active you'll start running into ratios like 1:1:1, 1:2:2, 1:5:5 — starter to flour to water, by weight.
1:1:1 means equal parts of each — 50g starter, 50g flour, 50g water. That's your standard maintenance ratio for a once-a-day room-temperature feed.
1:2:2 dilutes it more — 50g starter, 100g flour, 100g water. Useful for slowing things down, stretching the time between feeds, or when a very active starter is burning through its food too fast.
1:5:5 fed twice daily on a 12-hour cycle gives you a strong starter with a dependable 12-hour peak — the setup most frequent bakers use. As a beginner feeding once a day, stick with 1:1:1.
Moving Your Starter to the Fridge
Once it's doubling reliably, it can move to the fridge. That slows fermentation right down, so you're feeding weekly instead of daily.
Feed it as normal, let it rise about an hour at room temperature, then refrigerate. That short warm window gives it a head start before the cold slows it down.
To bake with a fridge starter, pull it out the night before, feed it, leave it at room temperature overnight, and use it at peak the next morning. Don't skip this — starter straight from the fridge isn't active enough to leaven bread on its own.
What Normal Looks and Smells Like — Day by Day
Not sure if what's happening in your jar is normal? Here's a realistic picture, stage by stage:
Three Things That Go Wrong — And What to Do
Nothing's happened in five days.
Move it somewhere warmer before touching anything else. Temperature causes more sluggish starters than any other single factor. A starter that looks completely dead at 65°F often perks up within a day once it's sitting at 75°F. Try the top of the fridge, an oven with just the light on, or near (not on) a warm appliance.
Still nothing after two or three more days? Add a touch of rye to the next feed — even 10g alongside your usual flour. The extra nutrients often jolt a sluggish starter back to life. Our sourdough troubleshooting guide covers this and every other common issue in more depth.
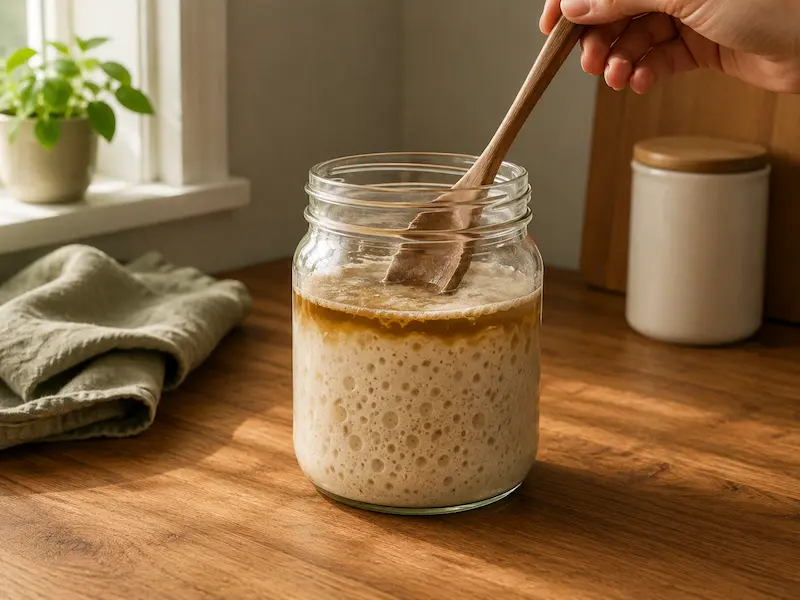
Dark liquid on top.
That's hooch — alcohol produced when the starter's run out of food between feeds. Same basic process behind your apple cider vinegar from scraps. It's harmless and doesn't mean anything's gone bad. Stir it back in, then feed more often or add a bit more flour at each feed.
Smells like nail polish remover.
Same cause as the hooch — it's hungry. Feed it, warm it up, and the smell should settle within a feed or two. Don't start over. You've already built up good yeast and bacteria. Discard aggressively — down to a couple of tablespoons — give it a generous feed, and check back in 12 hours.
What to Do With Your Starter Once It Is Ready
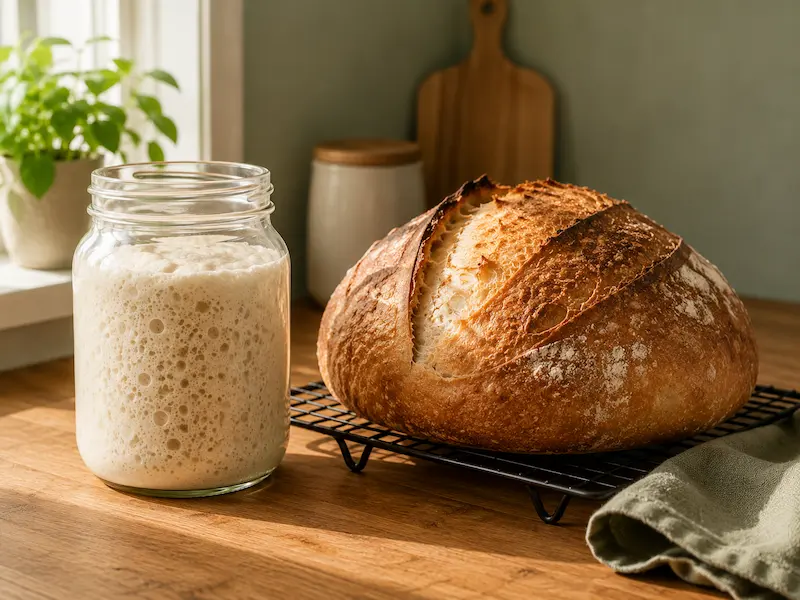
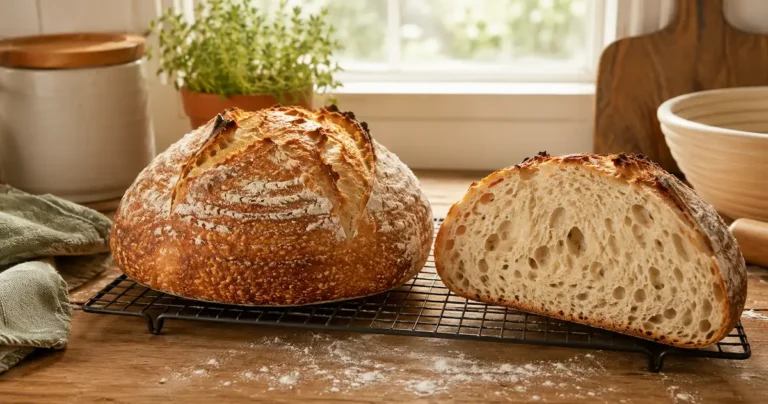
Once it's reliably active, the obvious next move is your first loaf. No Dutch oven, or want to skip the oven altogether? Our sourdough bread without an oven guide works on a stovetop and needs nothing specialist.
Want something small enough to actually finish before it goes stale? The small batch sourdough recipe uses 250g of flour for one loaf — right-sized for a first attempt.
Every feed before baking leaves you with discard. Don't tip it down the sink. Send it straight into sourdough discard recipes instead — pancakes in fifteen minutes, crackers in thirty, flatbread in twenty-five. The starter's earning its keep before you've even baked a single loaf.