DIY All Purpose Cleaner: 3 Recipes That Actually Work
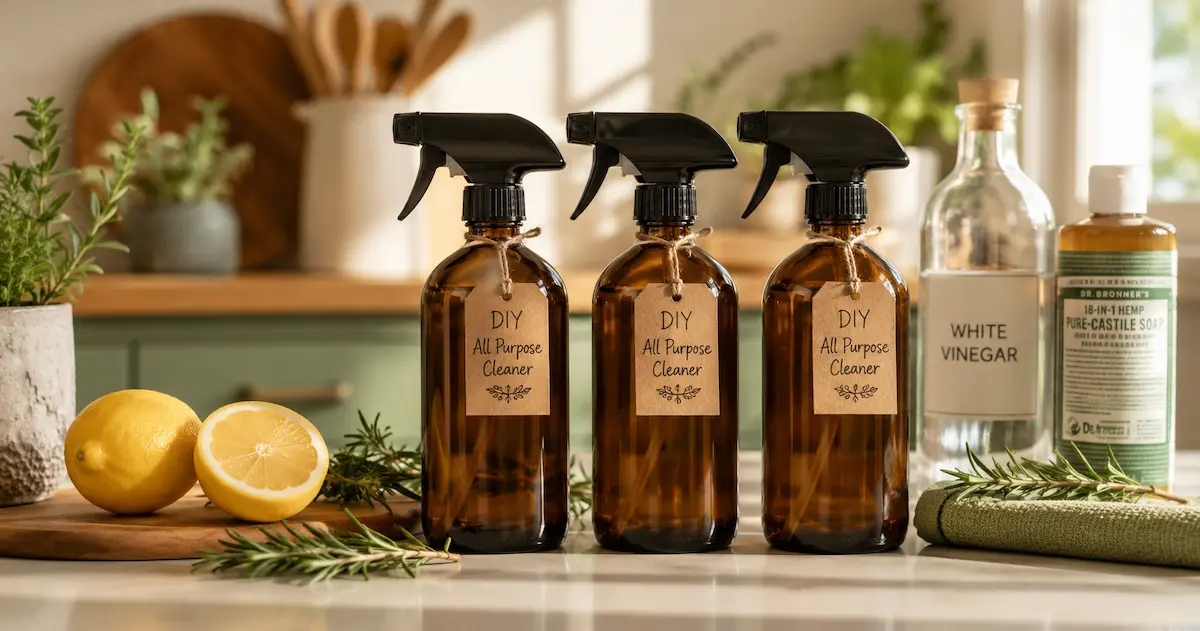
A DIY all purpose cleaner costs under fifty cents to make, takes three minutes to put together, and cleans every surface in your apartment as effectively as any commercial product. It contains no synthetic fragrance, no harsh chemical residue, and comes in a reusable glass bottle rather than a single-use plastic one.
Most commercial all purpose cleaners are 90% water mixed with a surfactant, fragrance, and preservatives — ingredients that cost the manufacturer pennies per bottle but retail for four to six dollars. Making your own DIY all purpose cleaner replaces all of that with three things you likely already have: white vinegar, water, and something that smells good.
This guide covers three homemade all purpose cleaner recipes — one for everyday surfaces, one for kitchens and grease, and one for bathrooms — plus the surfaces you should never use them on and exactly how to store them.
What You Need
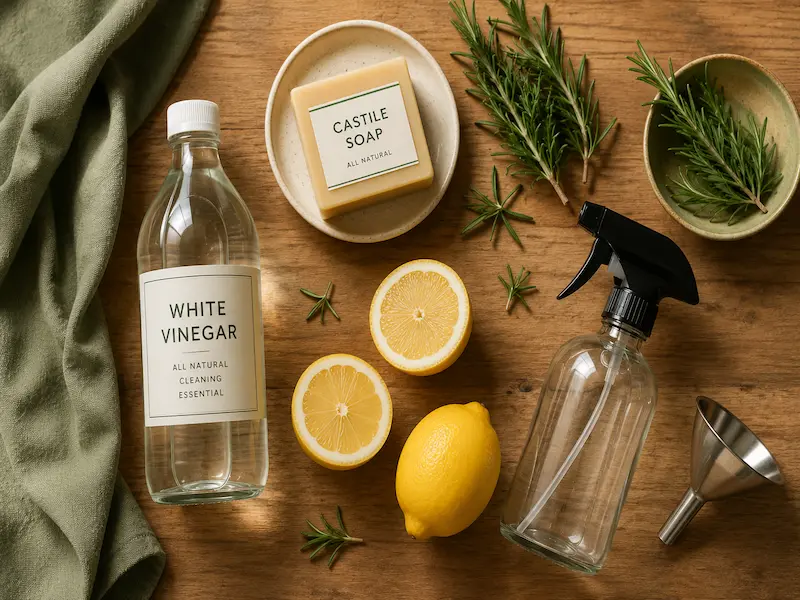
On the bottle: Glass is strongly preferred over plastic for any homemade cleaning spray containing vinegar or essential oils — both can degrade certain plastics over time and leach microplastics into the solution. Amber glass spray bottles are inexpensive and last indefinitely. This is one of the zero waste swaps that genuinely pays for itself within a few weeks — the same is true of a natural laundry detergent made from similarly simple pantry staples.
Recipe 1 — Everyday DIY All Purpose Cleaner
This is the core homemade all purpose cleaner for countertops, appliance exteriors, glass surfaces, mirrors, and general wiping down. It is the recipe you will use most often.
Method: Pour water and vinegar into your glass spray bottle using a funnel. Add lemon peel or essential oil if using. Seal and shake gently to combine. Label clearly and store under the sink or in a cupboard away from direct sunlight.
Best used on: Kitchen countertops, stovetop exteriors, appliance surfaces, glass, mirrors, tiled surfaces, and general household wiping.
Recipe 2 — Kitchen Degreaser
This DIY all purpose cleaner version handles cooking grease on stovetops, range hoods, and splashbacks — situations where the everyday recipe is not strong enough.
Method: Add the water to the bottle first, then the vinegar, then the castile soap. Add the castile soap last and pour it slowly — adding it first causes excessive foaming. Seal, label, and shake gently.
Best used on: Stovetop, range hood, greasy splashbacks, oven exterior, and any cooking surface with built-up grease.
Recipe 3 — Bathroom Homemade Cleaning Spray
This version of the homemade all purpose cleaner uses a higher vinegar concentration for soap scum and limescale, plus castile soap for general bathroom surfaces.
Method: Add water, then vinegar, then castile soap, then tea tree oil. Seal and shake gently. Tea tree oil has genuine antibacterial and antifungal properties that make it particularly suited to bathroom use.
Best used on: Sink, bathtub, shower tiles, toilet exterior, taps, and bathroom mirrors. Do not use on natural stone — see the surfaces to avoid section below.
Surfaces to Never Use Your DIY All Purpose Cleaner On
This is the most important section in this guide. Vinegar is acidic — and acid damages certain surfaces permanently.
How Much Does a Homemade All Purpose Cleaner Save?
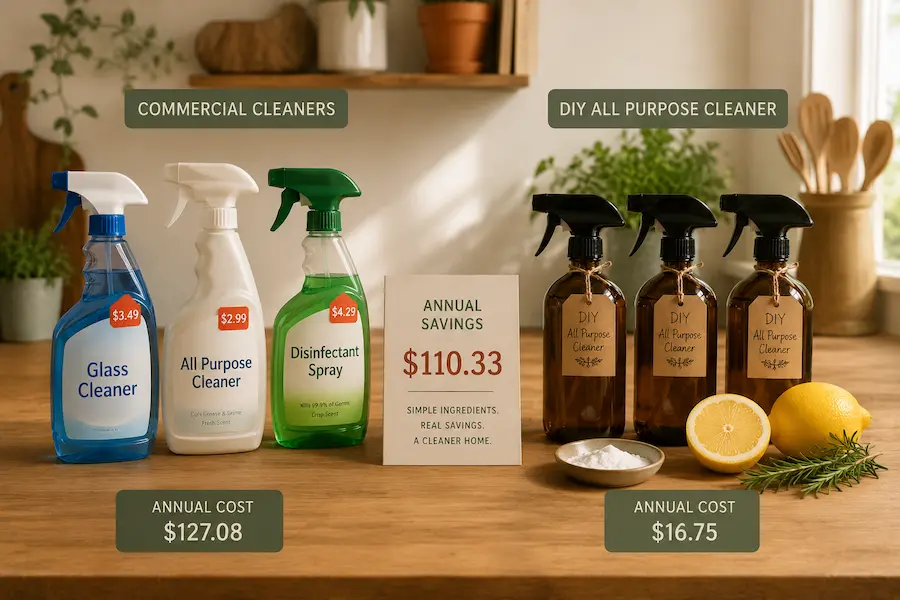
A standard 32oz bottle of commercial all purpose cleaner costs between $4 and $7. The average household uses 3 to 4 bottles per year — spending $15 to $28 annually on one cleaning product alone.
The same quantity of homemade all purpose cleaner costs:
Annual cost of making your own diy all purpose cleaner: approximately $5 to $8 per year after the initial bottle purchase. Annual saving compared to buying commercial products: $10 to $20 per year — plus the elimination of 3 to 4 single-use plastic bottles from your household waste.It is a small saving on its own. Combined with other homemade cleaning products and zero waste swaps like reusable paper towels, the cumulative impact on both your budget and your plastic waste is more meaningful.