Two glass jars of thick creamy homemade yogurt on a wooden counter, one plain with a spoon resting on top and one topped with fresh blueberries and a drizzle of honey, with a small saucepan and milk bottle visible in the background

Homemade Yogurt Recipe: 2 Ingredients, No Yogurt Maker Needed
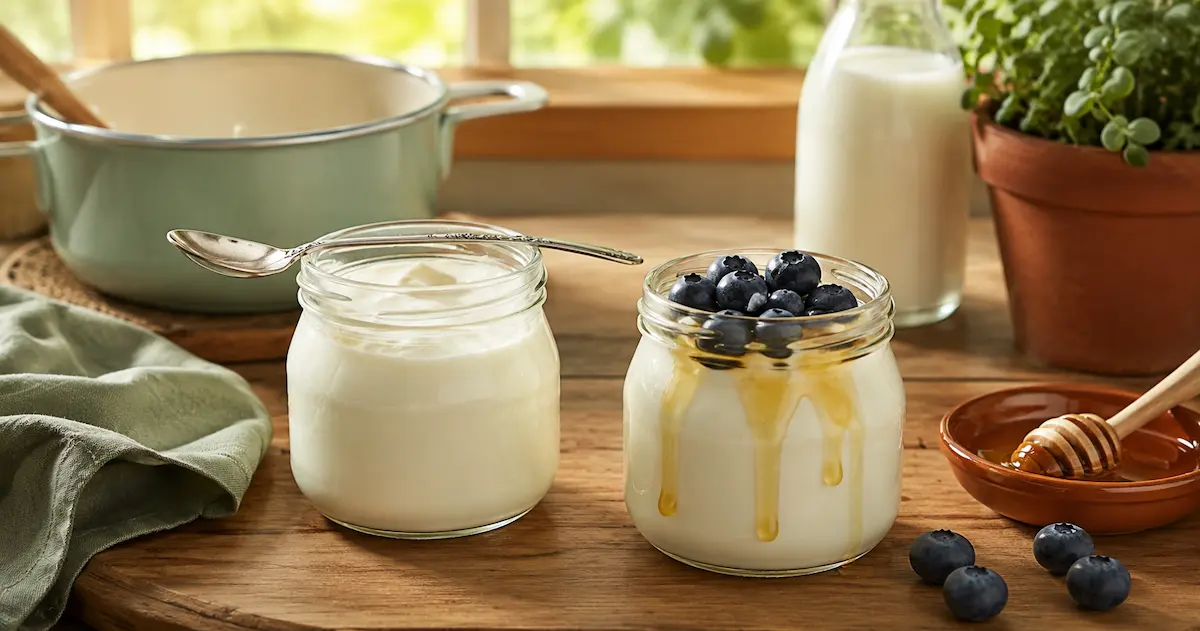
Two glass jars of thick creamy homemade yogurt on a wooden counter, one plain with a spoon resting on top and one topped with fresh blueberries and a drizzle of honey, with a small saucepan and milk bottle visible in the background

This homemade yogurt recipe uses two ingredients — milk and a spoonful of plain yogurt — and produces a thick, creamy result that tastes better than anything from a supermarket. No yogurt maker required. No specialist equipment. Just a saucepan, a mason jar, and your oven light.

Making homemade yogurt is one of the most practical fermentation projects for apartment homesteaders. The cost per batch works out to a fraction of store-bought yogurt, you control exactly what goes into it, and once you have one successful batch the yogurt from that batch becomes the starter for the next — meaning you can make fresh homemade yogurt indefinitely for the cost of milk alone.

This guide covers the exact temperatures, the stovetop method step by step, five ways to incubate without a yogurt maker, and every common problem with a clear fix.

Homemade Yogurt Recipe — At a Glance

Active time15 minutes
Incubation6–8 hours
Total time8–9 hours
Makes1 quart
Keeps2 weeks
DifficultyBeginner

Why Temperature Is Everything in This Recipe

The two critical temperatures

180°F (82°C) — heat the milk to this temperature. Heating the milk kills any unwanted bacteria and creates the right environment for the good bacteria to thrive. It also helps create a thicker yogurt by changing the protein structure of the milk.

110°F (43°C) — cool to this before adding your starter. The temperature must be 108°F to 112°F for yogurt bacteria to grow properly. Too hot and the cultures die. Too cold and they go dormant. This window is the whole game.

What You Need

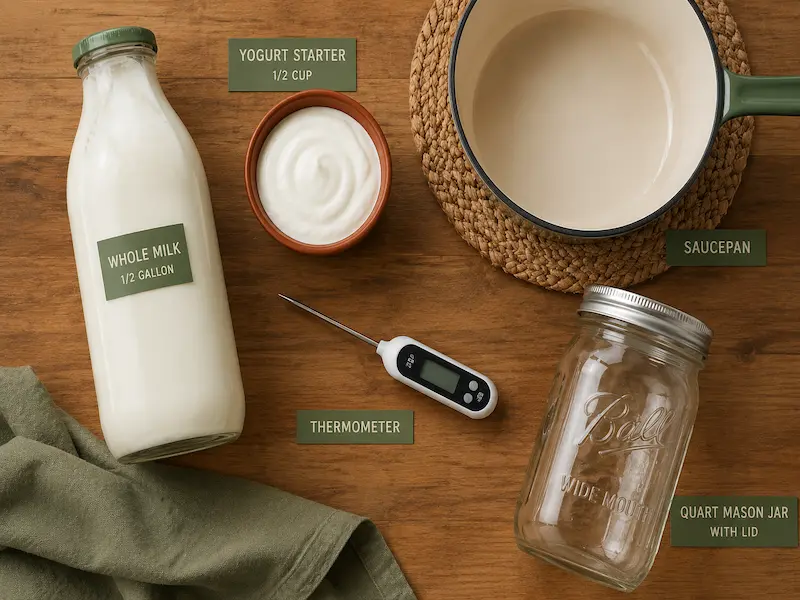
Homemade yogurt recipe ingredients flat lay on a wooden surface including a glass bottle of whole milk, a small dish of plain yogurt starter, a saucepan, a kitchen thermometer, a quart mason jar, and a clean cloth

🥛 Ingredients

  • 1 litre (4 cups) whole milk
  • 3 tablespoons plain yogurt with live cultures — this is your starter

🍶 Equipment

  • Heavy-bottomed saucepan
  • Kitchen thermometer (instant-read)
  • Quart mason jar or glass bowl
  • Whisk
  • Clean cloth or lid

On the starter yogurt: Either Greek or regular yogurt is fine, but avoid any flavorings — stick to plain, unflavored yogurt. Different strains of bacteria have different health benefits, so look for the yogurt with the most cultures listed — some common ones are L. Bulgaricus, S. Thermophilus, L. Acidophilus, Bifidus, and L. Casei. Once you have made your first homemade yogurt batch, save 3 tablespoons to use as the starter for the next one.

On the milk: Whole milk produces the thickest, creamiest homemade yogurt. 2% milk works and produces a lighter result. Skim milk produces a thin, watery yogurt that most people find unsatisfying. For your first plain yogurt recipe, use whole milk

The Homemade Yogurt Recipe — Step by Step

1

Heat the milk to 180°F (82°C)

In a large saucepan, heat milk slowly over low heat to 180°F, or until it is steaming and at a bare simmer with bubbles around the edges but not boiling. Stir the milk occasionally as it heats. This takes around 15 to 20 minutes on medium-low heat. Do not rush it or the milk scorches on the bottom of the pan.

No thermometer? The milk is ready when it steams heavily and small bubbles appear around the edges. It should never reach a full rolling boil.
2

Cool to 110°F (43°C)

Remove the pan from the heat and allow the milk to cool. The fastest method is to set the pan in a sink filled with cold water and ice — this brings the temperature down in about 10 minutes. Stir occasionally during cooling for even temperature reduction. Remove milk from heat and cool milk down to 110°F or lower. It should feel warm but not hot — if you stick your clean finger in the milk for 10 seconds it should feel pleasantly warm but not uncomfortable.

Tip: Do not skip the cooling step. Adding the starter to milk above 115°F kills the cultures and the homemade yogurt recipe will not set.
3

Add the starter

Pour about one cup of the warm milk into a bowl and whisk in 3 tablespoons of your plain yogurt starter until completely smooth. Pour the starter mixture back into the rest of the milk and stir well to distribute the cultures evenly throughout. This even distribution is what produces a consistently set homemade yogurt rather than patchy results.

4

Pour into jars

Pour the inoculated milk into your mason jar or glass bowl. Cover loosely with a clean cloth or lid — do not seal airtight as the cultures need some airflow. The jar is now ready to incubate.

5

Incubate for 6 to 8 hours

Keep the mixture at around 110°F for at least 8 hours to ferment, but preferably closer to 24 hours to get the most probiotics. For most beginners 6 to 8 hours produces a good balanced result — tangy enough to taste like real yogurt but not aggressively sour. The longer it ferments the tangier it gets. See the incubation methods below for how to maintain temperature without a yogurt maker.

Important: Do not move, shake, or stir the jar during incubation. Disturbing the milk before it has set breaks the protein mesh the bacteria are building and produces a runny, grainy result.
6

Refrigerate and set

Once the homemade yogurt has set to your liking — it should jiggle as one mass rather than slosh — transfer to the fridge. If you see any watery whey on the surface of the yogurt, you can either drain this off or whisk it back into the yogurt before transferring to containers. Whisking also gives the yogurt a more consistent creamy texture. The yogurt will firm up further as it chills. Allow at least 2 hours in the fridge before eating. Homemade yogurt keeps for up to 2 weeks refrigerated.

5 Ways to Incubate Homemade Yogurt Without a Yogurt Maker
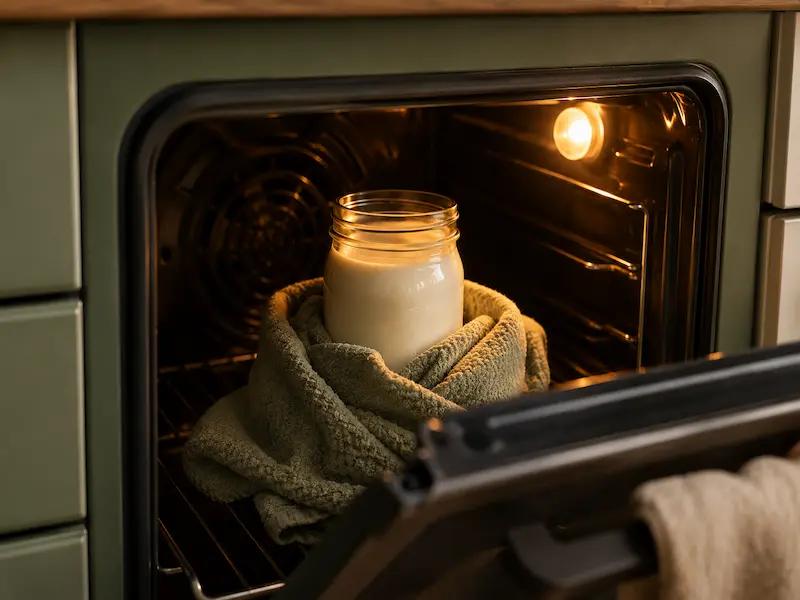
A quart mason jar of homemade yogurt incubating inside an oven with only the light on, wrapped in a kitchen towel for insulation, the amber glow of the oven bulb visible in the background
MethodHow it worksReliability
Oven lightPlace jar in oven with only the light on. Light bulb heat holds 100–110°F in most ovens⭐⭐⭐⭐⭐ Best apartment method
Towel wrapWrap jar tightly in a thick towel, place in a warm spot. Retains heat from the milk itself⭐⭐⭐⭐ Works well in warm kitchens
Cooler with hot waterPlace jar in a small cooler with a jar of hot water. Seal and do not open for 8 hours⭐⭐⭐⭐ Very consistent
Instant Pot yogurt settingUse the built-in yogurt function if your model has it — holds exact temperature automatically⭐⭐⭐⭐⭐ Most reliable overall
Top of refrigeratorThe motor generates mild warmth. Works only in warm kitchens above 70°F⭐⭐⭐ Variable — check temperature first
⭐⭐⭐⭐⭐ Oven Light — Best Apartment Method
HowPlace jar in oven with only the light on
Why it worksBulb holds 100–110°F in most ovens
⭐⭐⭐⭐ Towel Wrap
HowWrap jar tightly in a thick towel
Why it worksRetains heat from the milk itself
⭐⭐⭐⭐ Cooler With Hot Water
HowJar in cooler with a jar of hot water
Why it worksSealed environment holds temperature
⭐⭐⭐⭐⭐ Instant Pot Yogurt Setting
HowBuilt-in yogurt function
Why it worksHolds exact temperature automatically
⭐⭐⭐ Top of Refrigerator
HowMotor generates mild warmth
Why it worksVariable — check temperature first

How to Make Greek Yogurt From This Recipe

Strain your finished plain yogurt recipe through a muslin cloth or clean tea towel set over a bowl. Leave in the fridge for 2 hours for thick Greek-style yogurt or overnight for an even denser, cream-cheese-like consistency. The liquid that drains off is whey — save it and use it in smoothies, bread dough, or soups. Nothing is wasted.

Variations to Try After Your First Batch

  • Vanilla homemade yogurt — stir 1 teaspoon of vanilla extract and 1 tablespoon of honey into the finished yogurt after chilling
  • 24-hour probiotic yogurt — extend incubation to 24 hours for maximum probiotic content and a tangier, more digestible result. Twenty-four hours is the spot where the beneficial bacteria have gobbled up almost all of the lactose in the milk — making it much easier to digest.
  • Coconut milk yogurt — substitute full-fat canned coconut milk for dairy milk. Use the same temperatures and method. Results in a dairy-free homemade yogurt with a mild coconut flavour
  • Labneh — strain overnight as per the Greek yogurt method, then roll the resulting soft cheese in herbs and olive oil. A Middle Eastern staple that starts with this exact plain yogurt recipe

Troubleshooting Your Homemade Yogurt Recipe

Yogurt did not set — still liquid after 8 hours. The most common causes are inactive culture, incubation temperature too high or too low, or inhibitor substances such as detergent residue from dishes. Check that your starter yogurt contained live active cultures, that the milk was cooled to 110°F before adding the starter, and that your jars were rinsed thoroughly. If your kitchen is cold, the incubation environment may simply not have been warm enough — try the oven light method next time.

Yogurt is very runny and thin. Skim or low-fat milk produces thin homemade yogurt. Whole milk gives the best results. You can also add 2 tablespoons of powdered milk to the heated milk before cooling — this increases the protein content and produces a noticeably thicker result.

Yogurt tastes too sour. Incubation time was too long or temperature too high. The longer yogurt sits, the thicker and more tart it becomes. If this is your first time making yogurt, start checking it after 4 hours and stop when it reaches a flavour and consistency you like.

Watery liquid pooling on top. This is whey separating from the curds — completely normal, not a sign of failure. You can either drain this off or whisk it back into the yogurt before transferring to containers.

Starter yogurt has become weak after several batches. After somewhere between 5 to 10 batches where you are using the yogurt from the last batch to make the next, your yogurt will start tasting slightly off. At that point the culture has become weak and you need to restart with a new container of store-bought yogurt.
Frequently Asked Questions

Can I use any plain yogurt as a starter for this homemade yogurt recipe?

Yes — as long as it contains live active cultures, which will be listed on the label. Avoid flavoured or heat-treated yogurts, which have inactive cultures. Greek yogurt works well as a starter too. For your first batch, buy a small tub of good quality plain yogurt and use 3 tablespoons as your starter — then save 3 tablespoons of your finished homemade yogurt to start the next batch.

How long does homemade yogurt last in the fridge?

Properly made homemade yogurt stored in a sealed jar lasts up to 2 weeks in the fridge. It will become slightly more tart over time as the bacteria continue to slowly produce lactic acid in the cold — this is normal and the yogurt remains safe to eat throughout. If it develops an off smell, pink discolouration, or visible mould, discard it.

Do I need a thermometer to make this plain yogurt recipe?

A thermometer makes it significantly easier and more reliable. Without one, heat the milk until it steams heavily and small bubbles appear at the edges (roughly 180°F), then cool until you can hold a clean finger in it comfortably for 10 seconds (roughly 110°F). This finger test is an approximation — a thermometer gives you certainty and eliminates the most common failure points.

Can I make this homemade yogurt recipe with non-dairy milk?

Full-fat canned coconut milk works well using the exact same method and temperatures. Oat milk and almond milk produce thinner results and often need a thickener like tapioca starch added before heating. Soy milk works reasonably well due to its higher protein content. Non-dairy homemade yogurt benefits from a longer incubation time — aim for 10 to 12 hours rather than 6 to 8.

How is homemade yogurt different from other fermented foods like water kefir or sauerkraut?

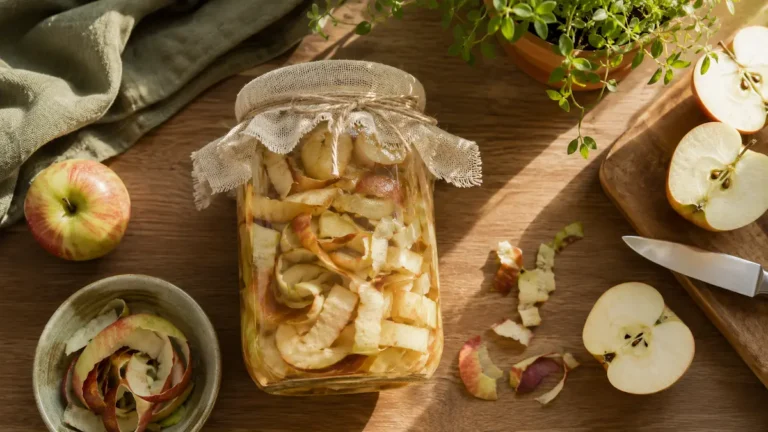
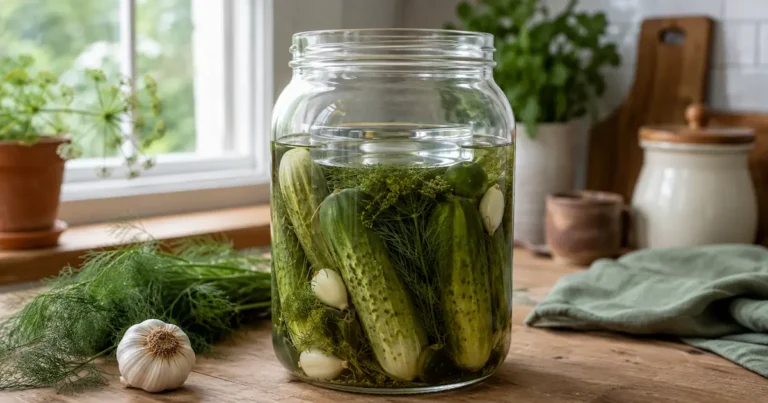
All three use beneficial bacteria to ferment a base ingredient — milk, sugar water, and cabbage respectively. Yogurt uses thermophilic (heat-loving) bacteria that need a warm incubation environment. Water kefir and sauerkraut ferment at room temperature without any heat. If you are building a home fermentation practice, yogurt is a natural companion to the other projects. Read our guides to apple cider vinegar from scraps and homemade sauerkraut to see how they compare.

More Fermentation Projects for Your Apartment Kitchen

🥬

Make sauerkraut next

Just cabbage and salt — the easiest room-temperature ferment and the best place to start.

Sauerkraut Recipe →
🍞

Use your sourdough discard

10 recipes that turn leftover sourdough starter into pancakes, crackers, pizza dough, and more.

Sourdough Discard Recipes →
🍎

Make apple cider vinegar

Turn apple scraps into raw living vinegar for almost zero cost — a 6-week zero waste project.

Apple Cider Vinegar Guide →
🍵

Try kombucha next

Longer wait (7 to 14 days), bigger flavour payoff — the most complex ferment in the lineup once you've got the basics down.

Kombucha Guide →
🌱

See all fermentation projects

Fermentation is one of six apartment homesteading skill areas — see how it all fits together.

Apartment Homesteading Guide →

Similar Posts

Leave a Reply

Your email address will not be published. Required fields are marked *