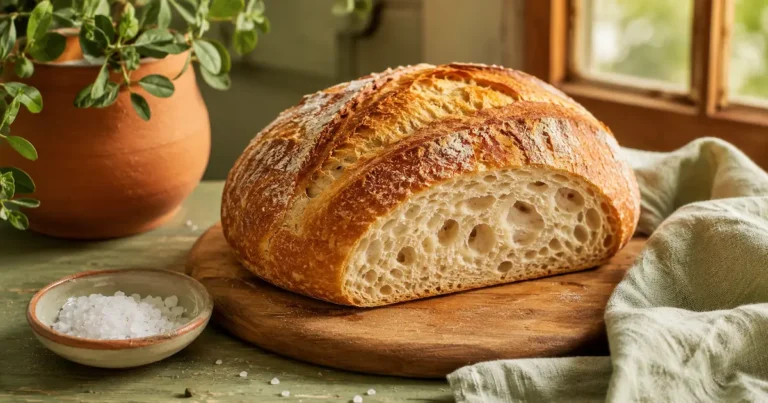
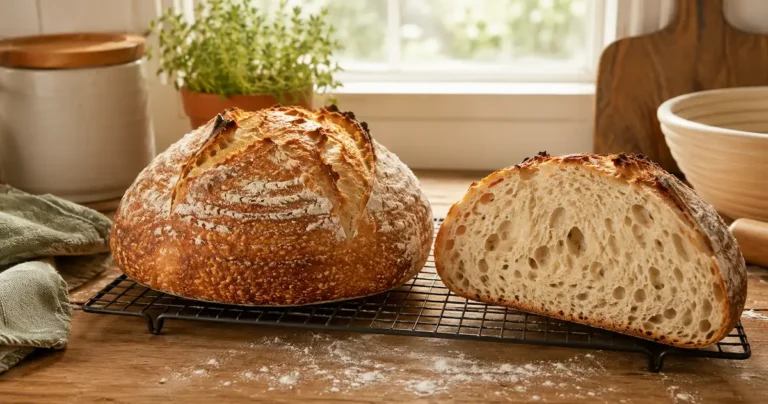
small batch sourdough loaf with golden scored crust on wooden chopping board next to dutch oven on apartment kitchen counter in morning light

Small Batch Sourdough: How to Bake One Perfect Loaf
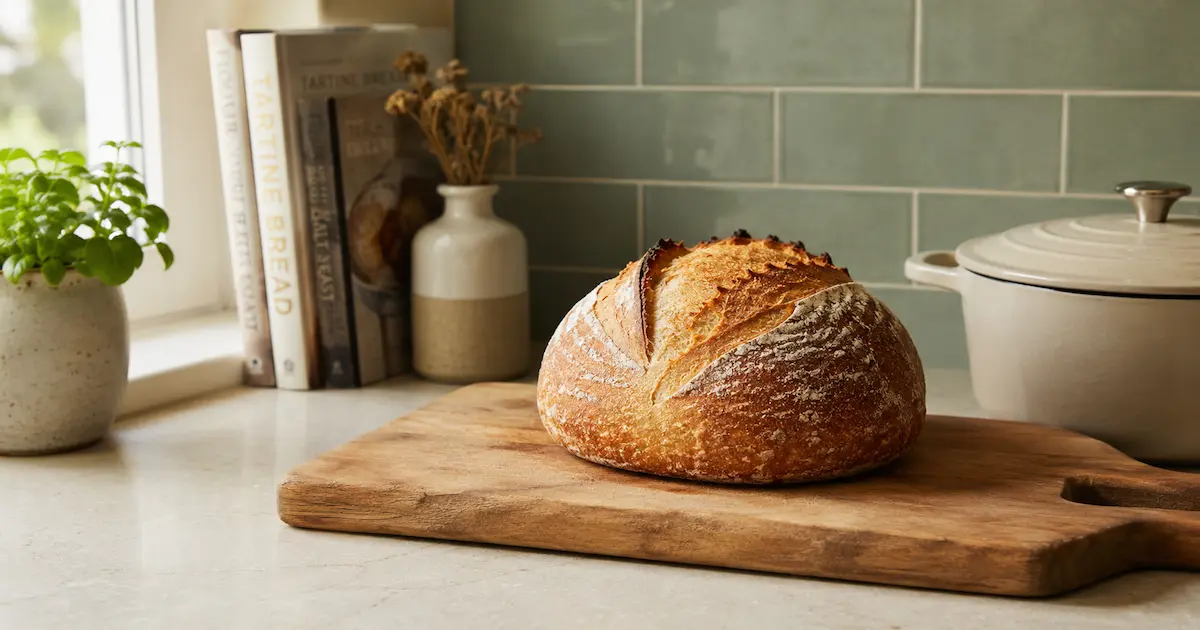
small batch sourdough loaf with golden scored crust on wooden chopping board next to dutch oven on apartment kitchen counter in morning light

If you have ever wanted to bake sourdough but felt overwhelmed by giant recipes that make two or three loaves at once, small batch sourdough is exactly what you need.

This guide walks you through making one perfect small batch sourdough loaf using minimal ingredients, minimal space, and a starter you already have on your counter.

Small batch sourdough is ideal for apartment bakers who do not want a week's worth of bread sitting around going stale. One loaf. No waste. No giant Dutch oven taking up half your kitchen.

In this guide you will learn:

  • What small batch sourdough is and why it works for apartment living
  • Exactly what equipment and ingredients you need
  • How to know your starter is ready to bake with
  • The complete step by step small batch sourdough recipe
  • How to troubleshoot common problems
  • How to store your loaf and variations to try next
  • Let's bake.

What Is Small Batch Sourdough?

Small batch sourdough is a scaled-down version of a traditional sourdough recipe. Instead of making two large loaves you make one smaller loaf — usually around 500 to 600 grams of dough. The process is identical to full-size sourdough but uses less flour, less water, and fits easily in a standard apartment oven.

The keyword here is simplicity. Small batch sourdough gives you all the flavour and satisfaction of homemade bread without committing to a massive bake.

Why Small Batch Sourdough Works for Apartment Living

Most sourdough recipes online are written for home bakers with large kitchens and families to feed. Small batch sourdough solves three real apartment problems:

  • Less waste — one loaf gets eaten before it goes stale
  • Less space — smaller dough is easier to handle in a tiny kitchen
  • Less flour — uses around 250g of flour per bake instead of 500g or more
  • If you are just getting started with sourdough, small batch sourdough is also a lower-stakes way to practice. A failed small loaf costs you far less flour than a failed full batch.

What You Need

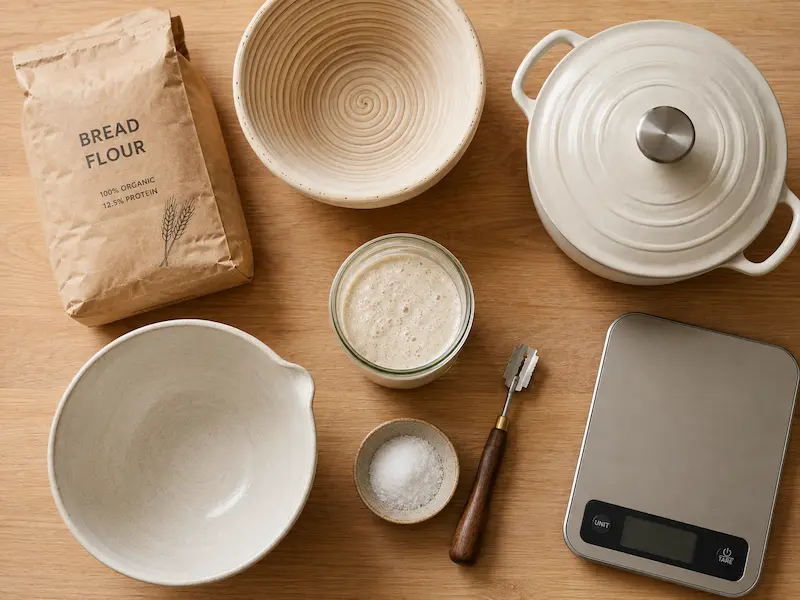
small batch sourdough equipment flat lay including mixing bowl banneton dutch oven bread lame kitchen scale sourdough starter jar and bread flour on wooden surface

Equipment

EquipmentWhy You Need It
Kitchen scaleSourdough requires precise measurements
Medium mixing bowlFor mixing and bulk fermentation
Banneton or small bowlFor shaping and proofing
Dutch oven or cast iron potCreates steam for a good crust
Bread lame or sharp knifeFor scoring before baking
Kitchen Scale
Sourdough requires precise measurements — volume measuring does not work reliably
Medium Mixing Bowl
For mixing the dough and bulk fermentation
Banneton or Small Bowl
For shaping and overnight proofing
Dutch Oven or Cast Iron Pot
Creates the steam environment sourdough needs for good crust and oven spring
Bread Lame or Sharp Knife
For scoring the dough cleanly before baking

Ingredients

IngredientAmount
Bread flour250g
Water (room temperature)185g
Active sourdough starter50g
Salt5g
Bread Flour
250g — higher protein than all-purpose, gives better crumb and crust
Water
185g at room temperature — 74% hydration, ideal for beginners
Active Sourdough Starter
50g — must be active and bubbly before using
Salt
5g fine sea salt — controls fermentation and adds flavour

Hydration: 74% — ideal for beginners. High enough for a good crumb, low enough to handle easily.

How to Know Your Starter Is Ready

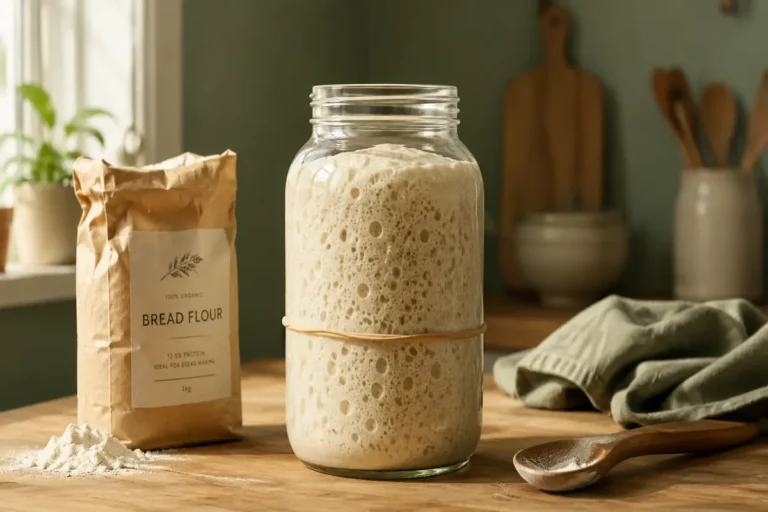
Before making small batch sourdough your starter must be active and bubbly. A starter that is not ready will give you a dense flat loaf.

The float test: Drop a small spoonful of starter into a glass of water. If it floats it is ready. If it sinks wait another hour and test again.
Your starter should have doubled in size since its last feeding and smell pleasantly sour — not like nail polish remover. If it smells like acetone it is hungry — feed it and wait four to six hours before baking.

Small Batch Sourdough Recipe — Step by Step
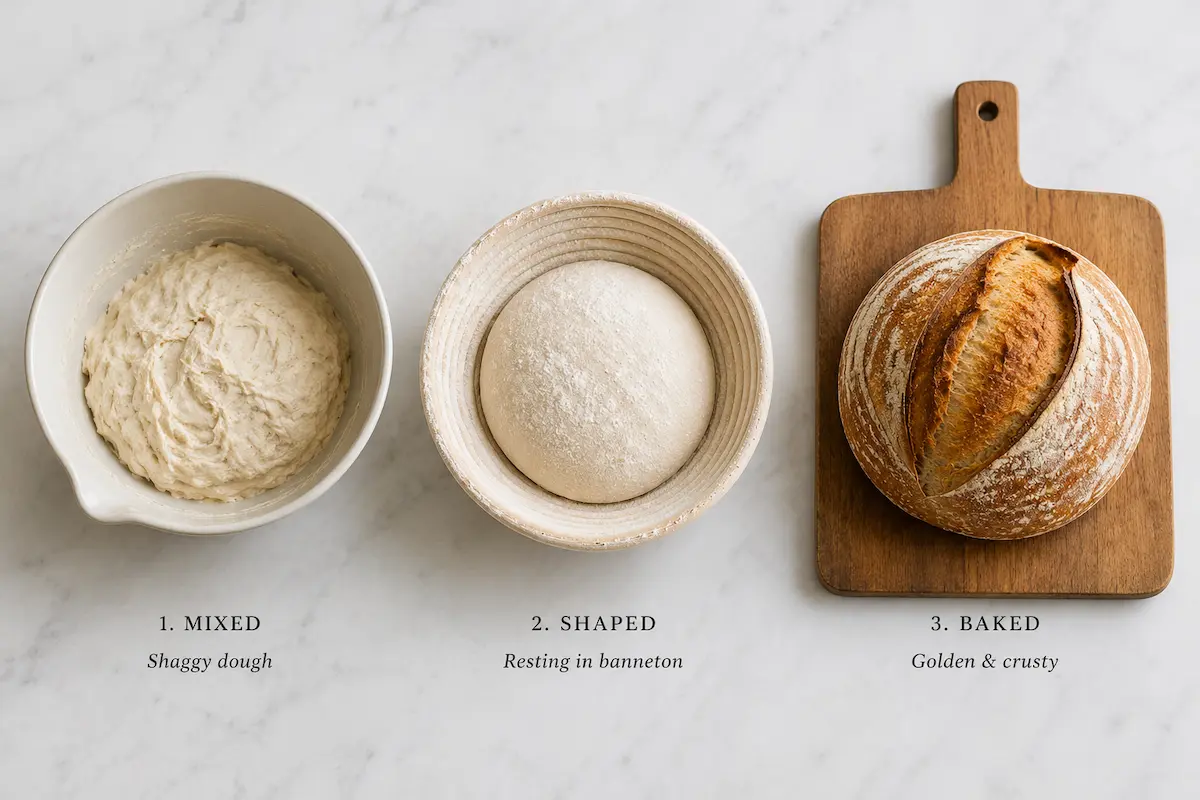
small batch sourdough three stages flat lay showing mixed dough in bowl shaped boule in banneton and finished baked loaf on wooden board

Step 1 — Mix the Dough

In your mixing bowl combine 185g room temperature water and 50g active starter. Stir until the starter dissolves into the water. Add 250g bread flour and 5g salt. Mix until no dry flour remains. The dough will feel shaggy and rough — this is completely normal at this stage.

Cover the bowl with a damp towel and rest for 30 minutes. This rest period is called autolyse and it allows the flour to fully hydrate before you start building structure.

Step 2 — Stretch and Fold

This is where small batch sourdough builds its structure. Instead of kneading you perform a series of gentle stretch and folds.

How to stretch and fold:

  1. Wet your hand slightly to prevent sticking
  2. Grab one side of the dough and stretch it upward as far as it will go without tearing
  3. Fold it over to the opposite side of the bowl
  4. Rotate the bowl 90 degrees and repeat
  5. Do this four times — this completes one set

Stretch and fold schedule:

TimeAction
0:00First stretch and fold
0:30Second stretch and fold
1:00Third stretch and fold
1:30Fourth stretch and fold
2:00Rest undisturbed
0:00 — First Set
First stretch and fold — dough will feel tight and resist stretching
0:30 — Second Set
Second stretch and fold — dough begins to feel smoother
1:00 — Third Set
Third stretch and fold — dough feels more elastic and cohesive
1:30 — Fourth Set
Fourth and final stretch and fold — dough should feel smooth and slightly puffy
2:00 — Rest
Leave undisturbed for the remainder of bulk fermentation

After four sets your small batch sourdough dough should feel smoother, more elastic, and slightly puffy.

Step 3 — Bulk Fermentation

Cover the bowl and leave it at room temperature to ferment. Small batch sourdough bulk fermentation takes 4 to 6 hours at 21 degrees Celsius.

Signs bulk fermentation is complete:

  • Dough has grown by 50 to 75 percent
  • Surface looks bubbly and domed
  • Dough jiggles slightly when you shake the bowl
  • Edges look slightly domed rather than flat

Temperature matters: Warmer kitchens ferment faster. If your apartment runs warm check at 3.5 hours. If it runs cool it may take 7 hours. Watch the dough not the clock.

Step 4 — Shape the Dough

Lightly flour your counter and gently turn the dough out. For small batch sourdough you want to shape a tight round boule:

  1. Fold the top third of the dough down toward the centre
  2. Fold the bottom third up over the top
  3. Fold both sides in to meet in the middle
  4. Flip the dough seam-side down
  5. Use your hands to drag the dough toward you on the counter to create surface tension
  6. Place seam-side up in a well-floured banneton or bowl lined with a floured kitchen towel

Step 5 — Cold Proof Overnight

Cover your shaped small batch sourdough with a shower cap or plastic wrap and refrigerate overnight. Cold proofing develops deeper sour flavour, makes the dough easier to score, and fits any schedule — bake whenever you are ready.

You can cold proof for as little as 8 hours or as long as 16 hours.

Step 6 — Bake

Preheat your oven to 260 degrees Celsius with your Dutch oven inside for at least 45 minutes. A properly preheated pot is essential for small batch sourdough oven spring.

  1. Cut a piece of parchment paper to fit your Dutch oven
  2. Turn cold dough out onto parchment — directly from the fridge
  3. Score the top with a sharp knife or bread lame — one confident slash at 45 degrees
  4. Lower dough into the screaming hot Dutch oven using the parchment as a sling
  5. Put the lid on immediately

Baking schedule:

TimeTemperatureLid
0 to 20 minutes260°C / 500°FOn
20 to 45 minutes230°C / 450°FOff
0 to 20 Minutes — Lid On
260°C / 500°F — trapped steam allows maximum oven spring. Do not open the lid.
20 to 45 Minutes — Lid Off
230°C / 450°F — lid removed to allow crust to colour and harden. Remove when deep brown.

Remove when the crust is deep brown — not golden. Deep brown means fully baked.

Step 7 — Cool Completely

Place your small batch sourdough on a wire rack and wait at least one hour before cutting. Cutting too early releases steam and makes the crumb gummy. The internal temperature should reach 98 degrees Celsius if you have a thermometer.

Troubleshooting Small Batch Sourdough
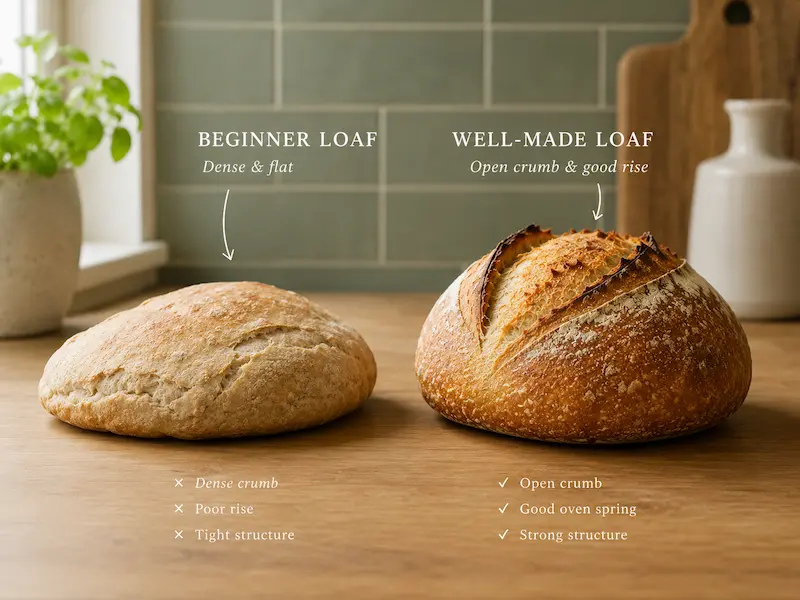
two small sourdough loaves side by side showing dense flat beginner result on left and perfectly risen open crumb loaf on right on wooden surface
ProblemLikely CauseFix
Flat loafStarter not activeDo float test before mixing
Dense crumbUnder-fermentedExtend bulk ferment by 1 hour
Gummy insideCut too earlyWait full hour before slicing
Pale crustOven not hot enoughPreheat minimum 45 minutes
Too sourOver-fermentedReduce bulk time by 30 minutes
Sticky doughToo much waterReduce water to 175g next bake
Flat Loaf
Cause: Starter not active
Fix: Always do the float test before mixing
Dense Crumb
Cause: Under-fermented dough
Fix: Extend bulk fermentation by 1 hour
Gummy Inside
Cause: Cut too early
Fix: Wait full hour before slicing
Pale Crust
Cause: Oven not hot enough
Fix: Preheat for minimum 45 minutes
Too Sour
Cause: Over-fermented
Fix: Reduce bulk fermentation time by 30 minutes
Sticky Dough
Cause: Too much water
Fix: Reduce water to 175g on next bake

How to Store Small Batch Sourdough

Storage MethodDuration
Cut side down on counter2 to 3 days
Paper bag or bread box3 to 4 days
Freezer — slicedUp to 3 months
Counter — Cut Side Down
2 to 3 days — rest cut side down on a wooden board to keep the crumb fresh
Paper Bag or Bread Box
3 to 4 days — paper allows the crust to breathe without going soft
Freezer — Sliced
Up to 3 months — slice before freezing and toast directly from frozen

Never store sourdough in a plastic bag at room temperature — it makes the crust soft and speeds up mould.

Small Batch Sourdough Variations to Try Next

Once you have mastered the basic small batch sourdough recipe try these simple variations:
  • Rosemary and olive oil — add 1 tablespoon olive oil and 1 teaspoon dried rosemary at the mix stage
  • Seeded crust — roll the shaped dough in sesame or sunflower seeds before proofing
  • Whole wheat — replace 50g bread flour with whole wheat flour for a nuttier more complex flavour
  • Garlic and herb — mix in roasted garlic cloves and fresh thyme at the shaping stage

Frequently Asked Questions

Can I use all-purpose flour for small batch sourdough?

Yes. All-purpose flour works but bread flour gives a chewier crumb and better oven spring. If using all-purpose flour reduce the water to 175g to account for the lower protein content which absorbs less water.

What size Dutch oven do I need for small batch sourdough?

A 3.5 to 4.5 quart Dutch oven is ideal for this recipe. A 5 or 6 quart also works — the loaf will spread slightly wider rather than rising as tall. Avoid anything smaller than 3.5 quarts as the loaf will not have room to expand.

Can I make small batch sourdough without a Dutch oven?

Yes. Bake it on a preheated baking stone or sheet pan with a metal bowl placed over the top for the first 20 minutes to trap steam. The result is slightly less dramatic but still produces a genuinely good loaf. Our guide to sourdough bread without an oven covers stovetop alternatives too.

How do I know if my small batch sourdough is over-proofed?

Over-proofed dough feels very slack and does not hold its shape. It collapses or spreads when you try to score it. If this happens bake it anyway — it will still taste good even if it spreads flatter than intended. Use it as a learning experience and reduce your cold proof time next bake.

Can I double this recipe to make two small loaves?

Yes — simply double all the ingredients. The process is identical. You will need to bake the loaves one at a time unless you have two Dutch ovens. Shape the second loaf and keep it in the fridge while the first one bakes.

Final Thoughts

Small batch sourdough is the most practical way to bake real artisan bread in an apartment. One loaf uses minimal ingredients, fits any oven, and gets eaten before it goes stale.

Once you have this small batch sourdough recipe dialled in you will bake it on repeat every week. The process becomes second nature within three or four bakes and the results get noticeably better each time.

Start with this recipe exactly as written. Once it works for you adjust the hydration, fermentation time, and variations to suit your kitchen and your taste.

📌

Found this guide helpful? Save it to your Sourdough Pinterest board so you can come back to it on bake day.

🍞

Getting a dense loaf? Read our complete troubleshooting guide — Why Is My Sourdough Dense? 10 Problems Solved — before your next bake.

🌿

No oven? Read our guide to Sourdough Bread Without an Oven — works on any stovetop anywhere in the world.

🌱

New to sourdough? If you haven't built a starter yet, our sourdough starter guide walks through that first.

🥪

Want a different shape? Try a soft sandwich loaf or a high-hydration focaccia — same starter, two very different results.

🥄

Got sourdough discard piling up? Our sourdough discard recipes collection puts every feeding's trimmings to work.

Similar Posts

Leave a Reply

Your email address will not be published. Required fields are marked *