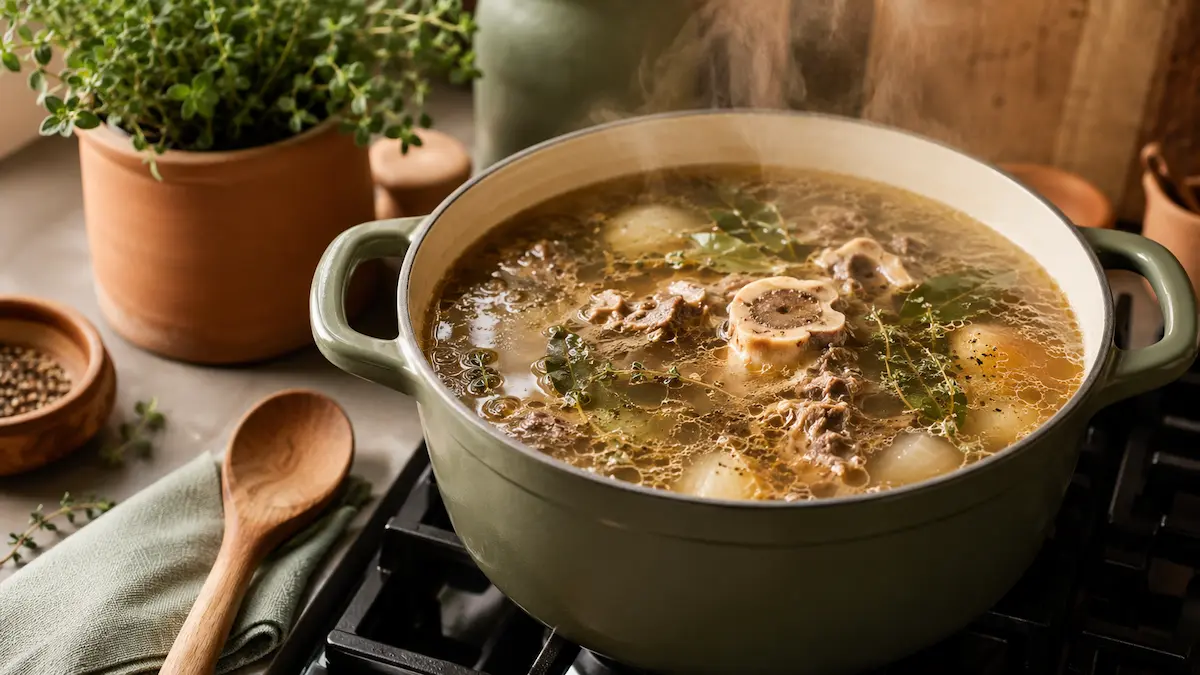
Bone Broth on Stovetop: Easy Recipe & Simmer Times
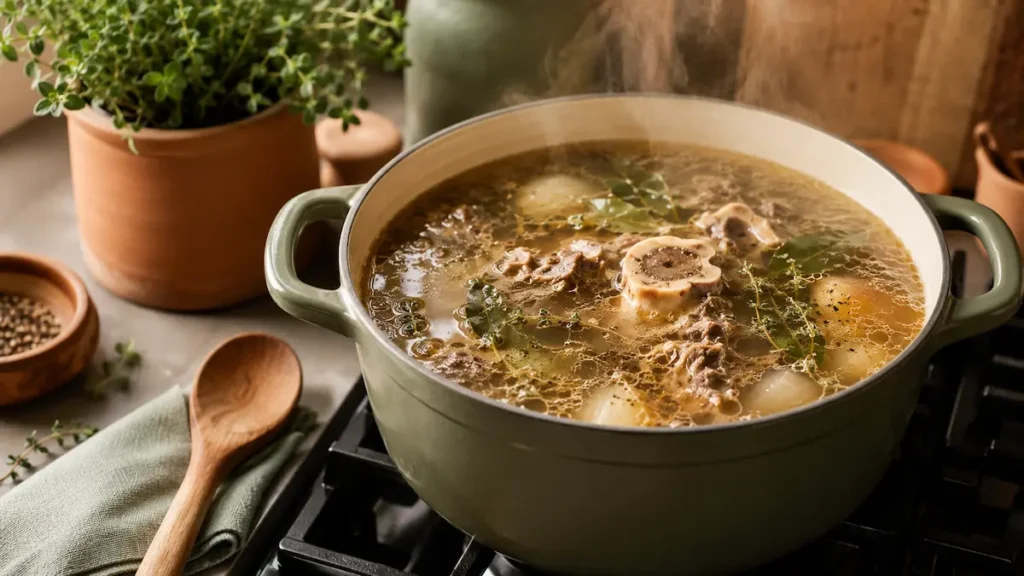
Quick answer: To make bone broth on a stovetop, put chicken or beef bones into a large pot, cover with water, add optional vegetables and aromatics, bring to a boil, then reduce to a gentle, supervised simmer. Start checking the flavor after about 3 to 6 hours for chicken or 4 to 8 hours for beef, adjusting for the type and size of bones. Strain and refrigerate promptly in shallow containers. These are approximate starting ranges, not required minimums.
Bone broth is one of the few apartment homesteading projects that turns something most people throw away — bones — into a kitchen staple worth several dollars a cup at the grocery store.
It needs no special equipment beyond a sturdy stockpot, but a stovetop simmer should be checked regularly and must not be left unattended overnight. The only real skill involved is understanding temperature and time, since that's what separates a rich, gelatinous broth from a thin, flavorless one — and it's also the part that matters most for food safety.
This guide covers the full stovetop method from start to finish, with practical simmer-time ranges, food-safety guidance, and ways to judge the broth by flavor and aroma rather than a rigid clock.
What Is Bone Broth, Really?
Bone broth is made by simmering animal bones — along with some meat, vegetables, and aromatics — in water for an extended period, far longer than a typical soup stock. That extended time is the entire point.
Collagen in connective tissue gradually softens and yields gelatin during moist cooking; there is no single temperature and duration that guarantees a particular broth texture. This is a slow chemical process, not something that happens just by getting the water hot. Flavor and gelatin are released over time, but the amounts vary with the ingredients and cooking conditions. Simmering longer does not guarantee a specific nutrient content or a firm gel.
This is also why bone broth differs from regular stock. Stocks and bone broths both extract flavor and gelatin from bones and connective tissue. A longer simmer can produce a fuller-bodied broth, but no fixed 12-to-24-hour window is required for a useful result; bone type, size, and water quantity matter.
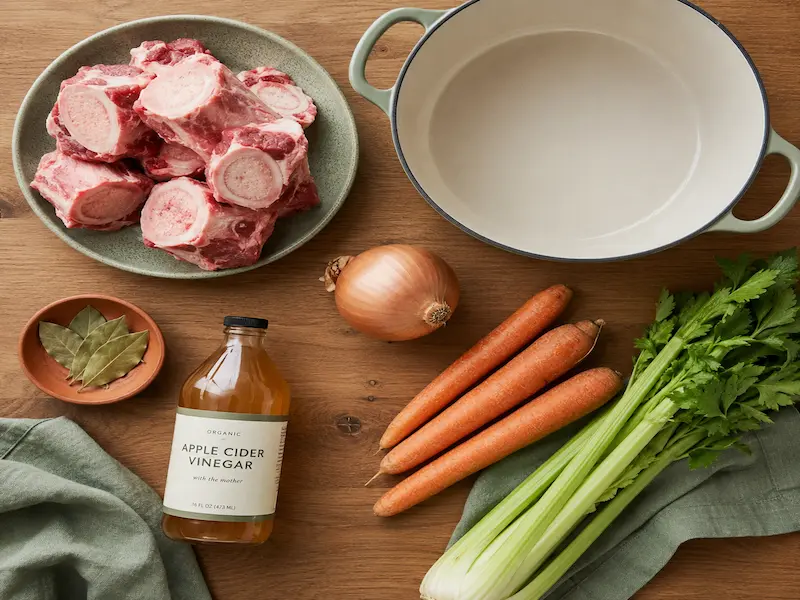
What You'll Need
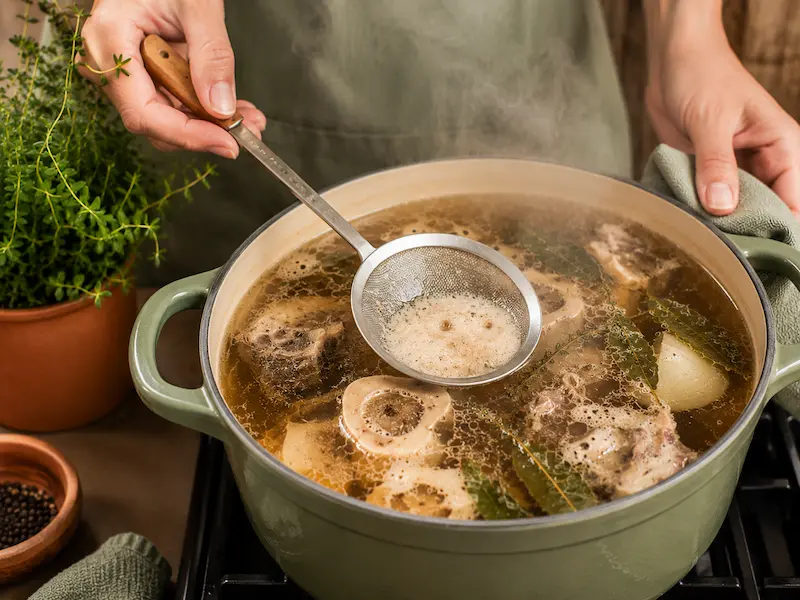
Step-by-Step Instructions
Typical Simmer Times by Bone Type
Cooking time varies with the size and type of bones, how much water you use, and the flavor you want. The ranges below are starting points for gently simmered stock, not minimum safety thresholds or guarantees of a firm gel. Taste as you go and stop when the flavor is developed. For context, see The Culinary Pro's stock-making guidance.
The Food Safety Rules That Actually Matter
Bone broth's long, low simmer makes it different from most cooking projects, and that raises real food safety questions worth answering directly rather than glossing over.
Keep the temperature in the safe zone throughout the simmer. The broth needs to stay hot enough, consistently, to prevent bacterial growth over such a long cook. Maintain a steady, gentle simmer while cooking. USDA guidance identifies 140°F (60°C) as the minimum hot-holding temperature, not the target temperature for simmering. A food thermometer removes the guesswork here, especially while you're still learning what a "gentle simmer" looks like on your specific stove.
Never leave it unattended on a gas stove overnight, full stop. This is a genuine fire safety issue, not just a food safety one. If you want to run a multi-hour or overnight simmer safely, a slow cooker or programmable multi-cooker set to maintain temperature is the safer choice for unattended cooking — both because it removes the open-flame risk and because the USDA recommends keeping these appliances at or above 140°F throughout the process specifically to prevent bacterial growth. On a stovetop, plan to be home and awake to monitor the pot, or switch it to a slow cooker before you leave or go to bed.
Cool the finished broth quickly — this is the step people skip. Once your broth is done, the single most important food safety step is cooling it fast rather than leaving the hot pot sitting on the counter or stove for hours, which is exactly the temperature range bacteria multiply fastest in. The fastest way to do this at home is to strain the broth into a few smaller, shallower containers rather than one large pot, since smaller volumes lose heat far faster. Placing those containers in an ice bath, or even just spreading the bones and solids out on a tray to cool separately from the liquid, speeds things up considerably. Transfer the broth to shallow containers and refrigerate within two hours of finishing (within one hour if the surrounding temperature is above 90°F/32°C); use an ice bath to speed cooling. See USDA guidance on cooling leftovers.
Once refrigerated, use it within 4 days, or freeze it. Cooked bone broth doesn't last indefinitely in the fridge. If you won't use it within four days, freeze it — broth freezes extremely well and loses very little quality.
How to Judge Broth Flavor and Body
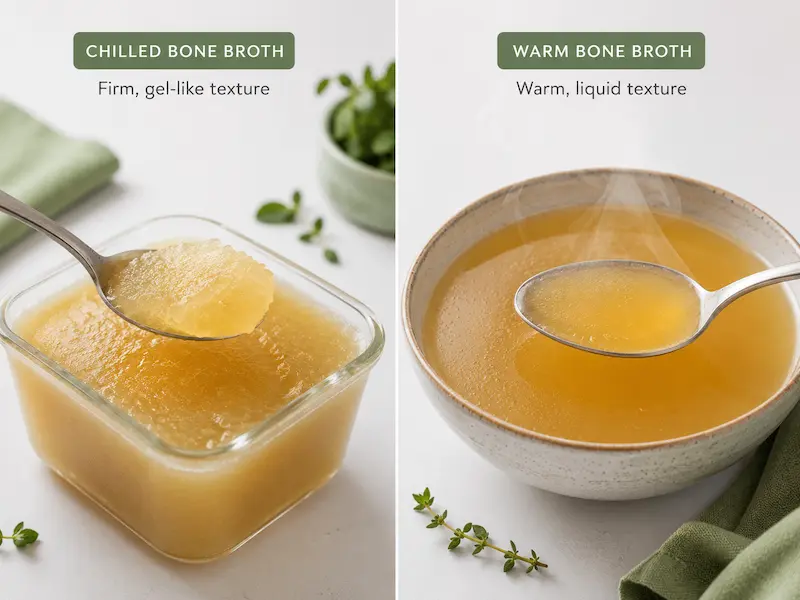
A refrigerated gel can indicate a gelatin-rich broth, but it is not a reliable test of doneness, extraction completeness, or food safety.
Spoon a small amount of the finished broth into a dish and chill it in the fridge for an hour. Broth with enough dissolved gelatin may set into a jelly-like consistency when chilled, but some well-made broths remain liquid. A liquid result may reflect fewer collagen-rich bones, more water, or a less concentrated broth; adding time alone is not always the answer.
A few other cues worth checking alongside the gel test: the broth should coat the back of a spoon with noticeable body, color can vary widely according to the bones, roasting, and other ingredients. Meat and connective tissue should also separate easily from the bones by the time you strain it.
Common Troubleshooting
My broth is cloudy instead of clear. A vigorous boil may suspend particles and make broth cloudy, but cloudiness has several possible causes and is not by itself proof of spoilage. Keep the temperature below a rolling boil throughout the cook, and skim the foam thoroughly during that first hour — both make a noticeable difference in clarity.
My broth didn't gel at all. A broth can taste excellent without setting into a gel. The amount of cartilage and connective tissue, water quantity, and reduction all affect the texture. For more body, use more collagen-rich bones or less water next time; do not treat gel formation as a safety or doneness test.
My broth tastes bitter. Cooking certain ingredients for too long, especially fish bones and some vegetables, may create harsh flavors; overly high heat can also affect the result. This happens most often with fish broth, which cooks faster than people expect.
I'm nervous about leaving it simmering for that long. That instinct is reasonable, especially on a gas stove. Switch to a slow cooker or a programmable multi-cooker for any simmer you can't personally supervise — both hold a safe, steady temperature without the fire risk of an unattended open flame.
Storage and Freezing
Bone broth is one of the most freezer-friendly things you can make at home. Once cooled and refrigerated, portion it into freezer-safe containers, silicone cube trays for small portions, or freezer bags laid flat to save space. Frozen bone broth keeps well for several months and thaws quickly in the fridge or directly in a pot over low heat. Freezing in smaller portions — a cup at a time, or ice cube portions for cooking — means you can pull out exactly what you need without thawing an entire batch.