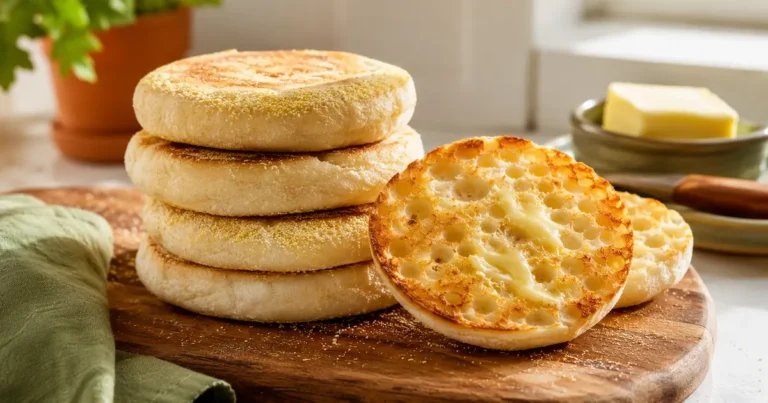

Sourdough Pizza Dough Recipe: Chewy, Crisp Crust

This sourdough pizza dough recipe makes a crust that is chewy inside, crisp on the bottom, and blistered around the edges, with a mild tang from natural fermentation. It uses four core ingredients, a little patience, and an active sourdough starter. No stand mixer or commercial yeast is needed, and you can bake it in a standard home oven.
I wrote this recipe with apartment kitchens in mind. It includes a cast-iron skillet method for cooks without a pizza stone or steel, plus a flexible schedule for cold fermentation. Below are the ingredient weights, timeline, step-by-step instructions, baking options, and troubleshooting tips.
Sourdough Pizza Dough Recipe at a Glance
- Makes: 3 pizzas, about 12 inches each (serves 3 to 6)
- Hands-on time: About 45–60 minutes in total, spread across mixing, folds, shaping, and baking; actual time varies with your equipment and toppings
- Cold-fermented version: About 2–4 calendar days, including a 24–72-hour refrigerator rest
- Same-day version: About 5–7 hours, depending on starter activity and room temperature
- Hydration: About 68%, assuming a 100%-hydration starter (equal weights flour and water)
- Best for: Home cooks who want chewy, flavorful pizza without commercial yeast or specialist equipment
Ingredients for This Sourdough Pizza Dough Recipe
Weighing the ingredients makes pizza dough more consistent. The gram measurements are the most reliable; cup measures are approximate because flour volume varies with how it is scooped and packed.
- 500 g bread flour or all-purpose flour (about 4 cups, spooned and leveled)
- 325 g lukewarm water (about 1⅓ cups)
- 100 g active sourdough starter, fed and visibly active (about ½ cup; timing varies)
- 10 g fine salt (weigh for accuracy; teaspoon measures vary by salt type and brand)
- 1 tablespoon olive oil, optional, for a slightly softer crumb
- Semolina or extra flour, for shaping
Ingredient notes
Flour. Bread flour usually gives a chewier, more elastic crust. All-purpose flour works too and may give a slightly softer bite. Italian “00” flour is also an option, but it is not necessary. If your dough feels unusually slack with your flour, hold back 15–20 g of water at first and add it only if needed.
Starter. Use an active starter that has risen noticeably after feeding and looks bubbly. The time it takes depends on the starter, feeding ratio, and room temperature, so watch its activity rather than relying only on a fixed number of hours. A sluggish starter is a common reason dough rises slowly. If yours is new or inconsistent, see my guide to making a sourdough starter. Discard can add flavor, but unfed discard alone may not raise this dough reliably; save it for these sourdough discard recipes.
Water. Lukewarm water, around 80–85°F (27–29°C), can help fermentation get started. Avoid hot water, which may harm the starter’s microbes. Cooler water is fine but can slow fermentation.
Salt. Do not skip it. Salt adds flavor and affects dough strength and fermentation. Weigh 10 g for the most consistent result; volume measures vary with crystal size.
Olive oil. The oil is optional and changes the dough slightly. Without oil, the recipe makes about 935 g of dough; with a tablespoon of oil, it makes roughly 949 g. Divide into three equal portions—the balls will be about 312–316 g each, depending on whether you use the oil and on small weighing losses.
Timeline: From Mixing to Baking
Cold fermentation develops flavor and can make the dough easier to stretch. The schedule below is a guide, not a guarantee: starter activity and room temperature affect how quickly dough rises. Follow the dough’s appearance as well as the clock.
| When | What You Do | Time Needed |
|---|---|---|
| Day 1, morning | Feed your starter if it needs feeding | 5 minutes active |
| Day 1, later | Mix the dough and rest it for 30 minutes once the starter is active | About 15 minutes active |
| During the first part of fermentation | Do 3 sets of stretch and folds, about 30 minutes apart | About 10 minutes active total |
| After the folds | Let the dough rise until it is puffy and has grown by roughly 50–75%; this may take several hours from mixing | Variable; watch the dough |
| After the first rise | Divide into 3 equal portions, shape into balls, cover, and refrigerate | About 15 minutes active |
| Baking day | Warm the dough, preheat the oven and baking surface, then stretch, top, and bake | About 1 hour, depending on oven and batches |
How to Make This Sourdough Pizza Dough Recipe, Step by Step
1. Mix the dough
In a large bowl, stir together the water and starter until the starter mostly dissolves. Add the flour and salt (and the olive oil, if using). Mix with a wet hand or spatula until no dry flour remains. The dough will look shaggy and sticky at first. Cover and rest for 30 minutes.
2. Stretch and fold
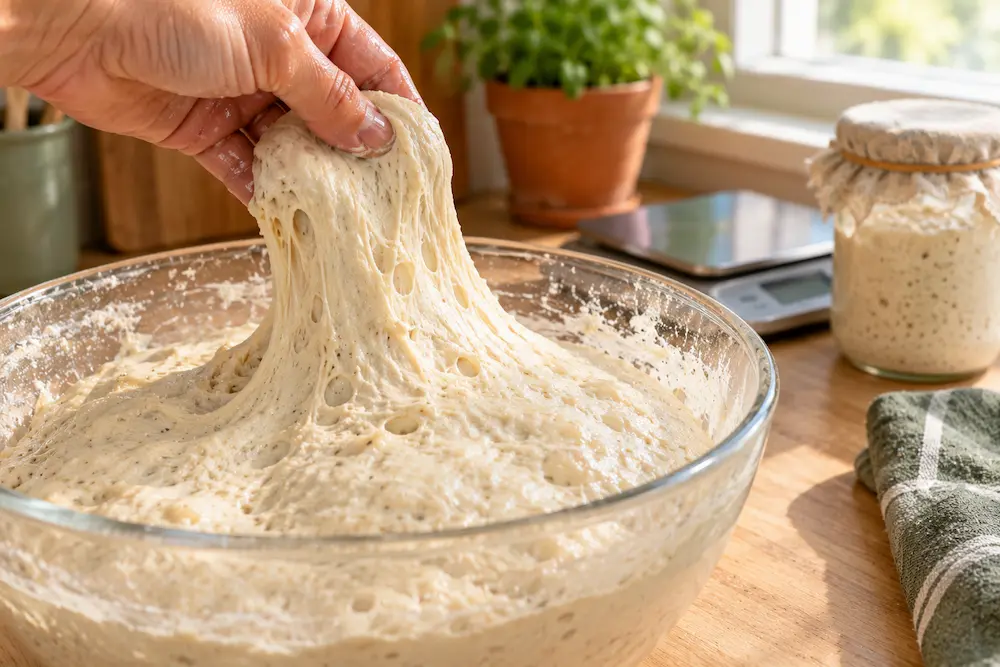
With wet fingers, grab one side of the dough, stretch it gently upward, and fold it over the center. Turn the bowl a quarter turn and repeat until you have made four folds. Cover the bowl. Repeat twice more, about 30 minutes apart, for three sets total. The dough should become smoother and more elastic with each round.
3. Let it rise
After the last fold, leave the covered dough at room temperature until it has grown by roughly 50–75%, looks puffy, and shows a few bubbles around the edges. At around 72–75°F (22–24°C), this may take about 3–5 hours from mixing, but starter strength and dough temperature make a difference. A cool kitchen may take longer; a warm one may be faster. Watch the dough rather than the clock.
4. Divide and shape into balls
Turn the dough onto a lightly floured surface and divide it into three equal pieces. Depending on whether you use olive oil and on small handling losses, each piece should weigh roughly 310–316 g. Fold the edges of each piece into the center, flip it seam side down, and gently drag it across the counter in a small circle to tighten it into a smooth ball.
5. Cold ferment
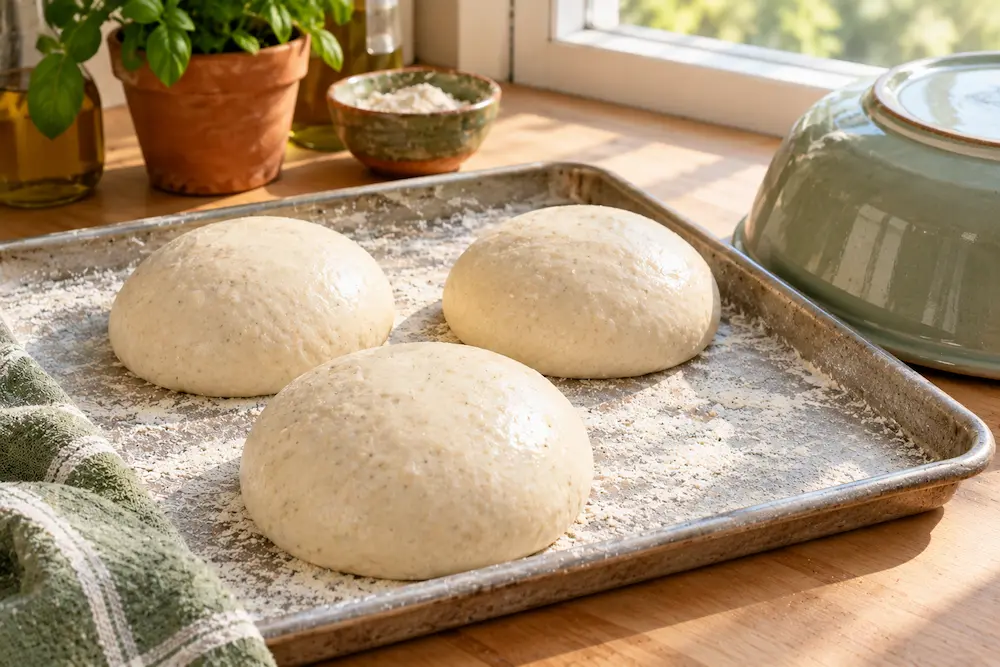
Place each ball in a lightly oiled container with a lid, or on a floured tray covered with an upturned bowl or food-safe wrap. Refrigerate for 24–72 hours. A longer cold rest often produces a more developed, tangier flavor, but the dough can become softer and more difficult to handle as fermentation continues. Around 48 hours is a useful starting point.
6. Warm up before baking
About 1–2 hours before baking, take the dough out of the fridge and let it sit covered on the counter. The exact time depends on room temperature and dough temperature. Cold dough tends to be stiff and spring back; slightly warmed dough is usually more relaxed and easier to shape.
7. Stretch the dough
Dust the counter with flour or semolina and place a dough ball on it. Press from the center outward with your fingertips, leaving a slightly thicker rim. Lift the dough and let gravity stretch it over the backs of your knuckles, rotating as you go. Aim for about 12 inches. If it keeps shrinking back, let it rest for 5–10 minutes and try again. Avoid a rolling pin if you want to preserve more of the air bubbles around the edge.
8. Top and bake
Use a light layer of sauce, a modest amount of cheese, and a few toppings. Wet or heavy toppings can make the center soggy. Transfer the pizza to your preheated baking surface and bake until the crust is deeply golden with darker spots and the cheese is bubbling. Baking time varies with oven temperature, topping load, and the surface you use.
How to Bake Sourdough Pizza in a Home Oven
High heat helps create a crisp base. Set the oven to its highest suitable temperature—often 500–550°F (260–290°C)—and preheat the baking surface for at least 45 minutes if the equipment manufacturer permits that temperature. Check the temperature rating of your stone, steel, or baking sheet before preheating.
- Pizza steel or stone: A preheated steel or stone can help make a crisp base. Bake each pizza for roughly 6–9 minutes, adjusting for your oven and toppings.
- Inverted baking sheet: A sturdy, rimmed baking sheet flipped upside down can serve as a substitute if its manufacturer rates it for your oven temperature. Thin sheets can warp at high heat, so do not assume every sheet is suitable. Bake for roughly 8–10 minutes, adjusting as needed.
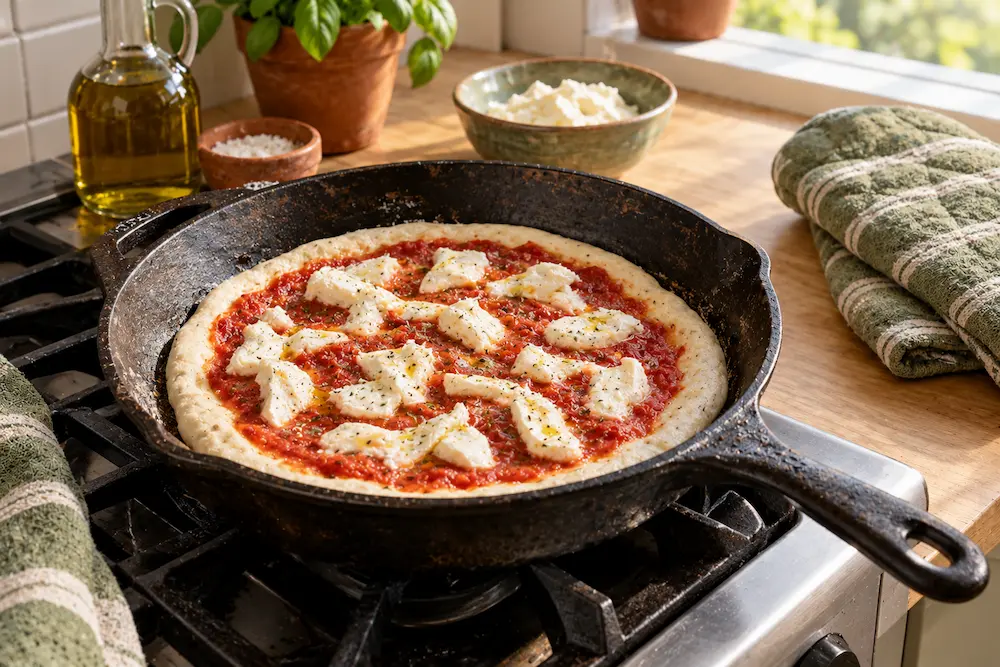
- Cast-iron skillet: Use an oven- and broiler-safe skillet. Add about a teaspoon of olive oil and preheat it on the stovetop over medium-high heat for a few minutes. Lay in the stretched dough, add toppings, and cook for 2–3 minutes until the bottom begins to set. Move the skillet under a hot broiler, with the rack in the upper third of the oven, for another 2–4 minutes until the top is bubbling. The handle becomes extremely hot; use a suitable oven mitt and keep the hot skillet on a heat-safe surface.
Fixing Sticky, Flat, or Dense Pizza Dough
- The dough did not rise: The starter may have been weak, or the room may have been cool. Give the dough more time and check that your starter rises reliably after feeding. See my article on why sourdough goes dense for more troubleshooting.
- The dough is too sticky to handle: Use wet hands during folds and flour the surface lightly when shaping rather than adding lots of extra flour. If your flour absorbs less water, reduce the water by 15–20 g next time.
- The dough keeps shrinking when stretched: It may be too cold or the gluten may need to relax. Cover and rest it for 5–10 minutes before trying again.
- The crust is pale and soft: The oven or baking surface may not have been hot enough. Preheat thoroughly and try baking on a lower rack if the top browns before the base.
- The center is soggy: Use less sauce and fewer wet toppings, and pat wet ingredients dry before adding them.
- The crust is dense and bready: The dough may be underproofed, too thick, or handled roughly during shaping. Let it rise until puffy and stretch it gently.
- The dough smells strongly alcoholic or is very sour: It may have fermented too long for the texture and flavor you want. Shorten the cold ferment next time or adjust the starter amount after testing a batch.
Variations: Whole Wheat, Same-Day, and Pan-Style
- Whole wheat: Replace up to 100 g of the flour with whole-wheat flour. Whole grains absorb more water, so add extra water gradually only if the dough feels stiff.
- Same-day sourdough pizza dough: Skip the refrigerator ferment. After the first rise, divide and shape the dough balls, then let them rest covered for 30–60 minutes before stretching. Depending on starter activity and room temperature, allow about 5–7 hours from mixing to baking. The flavor will be milder than the cold-fermented version.
- Thicker, pan-style crust: Press a dough ball into an oiled 10-inch cast-iron skillet or suitable baking pan, let it puff for 30–45 minutes, then top and bake at 450–475°F. If you like this style, my sourdough focaccia takes a similar approach.
- Garlic knots or breadsticks: Shape portions of dough into strips or knots, brush with garlic butter if desired, and bake until golden.
- Calzones: Fold stretched dough over cheese and fillings, seal the edge, and bake at a suitable high oven temperature until browned and cooked through.
Storing and Freezing the Dough
Refrigerator. For best handling, use the dough within about 3 days. Beyond that, it may become very sour, slack, and harder to stretch. Fermentation speed varies, so assess the dough’s condition rather than relying on time alone.
Freezer. To freeze, shape the dough into balls after dividing, lightly oil them, and freeze separately in suitable freezer bags or containers. For best quality, use within 2–3 months. Thaw overnight in the refrigerator, then let the dough sit covered at room temperature for 1–2 hours or until pliable before stretching. The texture and rise may differ slightly after freezing.
Baked pizza. Refrigerate leftover slices promptly and use within 3–4 days. Reheat in a hot skillet or oven to help crisp the base; follow standard food-safety guidance for leftovers.
Sourdough vs. Yeast Pizza Dough
Sourdough adds flavor through a longer fermentation and can produce a crust with a chewy crumb and crisp edge. Once you maintain a starter, the main ingredients are inexpensive, although exact cost depends on local flour prices and the toppings you use. The trade-off is planning: this dough needs an active starter and, for the cold-fermented version, at least a day in the refrigerator, so it works best when you plan ahead.

Frequently Asked Questions
How do I know my starter is ready for pizza dough?
Use an active starter that has risen noticeably after feeding and looks bubbly. Timing varies with the starter, feeding ratio, and room temperature, so look for signs of activity rather than relying only on a 4–8-hour window.
Can I use sourdough discard in pizza dough?
Discard can add flavor, but unfed discard alone may not raise the dough reliably. For this naturally leavened recipe, use an active starter. Save discard for crackers, pancakes, and other recipes designed for it.
How do I stop sourdough pizza from sticking to the peel?
Stretch the dough on a surface dusted with semolina or flour, shake it gently before topping, and top quickly so it does not sit and soften. Slide it from a rimless baking sheet or cutting board dusted with semolina. If it sticks, lift the edge and dust a little more underneath before sliding.
Can I make sourdough pizza dough without a kitchen scale?
Yes, but expect more variation. Spoon flour into the cup and level it instead of scooping. Use about 1⅓ cups of water and judge by feel: the dough should be soft and tacky, not soupy. If it is too slack, work in a little flour; if it is stiff, add water a teaspoon at a time.
Is 24 or 72 hours better for the cold ferment?
A 24-hour ferment usually gives a milder flavor. Around 48 hours often produces a more developed tang, while 72 hours can make the dough more sour and slack. Results depend on starter activity and refrigerator temperature, so check that the dough is still manageable.
Keep Baking with Your Starter
Once this sourdough pizza dough recipe is in your rotation, it can become an easy way to use your starter. For more small-kitchen sourdough ideas, try these guides: