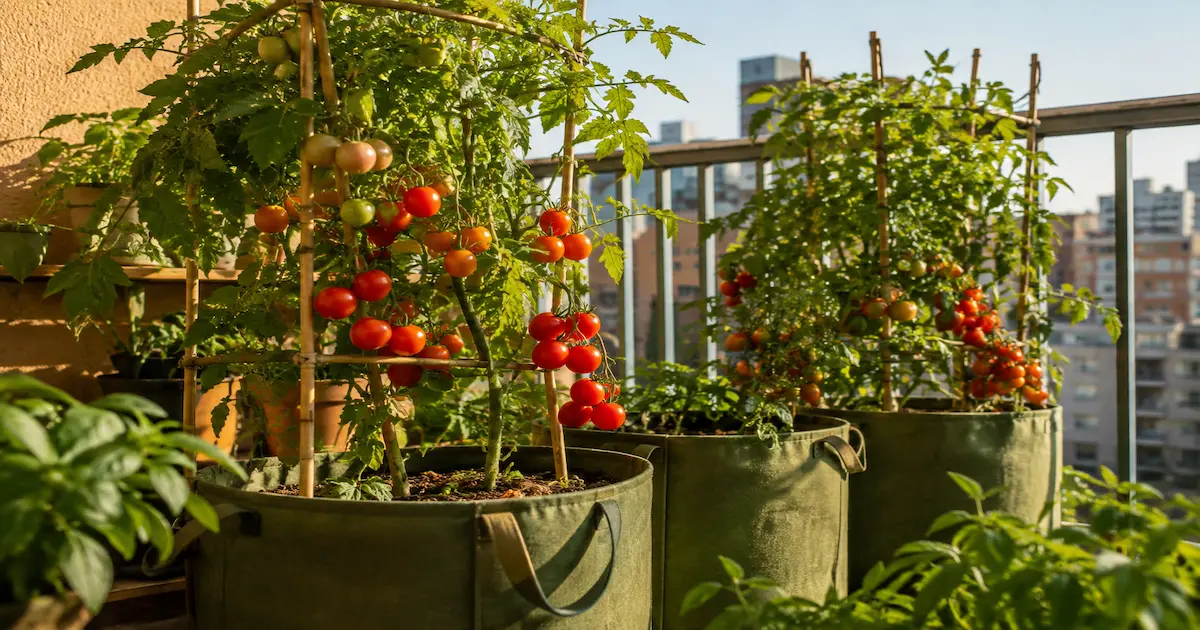
Growing Tomatoes in Containers: A Complete Guide for Small Spaces
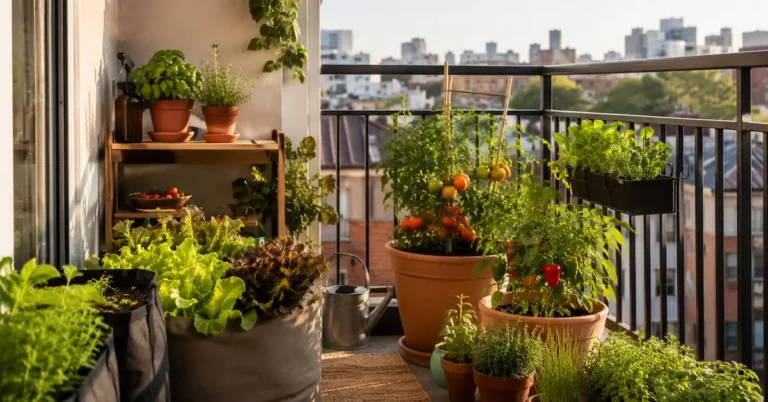
Tomatoes are one of the first crops most renters try, and one of the first to disappoint them. A single leggy plant in a pot too small for its roots, starved of sun for half the day, rarely produces more than a handful of fruit before it gives up. The good news is that tomatoes are also one of the most forgiving vegetables to grow in containers once you match the variety to the space and give the roots room to actually work. This guide walks through choosing the right plant, sizing the container correctly, and keeping the plant alive long enough to fruit — even if all you have is a balcony railing or a sunny patch of concrete.
Why Containers Change Everything
In open ground, a tomato plant can send roots down two feet or more, pulling in water and nutrients from a wide area with no help from you. In a container, that root system hits a wall almost immediately. Everything the plant needs — water, food, warmth — now depends on decisions you make, which is both the challenge and the advantage of growing this way. You control the soil quality from day one, you can move the plant to chase sun, and you sidestep most soil-borne diseases that plague in-ground gardens. The trade-off is that containers dry out fast, and an underfed tomato in a pot will stall out long before an underfed tomato in the ground would.
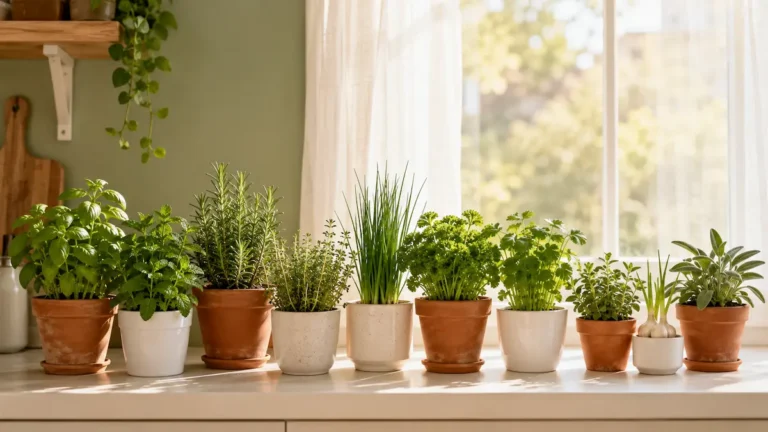
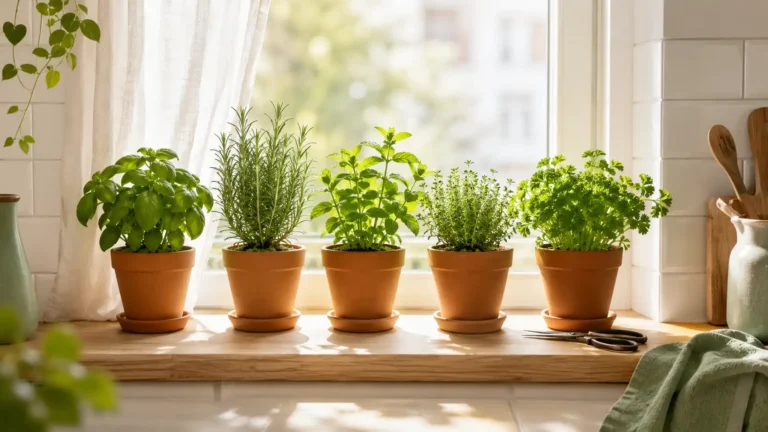
If you’ve already got a windowsill herb garden going, tomatoes are a natural next step — they just need more room and more direct sun than basil or thyme ever will.
Choosing a Tomato Variety for Containers
Not every tomato belongs in a pot. Big heirloom slicers bred for garden rows will fight you the whole season, sending out sprawling vines that outgrow anything short of a half whiskey barrel. For containers, look for varieties bred to stay compact:
- Determinate varieties stop growing at a set height and produce their fruit in a shorter window, which suits smaller pots.
- Patio and dwarf varieties are bred specifically for container life and rarely need heavy staking.
- Cherry and grape tomatoes tend to be the most forgiving for beginners — they ripen faster and tolerate a wider range of container sizes than full-size slicers.
If your balcony only gets partial sun, pair this guide with our list of vegetables to grow on a balcony to see which crops tolerate lower light better than tomatoes do — tomatoes are genuinely one of the more sun-hungry options, so it’s worth confirming your space can support one before committing a large pot to it.
Picking the Right Pot
Size matters more than material here, though material affects how often you’ll water. A pot that’s too small is the single most common reason container tomatoes fail — the roots girdle themselves, the plant can’t take up enough water on hot days, and growth stalls permanently even if you catch the problem and repot later in the season.
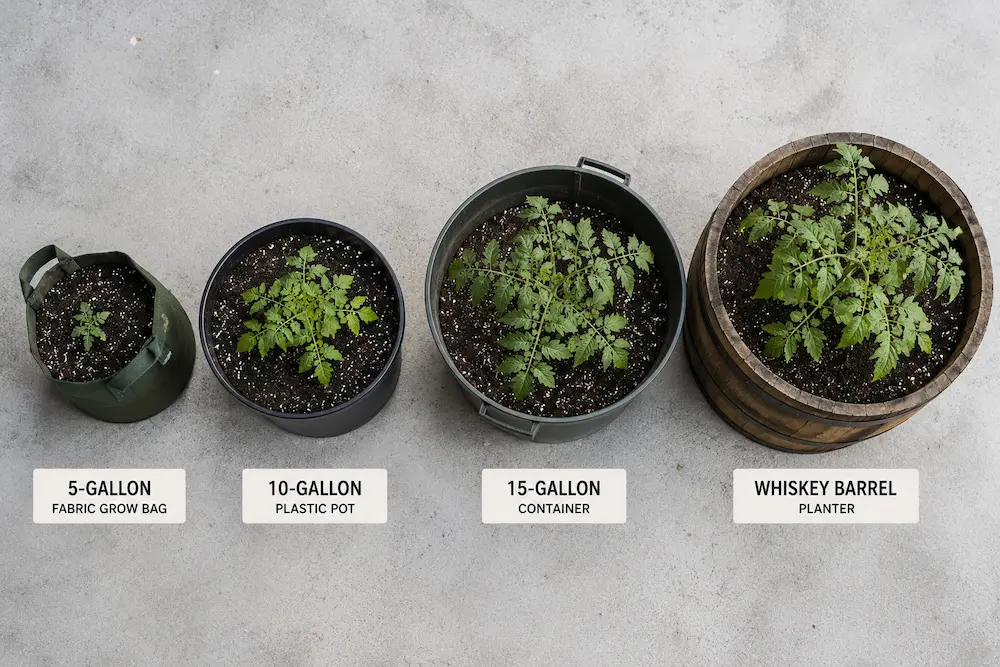
- Minimum size: 5 gallons for dwarf or cherry varieties, 10+ gallons for anything determinate or larger.
- Drainage: Multiple holes at the base, not just one. Tomatoes hate sitting in water almost as much as they hate drying out completely.
- Material: Plastic and glazed ceramic retain moisture longest, which is a real advantage on a hot balcony. Terracotta looks better but dries out faster and may mean daily watering in summer.
- Color: Dark pots absorb heat and can cook roots on a south-facing balcony in peak summer — light colors are safer if your space gets intense afternoon sun.
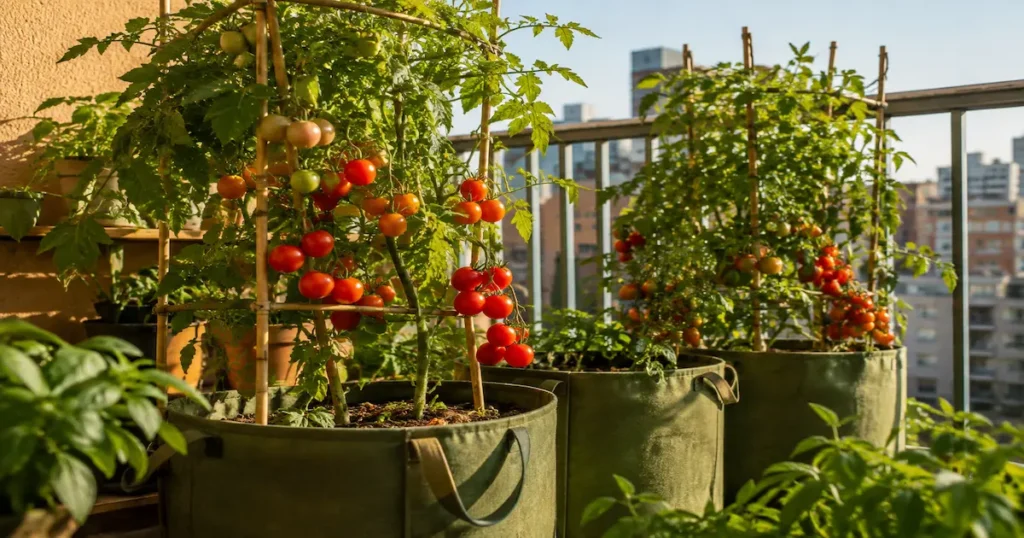
Fabric grow bags are worth a mention here too. They’re inexpensive, they air-prune the roots (which encourages a healthier root mass rather than one long taproot), and they fold flat for storage in the off-season — a real plus if your patio or balcony is small.
Starting from Seed vs. Buying a Transplant
Both paths work, but they suit different situations. Starting from seed gives you access to far more container-friendly varieties than most garden centers stock, and it’s meaningfully cheaper if you’re planting several pots. The trade-off is time: tomato seed needs 6 to 8 weeks indoors under grow lights or on a bright windowsill before it’s ready to go outside, and seedlings need to be hardened off gradually — set outside for an hour the first day, working up to a full day over a week to ten days — before they can handle direct sun and wind without stress.
Buying a transplant skips all of that. You lose some variety selection, but you gain 6 to 8 weeks of growing season and a plant that’s already proven it can survive. For a first attempt at container tomatoes, a transplant from a local nursery is the lower-risk choice; once you’ve got a season under your belt, starting from seed opens up varieties bred specifically for pots that big-box stores rarely carry.
Whichever route you take, resist the urge to plant out too early. Tomatoes are tropical natives and stop growing entirely below about 50°F, and a hard frost will kill an unprotected seedling outright. Wait until nighttime temperatures are reliably above 50°F before moving plants outside for good.
Planting Step by Step
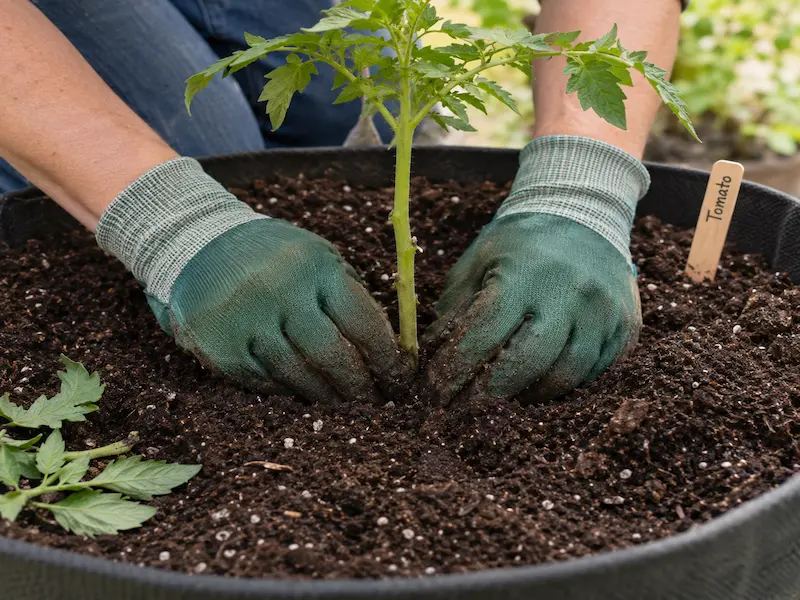
- Fill the pot with a quality potting mix, not garden soil. Garden soil compacts in containers and drains poorly; a bagged potting mix formulated for containers will stay light and hold moisture correctly.
- Bury the stem deep. Tomatoes are unusual in that they’ll grow roots along any buried stem. Strip the lower leaves and plant so two-thirds of the seedling is underground — this builds a stronger root system than planting at the same depth it came in.
- Water in thoroughly right after planting to settle the soil around the roots and eliminate air pockets.
- Add a stake or cage at planting time, not later. Pushing a stake in after the roots have filled the pot risks damaging them.
- Mulch the surface with straw or shredded leaves to slow evaporation — container soil dries out fast, and mulch meaningfully cuts down on watering frequency.
Ongoing Care
Watering is the single biggest daily commitment. In peak summer heat, a container tomato in full sun may need water once a day, sometimes twice if the pot is small and dark-colored. Stick a finger an inch into the soil — if it’s dry at that depth, water. Let the container drain fully; standing water in a saucer underneath will rot the roots just as fast as neglect will kill them from drought.
Feeding matters more in containers than in the ground, since nutrients wash out with every watering. A balanced liquid fertilizer every two weeks once the plant starts flowering will carry it through fruiting. Switch to a fertilizer lower in nitrogen and higher in phosphorus and potassium once flowers appear — too much nitrogen late in the season pushes leafy growth at the expense of fruit.
If you’re already composting kitchen scraps, working a bit of finished compost into the potting mix at planting time — or top-dressing it in mid-season — gives container tomatoes an extra nutrient boost between feedings. Our guide to composting in an apartment covers how to get a small-space system going if you don’t have one yet.
Sun is non-negotiable. Six hours of direct sun is the realistic minimum for fruit production; less than that and you’ll get a healthy-looking plant with little to show for it. If your balcony shifts in and out of shade through the day, a plant on wheels (a simple plant caddy works) lets you chase the light without wrestling a full pot around.
Pruning and Suckering
Container tomatoes benefit from pruning more than in-ground plants, simply because a pot supports a smaller root system than the soil can. Left alone, a vining tomato will pour energy into leafy growth at the expense of fruit, and a crowded container plant is also more prone to fungal issues since airflow gets cut off between dense foliage.
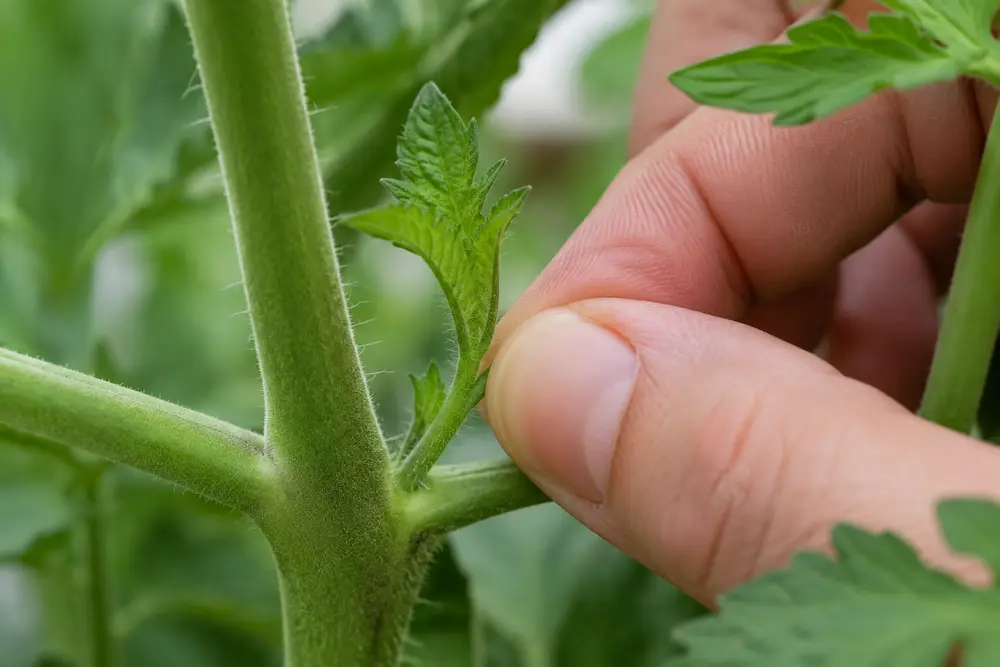
The main task is removing “suckers” — the small shoots that emerge in the joint between the main stem and a side branch. Left in place, each sucker grows into its own full stem, competing with the main plant for water and nutrients. Pinch these off with your fingers while they’re still small, ideally under two inches long, and the plant heals over almost instantly. Determinate varieties need only light suckering, since heavy pruning can reduce their already-limited yield; indeterminate varieties benefit from more consistent removal throughout the season to keep growth manageable in a container.
It’s also worth removing the lowest leaves as the plant matures, especially any touching the soil. Splashback from watering can carry soil-borne fungal spores onto low foliage, and removing that first ring of leaves improves airflow around the base of the plant.
Companion Planting in Shared Containers
Tomatoes don’t need to grow alone, and a shared container can make efficient use of limited balcony space. Basil is the classic pairing — some gardeners believe it improves flavor, though the more reliable benefit is that it fills the space around the tomato’s base without competing heavily for root room, and it deters a few common pests in the process. Marigolds are another popular companion, planted around the container’s edge to help repel nematodes and aphids.
Avoid pairing tomatoes with other heavy feeders like peppers or eggplant in the same pot — the container simply doesn’t have enough root volume or nutrients to support two hungry plants well. If you’re already growing a few money-saving herbs on the windowsill, a few basil starts tucked around the base of a tomato container is an easy way to expand that setup without adding another pot.
Self-Watering Containers: Worth the Investment?
For anyone who travels or simply struggles to keep up with daily watering in peak summer, a self-watering container (sometimes called a sub-irrigated planter) solves the single biggest failure point in container tomato growing. These pots have a water reservoir at the base with a wicking system that draws moisture up into the soil as needed, which buffers the plant against the wide swings between soaked and bone-dry that cause problems like blossom end rot and cracked fruit.
They cost more upfront than a basic grow bag, and they’re heavier once filled, but for a balcony that gets intense afternoon heat, the more consistent moisture can be the difference between a stressed plant and a genuinely productive one. If daily watering isn’t realistic for your schedule, this is one of the few upgrades worth the extra cost.
Common Pests to Watch For
Container growing doesn’t eliminate pests, though it does reduce exposure to a few soil-dwelling ones. The most common visitors on a balcony or patio setup:
- Aphids cluster on new growth and the undersides of leaves, leaving a sticky residue behind. A strong spray of water knocks most of them off, and consistent monitoring usually keeps populations from exploding.
- Whiteflies scatter in a small cloud when you disturb the foliage. Yellow sticky traps placed near the plant help monitor and reduce numbers without any spray.
- Tomato hornworms are large, easy to spot once you know to look, and capable of stripping a plant’s foliage in a couple of days if left unchecked. Hand-picking is the most reliable control for a small container setup.
- Spider mites thrive in hot, dry conditions — exactly the environment a container on a sunny balcony can create. Fine webbing on the undersides of leaves is the telltale sign; increasing humidity around the plant and rinsing foliage periodically helps keep populations down.
Common Problems and What They Mean
- Yellowing lower leaves: Usually a nitrogen deficiency or inconsistent watering, not disease. Check your feeding schedule before assuming the worst.
- Blossom drop: Often caused by temperature swings — extreme heat or unexpected cold snaps can cause flowers to drop before they set fruit. Not much to do here except wait it out.
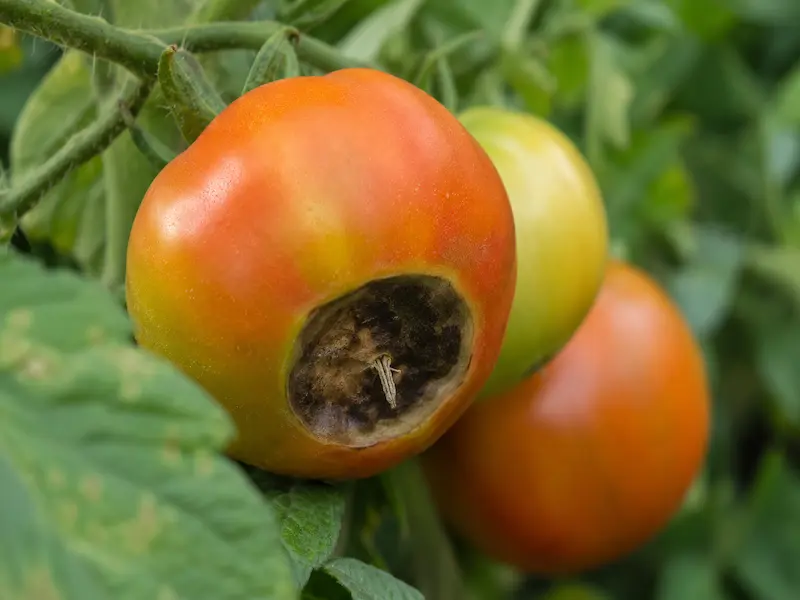
- Blossom end rot (dark, sunken patches on the bottom of the fruit): A calcium uptake issue almost always tied to inconsistent watering rather than a soil calcium shortage. Even watering, not more calcium, is usually the fix.
- Cracked fruit: Typically follows a heavy rain or sudden deep watering after a dry stretch. Keeping moisture consistent day to day prevents the swelling that causes skin to split.
- Leggy, sparse growth: A sign the plant isn’t getting enough direct light. Consider relocating the container or supplementing with a grow light if your space is genuinely shaded most of the day.
Harvesting
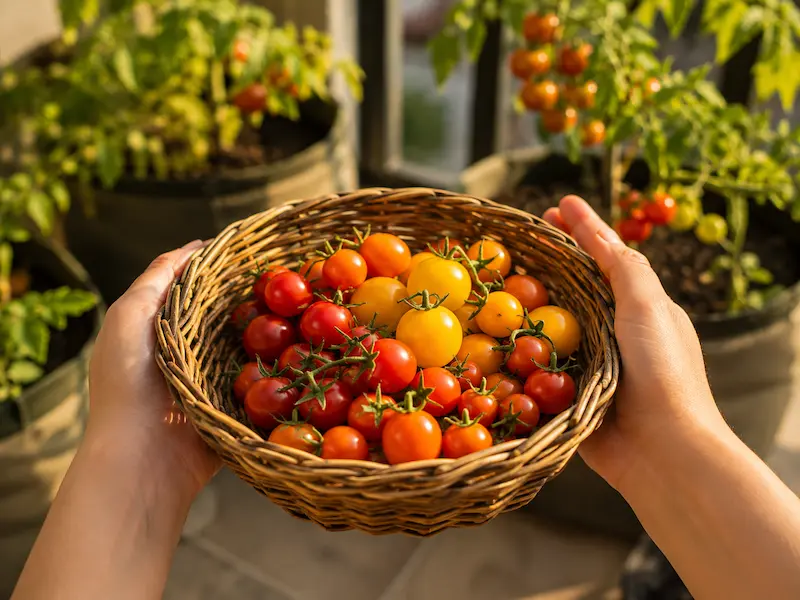
Pull tomatoes when they’ve reached full color for the variety and give slightly under gentle pressure. A slight tug should release the fruit from the vine cleanly. Container tomatoes often ripen a touch earlier than their in-ground counterparts, since dark pots warm the root zone faster in spring — one of the few advantages container life has over a traditional garden bed.
Once the harvest slows toward the end of the season, the spent plant material and any soil that’s compacted or exhausted make good additions to an indoor composting system rather than the trash — see our guide on apartment worm composting if you haven’t started one yet, since finished compost is exactly what next year’s containers will need to perform better.
Frequently Asked Questions
Can I grow a full-size tomato in a container?
Yes, but it needs a genuinely large pot — 15 to 20 gallons minimum — and sturdy staking, since indeterminate varieties keep growing and fruiting until frost. For most apartment setups, a determinate or patio variety in a smaller pot is more manageable and just as productive per square foot of balcony space.
Do container tomatoes need a different fertilizer than garden tomatoes?
Not a different formula, just a more frequent schedule. Nutrients leach out with drainage water faster in a container than they wash away in open ground, so container plants typically need feeding every two weeks rather than once a month.
Why is my container tomato producing flowers but no fruit?
This is usually a pollination issue rather than a plant health problem. Tomatoes are self-pollinating, but a gentle shake of the flower cluster or a light breeze helps release pollen — on an enclosed balcony with no airflow, hand-pollinating with a small brush or your finger can make a real difference.
Can I reuse the potting soil next year?
You can, but refresh it with fresh compost or potting mix worked into the top third of the container, since the original nutrients will be largely depleted after one full growing season. Reusing soil that grew tomatoes for a second tomato crop also increases disease risk, so rotating in a different crop the following year is worth considering if you have more than one container to work with.
Can I bring a container tomato indoors for winter?
A mature outdoor tomato plant generally isn’t worth overwintering indoors — most apartments don’t offer the light intensity a tomato needs to keep producing, and the plant tends to decline slowly rather than thrive. What does work is taking cuttings from a healthy plant before the first frost, rooting them in water on a bright windowsill, and starting fresh compact plants indoors under a grow light through the colder months. This is a more reliable way to keep a productive plant going than trying to nurse an aging outdoor specimen through winter conditions it isn’t suited for.
How many tomatoes will one container plant actually produce?
This varies widely by variety and care, but as a rough benchmark, a well-tended patio or determinate variety in a properly sized container can produce several pounds of fruit over a full season, while a single cherry tomato plant often produces the highest total count of individual fruits, simply because each one is small. Indeterminate varieties in large containers can outproduce both if the season is long enough and the plant is fed consistently, but they also demand the most attention.