Growing Microgreens at Home: A Windowsill Starter Guide
Growing microgreens at home is the fastest payoff in apartment gardening. You don’t need outdoor space or any gardening experience, just a shallow tray, some seeds, and a sunny window. Radish can go from seed to snipping in about a week, and even the slower varieties are ready in two to three weeks. If you’ve explored what’s possible in apartment homesteading, this is the project with the shortest wait between starting and eating.
Pick Your Variety First
Your choice of seed decides how much work the first week takes. Radish and broccoli are the easiest: no soaking, quick germination, forgiving of small mistakes. Sunflower and pea are rewarding but need a soak beforehand, which is the step most beginners skip.
| Variety | Soak | Blackout (covered) | Ready to harvest (from sowing) | Seed per 10×20 tray |
|---|---|---|---|---|
| Radish | None | 2-3 days | 6-10 days | About 1 oz |
| Broccoli | None | 2-3 days | 8-12 days | About 1 oz |
| Sunflower (in-shell) | 8-12 hours | 3-4 days | 8-12 days | 3-4 oz |
| Pea | 8-12 hours | 3-4 days | 10-14 days | 6-8 oz |
A windowsill-friendly 7×7-inch container is about a quarter the size of a 10×20 tray, so use roughly a quarter of these seed amounts.
What You Need for Growing Microgreens at Home
- A shallow tray, 1-2 inches deep, with drainage holes. A dedicated microgreen tray works, and so does a produce clamshell with holes poked in the bottom, as long as you wash it with hot soapy water first.
- A second tray or plate underneath to catch drainage.
- Plain seed-starting mix without added fertilizer.
- Seed sold for microgreens, sprouting, or eating. Seed packets meant for outdoor planting are sometimes treated with fungicide that isn’t meant for food.
- A spray bottle.
- A window that gets direct sun for roughly four to six hours a day. South-facing is best in the US.
Growing Microgreens at Home, Step by Step
Day 0: prepare and sow. Fill the tray with about an inch of mix, level it without packing it down, and mist until evenly damp but not soggy. If you’re growing sunflower or pea, soak the seed first (see the table). Scatter the seed far more densely than you would in a garden bed, in a single layer where the seeds nearly touch but don’t pile up. Press them lightly into the mix, then mist again.
Days 1-4: blackout. Cover the tray with a lid, an upside-down tray, or a damp paper towel so the seeds germinate in darkness and push up evenly. Check once a day and mist if the surface looks dry. Pea and sunflower trays benefit from a little weight on top of the cover, such as a second tray with a small jar in it, because their sprouts are strong enough to lift a loose lid.
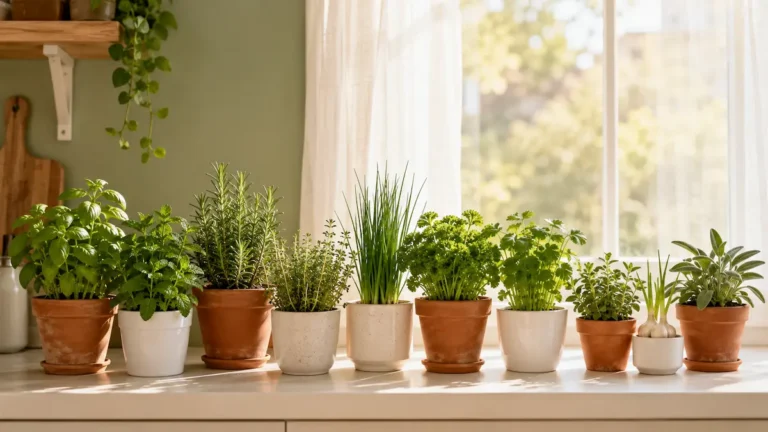
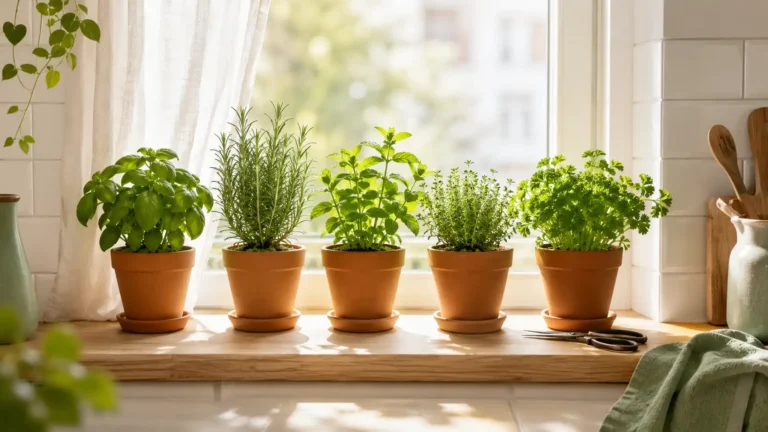
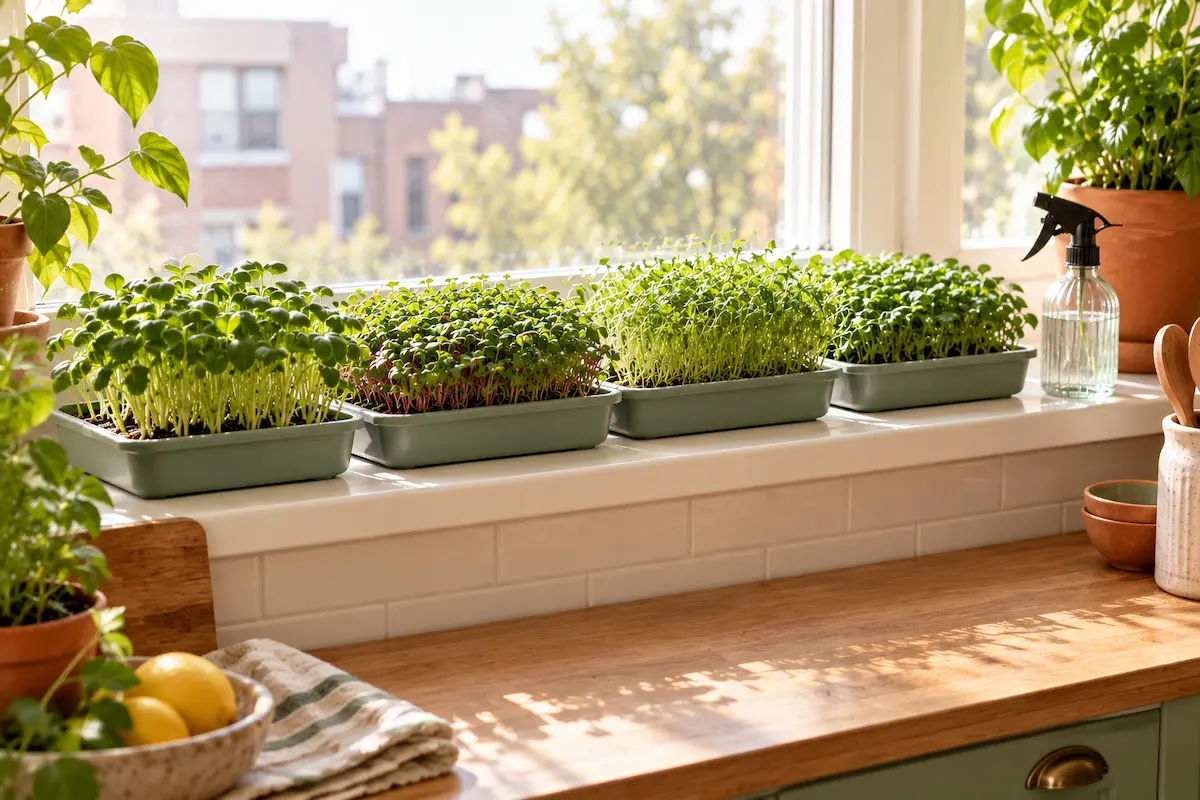
After blackout: uncover and add light. When pale yellow sprouts have pushed up, move the tray to your brightest window. They’ll green up within a day or two. Rotate the tray a quarter turn daily so the stems grow straight instead of leaning toward the glass. If you already grow herbs on a sill, as in our windowsill herb garden setup, the same spot works.
Watering. Mist once or twice a day, or water from the bottom by setting the tray in a shallow dish for a few minutes and letting the mix wick up. Bottom watering keeps the surface drier, which matters for avoiding mold.
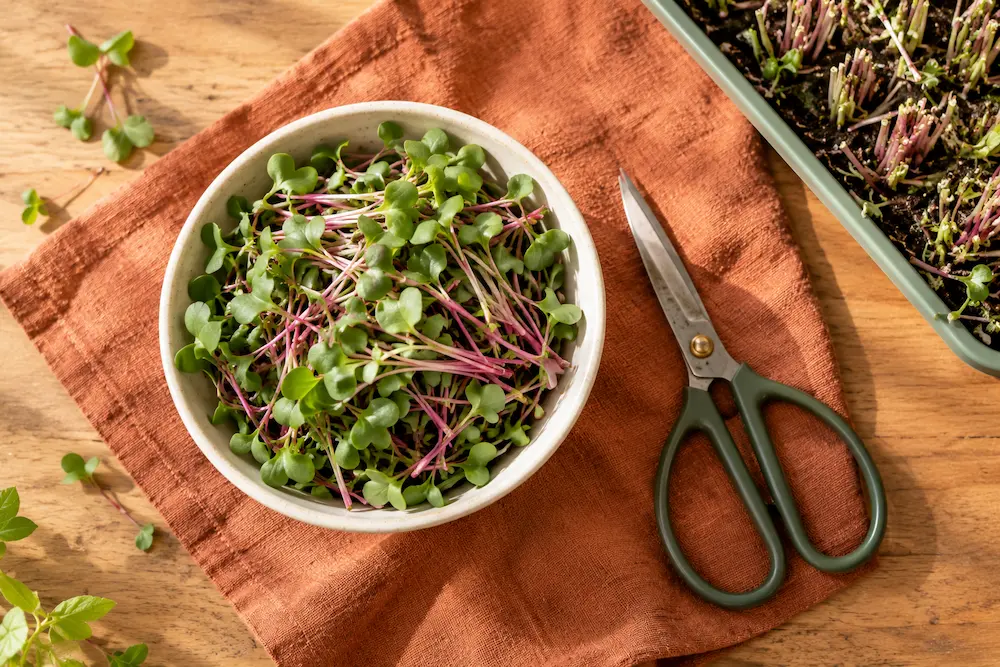
Harvest. Cut with clean scissors just above the soil line once the seed leaves are fully open, or when the first true leaves begin to show if you want a bigger, slightly stronger flavor. Rinse gently right before eating and pat dry. Stored dry in a container lined with a paper towel in the fridge, they keep best within about a week.
Most trays are one-and-done. Pea shoots will sometimes give a smaller second cut, but radish, broccoli, and sunflower won’t. Your used mix and roots can go straight into a compost bin or worm bin rather than the trash.
Troubleshooting Growing Microgreens at Home by Symptom
White fuzz at the base of seedlings in the first few days. This is most often root hairs, not mold. Root hairs are fine, wispy, and sit right where the seedling meets the mix, and they look worse under a cover than they are. Mold is cottony or patchy, spreads across the surface, and smells musty. If it’s mold, don’t eat that tray. Next time, sow a bit thinner, water from the bottom, and give the tray more air.
Seedlings collapsing at the soil line. This is damping off, caused by too much moisture and crowding. Discard the tray, wash the container well, and start fresh with a lighter hand on the water.
Tall, pale, floppy stems. Not enough light. Move to a brighter window, add a small LED grow light, or choose a sturdier variety like sunflower.
Patchy or no germination. Common causes are unsoaked pea or sunflower seed, mix that dried out during blackout, or old seed. Check these in that order.
Yellowing leaves after uncovering. A day or two of yellow is normal and fades with light. If it persists, the mix is probably too wet or the window too dim.
Frequently Asked Questions
Do I need a grow light for growing microgreens at home?
Not if you have a window with four to six hours of direct sun. North-facing windows and winter months are where a small LED grow light starts to make sense.
What’s the difference between microgreens and sprouts?
Sprouts are grown in water and eaten whole, roots included. Microgreens are grown in mix and cut above the roots, which is why they have real leaves and a more developed flavor.
How much does one tray make?
A 10×20 tray commonly yields somewhere around 4 to 8 ounces depending on variety, and a 7×7 container gives roughly 1 to 2 ounces. That’s enough to top a couple of salads or sandwiches, not enough to replace a vegetable.
Is it safe to eat microgreens I grew myself?
Yes, with ordinary care. Use food-grade seed, start with a clean tray, and rinse before eating. Because they’re eaten raw, throw out any tray that smells sour or feels slimy.