Growing Potatoes in a Bucket: A Step-by-Step Guide
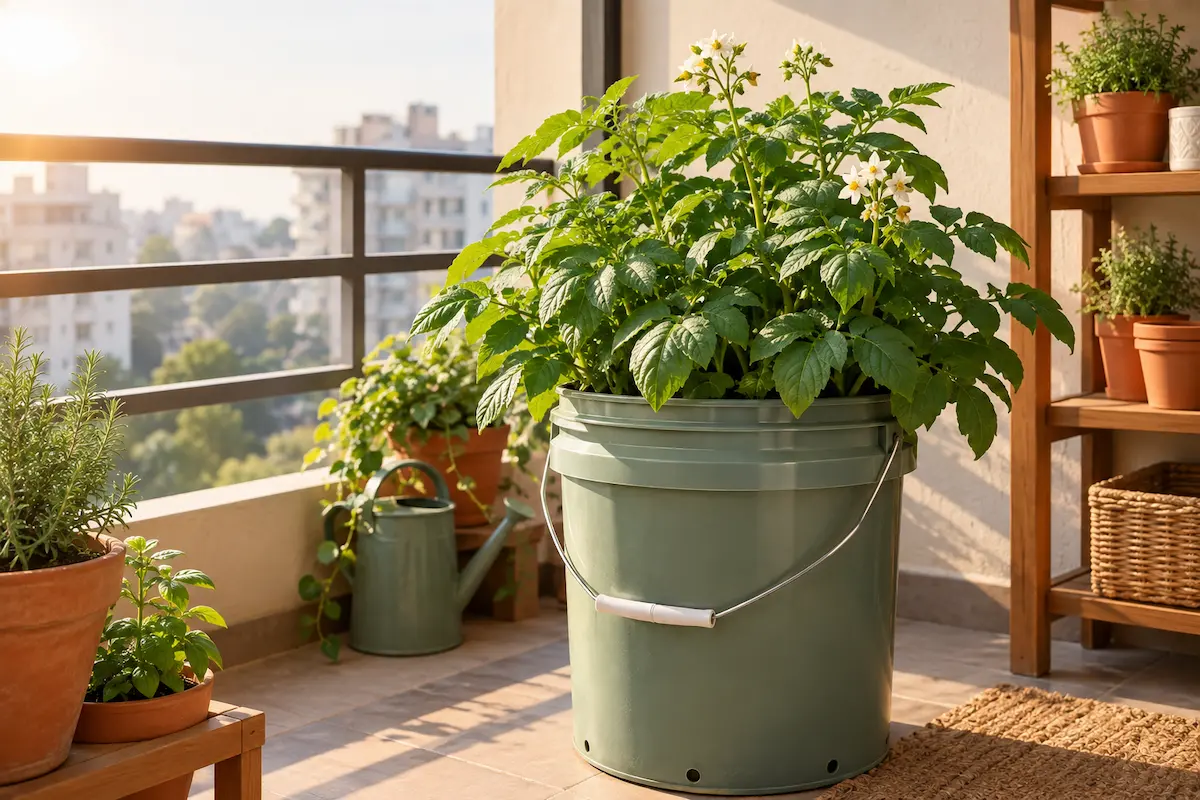
If you’ve written off potatoes as a crop that needs a garden bed, growing potatoes in a bucket will change your mind. Potatoes naturally want to spread out underground, and a 5-gallon bucket gives them exactly the depth they need to do that. This method works on a balcony, a patio, or even a sunny spot indoors near a window — no raised bed required, just a bucket, some soil, and seed potatoes.
What You Need for Growing Potatoes in a Bucket
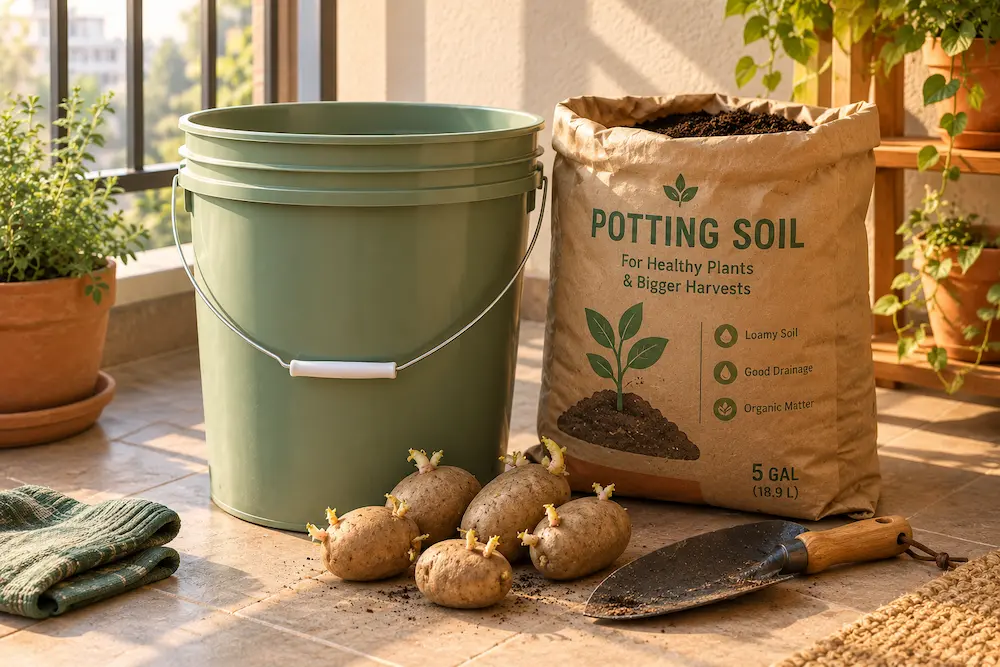
- A 5-gallon bucket (or similar container), with drainage holes drilled in the bottom
- Potting mix or a mix of potting soil and compost
- 2-3 seed potatoes (certified seed potatoes, not grocery-store potatoes, which are often treated to prevent sprouting)
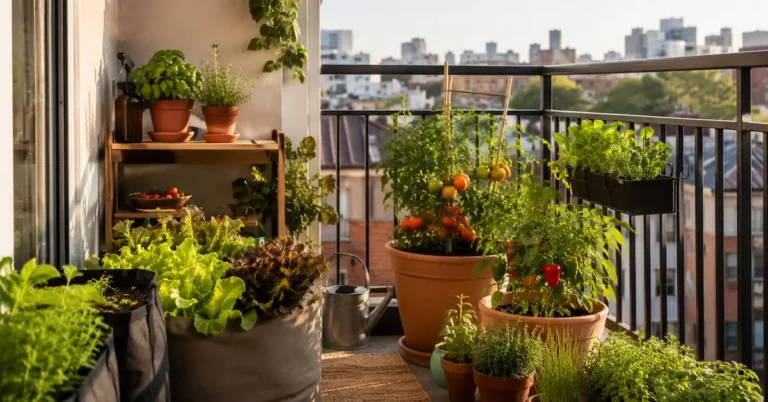
- A sunny spot that gets at least 6 hours of direct light a day — pair this with a balcony vegetable garden if you’re building out a fuller container setup
If you don’t already have a bucket with drainage holes, drill 6-8 holes about half an inch wide in the bottom before starting. Potatoes are prone to rotting in waterlogged soil, so drainage matters more here than in most container growing.
Best Potato Varieties for Bucket Growing
Not every potato variety performs the same way in a container. Determinate varieties — which produce one layer of potatoes and finish earlier — tend to do better in buckets than indeterminate varieties, which want more room to keep producing over a longer season.
- Yukon Gold: reliable, all-purpose, tolerates the tighter root space well
- Red Norland: early-maturing, a good pick if you want a faster harvest
- Fingerling varieties (like Russian Banana): smaller potatoes that don’t need as much bulking-out room
- French Fingerling or Rose Finn Apple: good flavor for a bucket-sized harvest
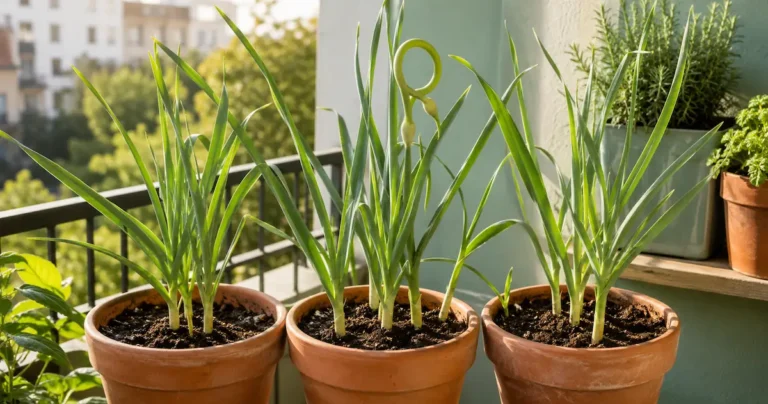
If you’re also experimenting with other container crops, growing garlic in a pot uses a similar low-maintenance, tuber-in-a-container approach and can run alongside your potato bucket.
Preparing Seed Potatoes
A few days before planting, cut larger seed potatoes into chunks, making sure each piece has at least one or two “eyes” (the small sprouted indentations). Let the cut pieces sit out at room temperature for 1-2 days so the cut surface can callus over slightly, which helps prevent rot once planted. Small seed potatoes, about the size of a golf ball, can be planted whole without cutting.
Growing Potatoes in a Bucket: Step-by-Step Planting
- Add the first layer of soil. Fill the bucket with about 4-6 inches of soil.
- Place the seed potatoes. Set 2-3 seed potato pieces on top of the soil, cut side down, spaced a few inches apart, with the eyes facing up.
- Cover lightly. Add another 3-4 inches of soil on top, just enough to cover the seed potatoes.
- Water well. Water thoroughly after planting, then keep the soil consistently moist (not soggy) while you wait for sprouts to appear, usually within 2-3 weeks.
Hilling: The Key Technique for Bucket-Grown Potatoes
Hilling is what makes bucket-grown potatoes actually productive, and it’s the step most people skip by accident. As the potato plant grows, new potatoes form along the buried stem above the original seed potato — so the more stem you bury, the more potatoes you get.
Once the plant reaches about 6-8 inches tall, add another 3-4 inches of soil, covering the lower part of the stem while leaving the top leaves exposed. Repeat this every time the plant grows another 6-8 inches, continuing until the soil reaches near the top of the bucket. This might mean hilling 3-4 times over the course of the growing season.
Ongoing Care
Keep the soil consistently moist throughout the growing season, especially once the plant starts flowering, which is typically when the potatoes underground are forming and sizing up. Potato plants in containers dry out faster than those in the ground, so check the soil every day or two, particularly in hot weather. A balanced, diluted liquid fertilizer (something like a 5-10-10 NPK ratio, lower in nitrogen so the plant puts energy into tubers rather than foliage) every few weeks can help container-grown potatoes, since nutrients wash out of pots more easily than garden soil.
Common Problems When Growing Potatoes in a Container
- Green potatoes: If potatoes are exposed to sunlight, they develop a green tint and a bitter, mildly toxic compound called solanine. Keep hilling consistently so tubers stay covered, and cut away any green spots before eating.
- Leggy, weak stems: Usually means the plant isn’t getting the full 6 hours of direct sun it needs. Move the bucket to the sunniest spot available.
- Soft or rotting potatoes: Almost always a drainage or overwatering issue. Check that the bottom holes aren’t clogged with compacted soil.
- Scab-like rough patches on the skin: Often caused by soil that swings between too dry and too wet. Keeping moisture consistent (rather than letting the bucket dry out completely between waterings) helps prevent this.
When and How to Harvest
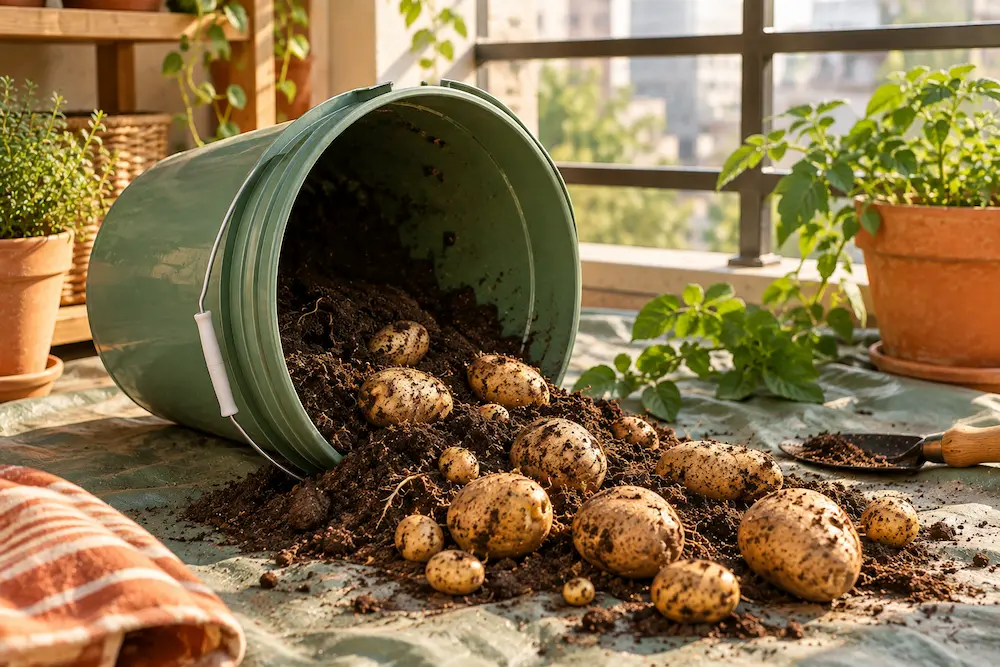
Small “new potatoes” can be harvested a few weeks after the plant flowers by gently reaching into the soil near the edges of the bucket and feeling for potatoes, without disturbing the whole plant. For a full harvest, wait until the foliage yellows and dies back, usually 10-12 weeks after planting, which signals the potatoes have finished growing and their skins have toughened for storage.
To harvest, simply tip the bucket over onto a tarp or into a wheelbarrow and sift through the soil by hand — this is one of the more satisfying parts of container potato growing, since there’s no digging involved. Let harvested potatoes air dry (or “cure”) for a few hours in a shaded, well-ventilated spot before storing them somewhere cool, dark, and dry. Proper curing toughens the skin and helps them keep longer in storage.
Frequently Asked Questions
Can I use grocery store potatoes instead of seed potatoes?
It’s best to use certified seed potatoes, since grocery store potatoes are often treated with a sprout inhibitor and may also carry diseases that can affect your soil. If seed potatoes aren’t available, an organic, untreated grocery potato that has already started sprouting can work as a backup option.
How many potatoes can I get from growing potatoes in a bucket?
A single 5-gallon bucket with 2-3 seed potatoes typically produces somewhere in the range of 2-5 pounds of potatoes, depending on the variety and growing conditions.
How often should I water bucket-grown potatoes?
Check the soil every day or two, watering whenever the top inch feels dry. Containers dry out faster than garden beds, especially in warm weather or on a sunny balcony.
Do potatoes need full sun to grow in a container?
Yes — potatoes generally need at least 6 hours of direct sunlight a day to grow and produce well, so choose the sunniest spot your balcony or patio offers.
Why didn’t my potato plant produce many potatoes?
The most common cause is skipping or under-doing the hilling process. Since new potatoes form along the buried stem, not hilling enough leaves less stem covered and fewer potatoes overall.