Sourdough English Muffin Recipe (Griddle-Baked, No Oven Needed)
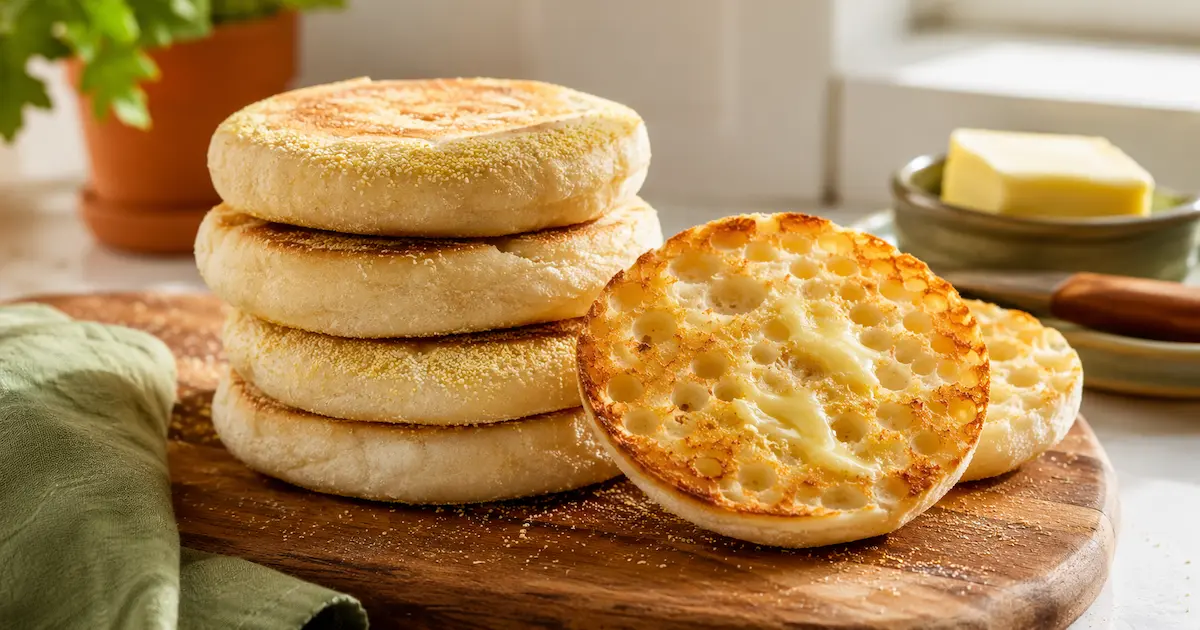
Every other bread on this site goes in an oven. This one mostly doesn't — English muffins cook on a griddle or skillet, flipped like pancakes, which makes this one of the few sourdough recipes that works even if your oven's out of commission. It's the same stovetop logic as the sourdough bread without an oven method, just built around a completely different shape.
The "nooks and crannies" people associate with a good English muffin aren't decorative — they come from a wet, borderline-overworked dough that gets cooked low and slow rather than a hot, fast oven. The single most important instruction in this recipe has nothing to do with technique and everything to do with restraint: the dough is supposed to be uncomfortably sticky. Adding flour to fix that stickiness is the single most common reason a homemade version comes out closer to a dinner roll than an actual English muffin.
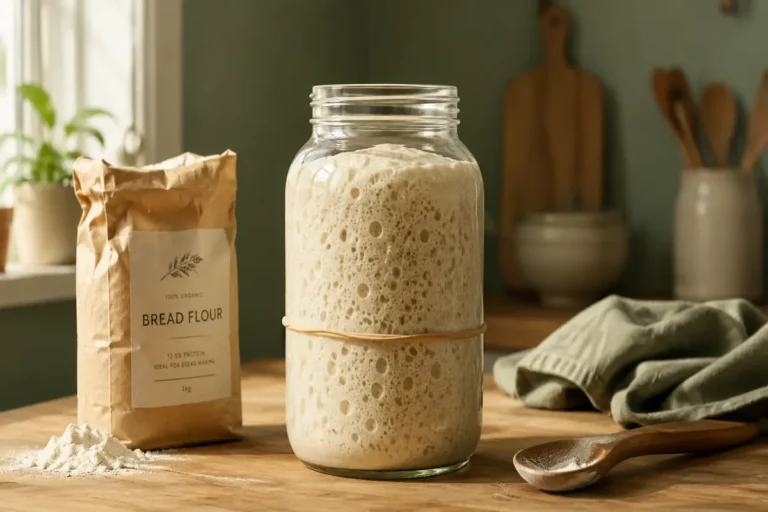
You'll need an active starter before this works — the sourdough starter guide covers building one from scratch if yours isn't going yet.
Ingredients
Milk instead of water is what gives English muffins their softer texture compared to a rustic loaf — similar enrichment logic to the sourdough sandwich bread recipe, just with milk doing part of the job butter does there. You'll also need 3-inch English muffin rings, or a clean, empty tuna can with both ends removed — without a ring, the dough spreads flat on the griddle instead of holding its tall, distinct shape. An instant-read thermometer isn't strictly required, but it's the single most reliable way to confirm these are actually done, not just browned.
Mixing and the rise
Combine flour and milk, rest 30 minutes. Mix in the starter, salt, melted butter, and sugar until evenly combined. This dough is much wetter than a rustic loaf, closer to a thick, tacky batter than kneadable bread dough — don't expect it to come together into a smooth ball, and don't add flour to make it behave like one.
Do three rounds of stretch-and-fold in the bowl, 30 minutes apart, then let it bulk ferment 4 to 6 hours at room temperature, until roughly doubled and visibly bubbly through the sides of the bowl.
Shaping and the second rise
Dust a work surface heavily with cornmeal. Turn the dough out — pat it into an even ¾-inch layer with your hands rather than a rolling pin, which presses out the air pockets you're trying to build. Press your rings into the dough, or spoon the loose dough directly into greased rings set on a cornmeal-dusted tray if it's too wet to cut cleanly with a cutter.
Dust the tops with more cornmeal, cover loosely, and let the rings rest 45 minutes to an hour, until visibly puffy. A gentle poke test works here the same as it does for any sourdough: press a finger in lightly — the dent should spring back slowly and not completely. A dent that stays put means it's overproofed and may deflate once it hits the griddle; one that springs back instantly means it needs more time.
Cooking on the griddle
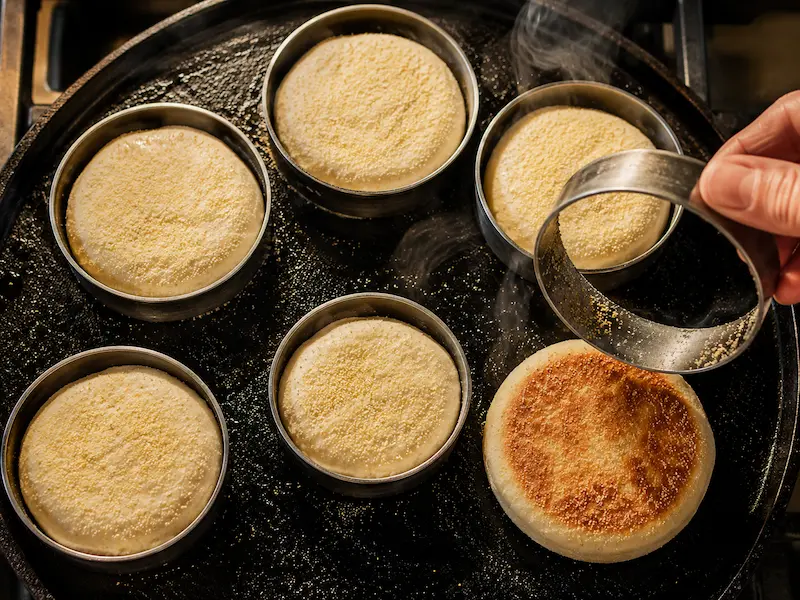
Heat a griddle or heavy skillet over low heat — genuinely low, not medium-low. Give it a full 5 to 10 minutes to preheat before anything touches it. No oil needed on a well-seasoned cast iron or non-stick surface; otherwise a light brush of butter works. Set the rings on the griddle and cook 6 to 8 minutes per side. This isn't a recipe to rush: too hot a surface browns the outside in a couple of minutes while the center is still raw, which is the single most common failure with this style of bake.
Remove the rings after the first flip once the muffin holds its shape on its own.
If the outside is browning faster than the inside can cook — a common problem on a home stovetop, since griddle heat is harder to keep gentle than an oven — finish them in a 350°F oven for 8 to 10 minutes after both sides are griddled. This two-stage approach (griddle for the classic flat, cornmeal-dusted crust, then oven to finish the interior gently) is a legitimate fix, not a workaround, and several well-tested recipes build it in as the default rather than an emergency fallback.
Confirm doneness with an instant-read thermometer inserted into the side: 200-205°F means it's fully cooked through. "Sounds hollow when tapped" is a reasonable secondary check, but it's much less reliable on something this small and dense compared to a full loaf — the thermometer removes the guesswork entirely.
An overnight version, if your schedule doesn't allow same-day baking
Shape the muffins as described above, but instead of the 45-minute-to-1-hour room-temperature rise, cover the tray tightly and refrigerate overnight, 8 to 12 hours. Let them sit out for 20 to 30 minutes before griddling straight from the fridge — cold dough griddles a little more slowly, so add a minute or two to each side and watch for the same visual and temperature cues rather than following the timing exactly.
The cold rise deepens the tang the same way it does for the rustic Dutch-oven loaf, and it's a useful way to split this recipe across two days if a same-day bake doesn't fit your schedule.
Using discard instead of active starter
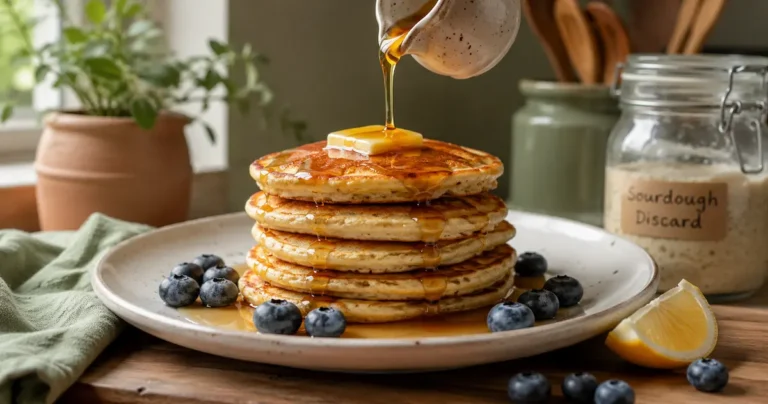
Discard alone usually can't leaven this dough reliably in a single day, but it works well as a flavor contributor if you add a small amount of yeast alongside it — the same logic used in the discard version of the sourdough focaccia recipe. Swap the 100g of active starter for 100g of discard straight from the fridge, and add ¼ teaspoon of instant yeast to the flour along with everything else. Everything else about the method — hydration, folds, shaping, griddling, doneness temperature — stays the same. It won't develop quite the same depth of tang as a fully active-starter version, but it's a legitimate way to put discard to use rather than pouring it down the drain.
Splitting and toasting
Use a fork, not a knife — pierce around the circumference at the midpoint and gently pull the halves apart. The fork tears along the natural air pockets instead of slicing through them, which is what actually creates the craggy, nook-filled surface a knife cut would flatten out. Toast the split sides directly, cut-side down, in a dry skillet or under a broiler until the torn edges crisp and darken.
Serving
Split and buttered with jam is the obvious use, but a griddled English muffin also holds up well as a base for a breakfast sandwich — egg, cheese, and whatever's left in the fridge — or split, toasted, and topped the way you'd use a dinner roll alongside soup.
Where this goes wrong
For fermentation issues beyond this recipe's specific quirks, the dense sourdough troubleshooting guide covers causes common to any sourdough bake.
Storing
3 to 4 days at room temperature in a bag or beeswax wrap, or up to 3 months frozen — split before freezing so they can go straight from freezer to toaster without thawing first.
FAQ
Do I need special rings to make these?
A ring helps hold the tall, distinct shape, but isn't strictly required — a clean tuna can with both ends removed works identically, and free-formed rounds without any ring will still cook fine, just spread a bit wider and flatter.
Why is my dough too wet to shape by hand?
That's expected, not a mistake. English muffin dough is meant to be closer to a thick batter than bread dough — resist the urge to add extra flour, which fixes the stickiness at the cost of the texture you're trying to build. Lean on the cornmeal dusting instead.
Can I bake these in the oven the whole way instead of using a griddle?
Not for the classic texture — the griddle's dry, direct, low heat is what builds the flat crust and craggy interior. An oven-only bake comes out closer to a soft roll. The griddle-then-oven combination above is the better middle ground if you're having trouble cooking these through on the stovetop alone.
How do I know they're actually done, not just browned?
An instant-read thermometer reading 200-205°F in the center is the most reliable check. Color alone can be misleading on something this small.
Can I use discard instead of feeding my starter first?
Yes, with a small amount of added yeast — see the discard variation above. Discard alone usually can't leaven this dough reliably on its own.
What do I do with the starter discard left over from feeding before this recipe?
Don't pour it out — the sourdough discard recipes collection has other uses for it between bakes.