How to Make Beeswax Wraps: A Simple DIY Guide for Zero Waste Kitchens
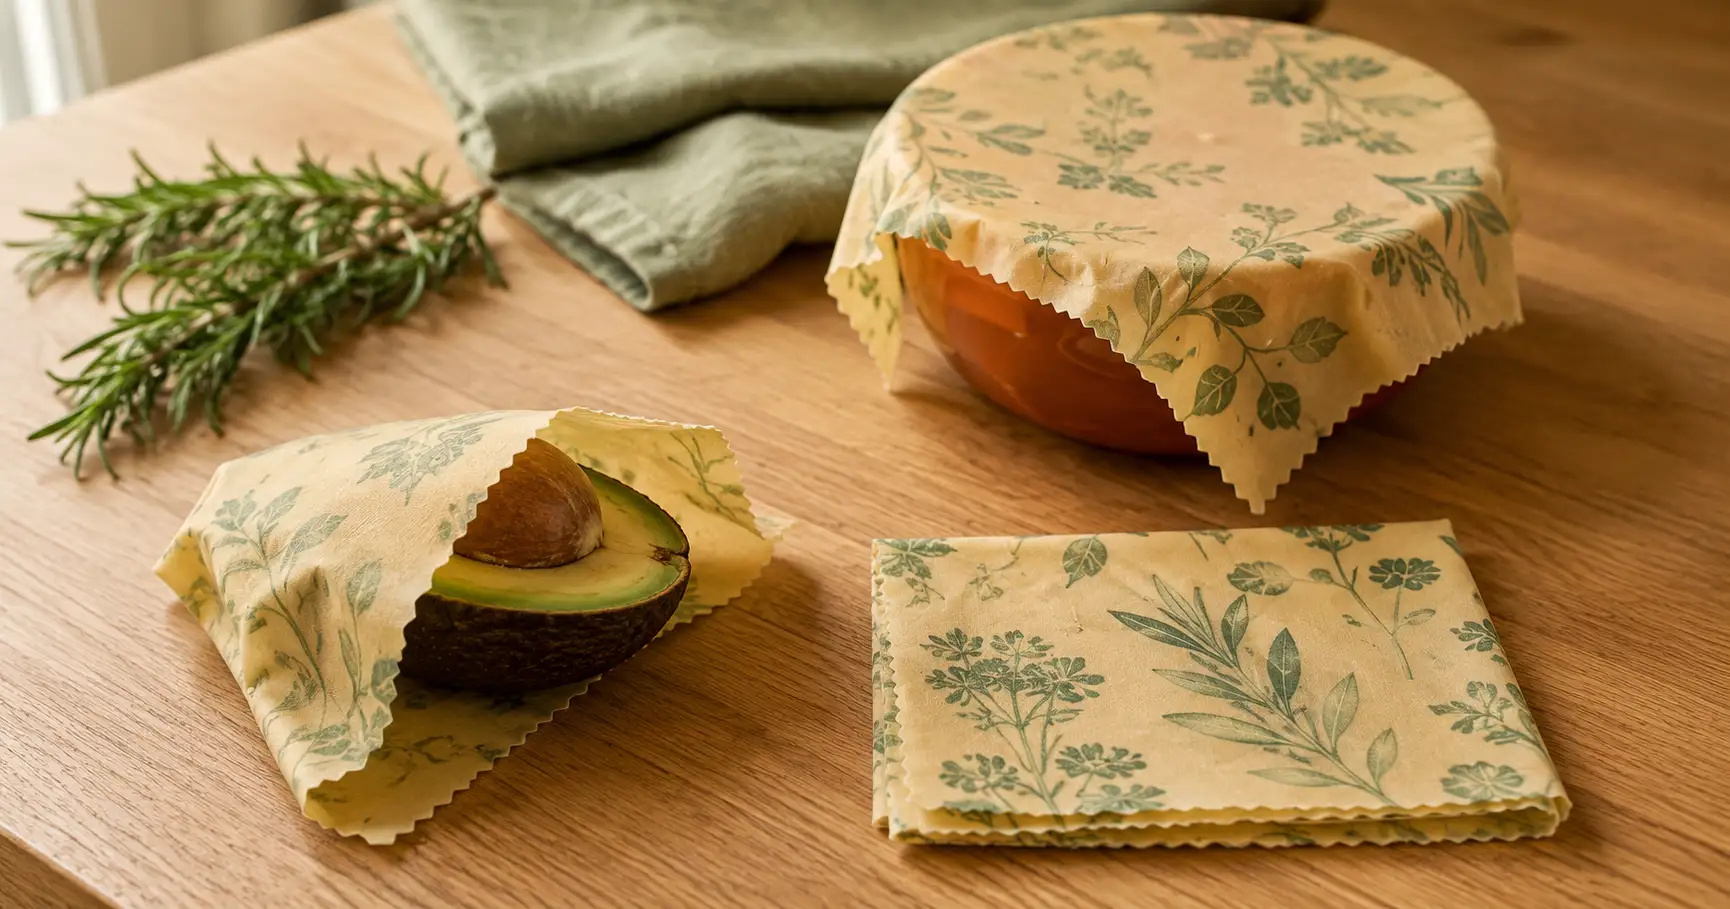
Thin plastic films — cling wrap, sandwich bags, shrink wrap, and similar single-use packaging — make up an estimated 46% of the nearly 14 million metric tons of new plastic entering the ocean each year, according to research behind a Tom Ford-backed, Lonely Whale Foundation initiative targeting thin-film plastic waste. A beeswax wrap is one of the few kitchen swaps that actually removes that category of purchase from your household for good, rather than just delaying the same trip to the store.
A commercial wrap costs $4 to $11 a sheet, or $18 to $35 for a typical three-pack. Making your own runs closer to $1 to $2 per wrap in materials, and a batch of four to six takes about 45 minutes start to finish, most of it drying time rather than active work. They hold up for 6 to 12 months, can be remelted once they lose their tack, and compost completely when they're finally done.
Two ingredients do the actual work: fabric and beeswax. Everything else — an oven or an iron, parchment paper, maybe pinking shears — is already sitting in a kitchen drawer somewhere.
The fabric matters more than people expect. 100% cotton, linen, or hemp absorbs wax properly into the fibers; anything with polyester or nylon in the blend just lets the wax sit on the surface until it flakes off. An old cotton t-shirt or pillowcase works as well as anything bought new — wash and dry it first so it's pre-shrunk before you cut. Cut to whatever sizes you'll actually use: 7x8 inches for a lemon half or small bowl, 10x11 for sandwiches and cheese, 13x14 for covering bowls or wrapping a loaf. Pinking shears give a zigzag edge that won't fray without hemming — worth using if you have a pair.
What's actually happening when the wax melts in
Beeswax melts at roughly 141–151°F (61–66°C), commonly narrowing to about 144–147°F (62–65°C) for most virgin wax, according to technical documentation from the UN Food and Agriculture Organization. Every method here stays well under that range's upper edge and avoids anything close to a hot oven setting, since the wax can begin to discolor once heat pushes much past this zone. The wax needs to soak all the way into the weave of the fabric, not just sit on top of it, so an even, thin layer beats a thick one piled in the center. Too little wax and the wrap won't hold a seal; too much and it turns stiff and cracks instead of folding.
Method 1: the oven (best for a full batch at once)
The oven is the better choice whenever you're making more than one or two wraps in a session — it heats a full batch evenly at once instead of working piece by piece.
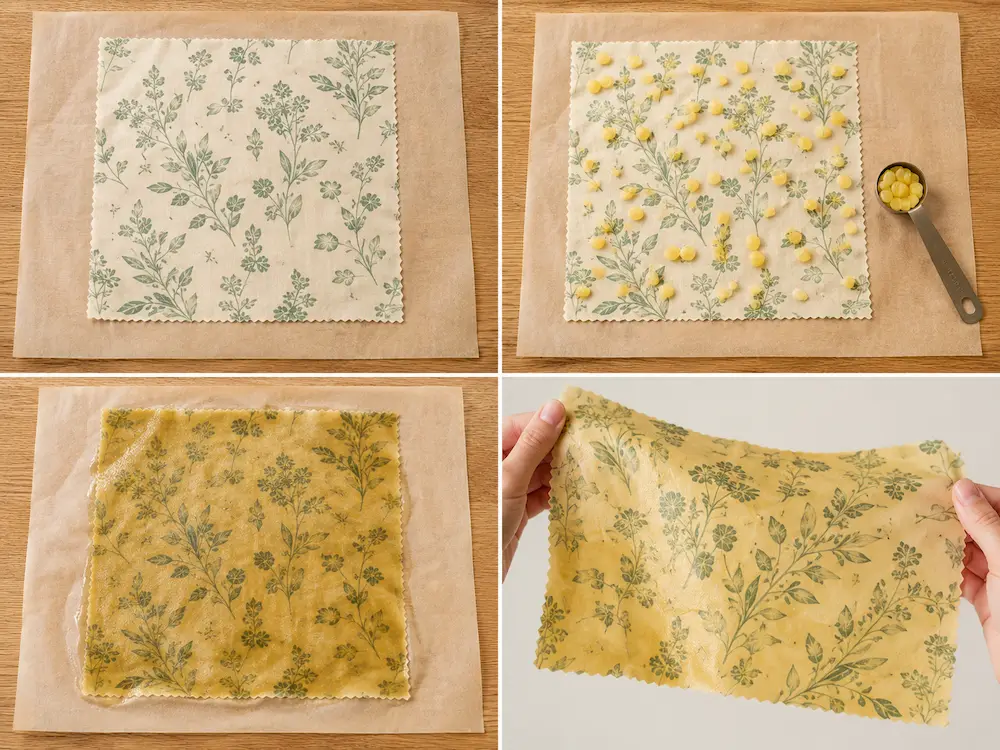
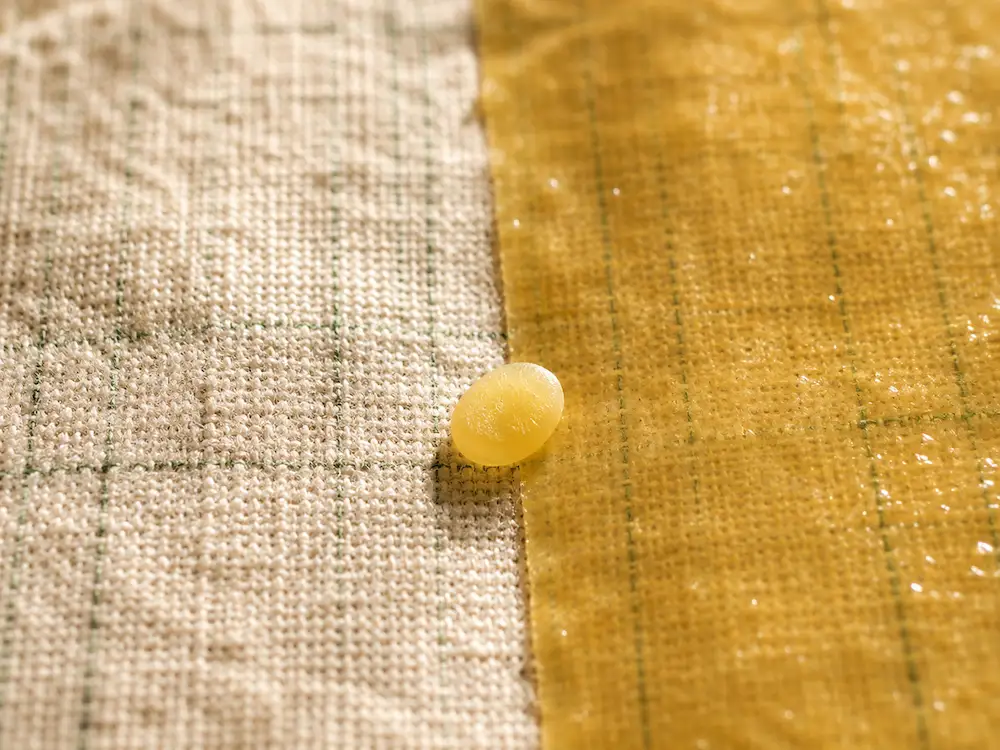
Set the oven to 150°F–170°F (65°C–75°C). Line a baking sheet with parchment, lay a fabric square on top, and scatter beeswax pellets across the whole surface rather than piling them in the middle — one to two tablespoons for a medium wrap, adjusted for how thick the fabric is. Lay a second parchment sheet over the top so wax vapor doesn't coat the inside of the oven, then bake 4 to 8 minutes, until the pellets have melted flat and the fabric looks evenly damp rather than spotty.
Pull it out and lift the top parchment carefully. Dry patches mean uneven coverage — sprinkle a few more pellets there, re-cover, and give it two more minutes. Once it looks right, pick the fabric up by the corners and wave it in the air for 30 to 60 seconds. It sets almost on contact with cooler air and stiffens slightly as it cools.
If you're making several wraps in one session, stack a second dry piece of fabric under or over a just-waxed one before it fully sets — it soaks up any extra wax that pooled through, and gives you a head start on the next wrap for free.
Method 2: the iron (no oven needed)
If your oven's out of commission, or you only want to make one or two wraps at a time, an iron does the same job just as well.
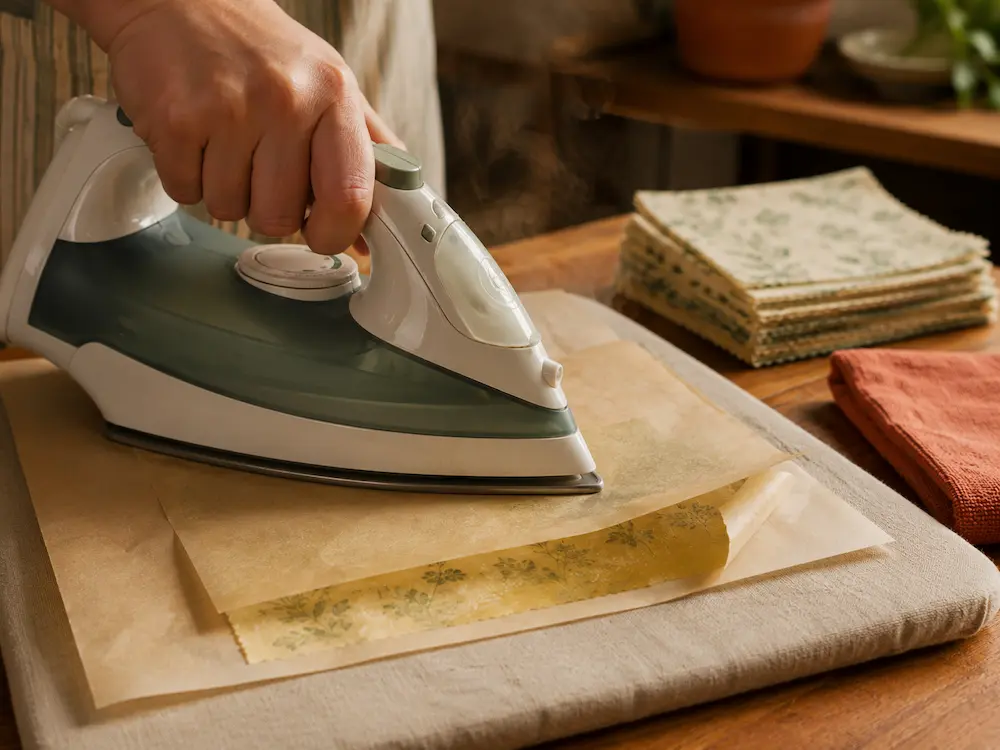
Sandwich the beeswax pellets between the fabric and a sheet of parchment paper — paper on top and underneath the fabric works best so nothing touches the iron plate directly. Set the iron to a low-wool setting and press gently over the parchment in small circles, moving constantly rather than holding it in one spot. You'll see the wax darken and spread as it melts through the weave; if a corner looks dry, lift the paper and add a bit more wax there, then re-press.
The iron runs slightly hotter and faster than the oven, so keep it moving to avoid a scorched patch. Peel the parchment off once the fabric looks uniformly saturated, and let it hang for the same 30 to 60 seconds to set.
Adding pine resin and jojoba oil
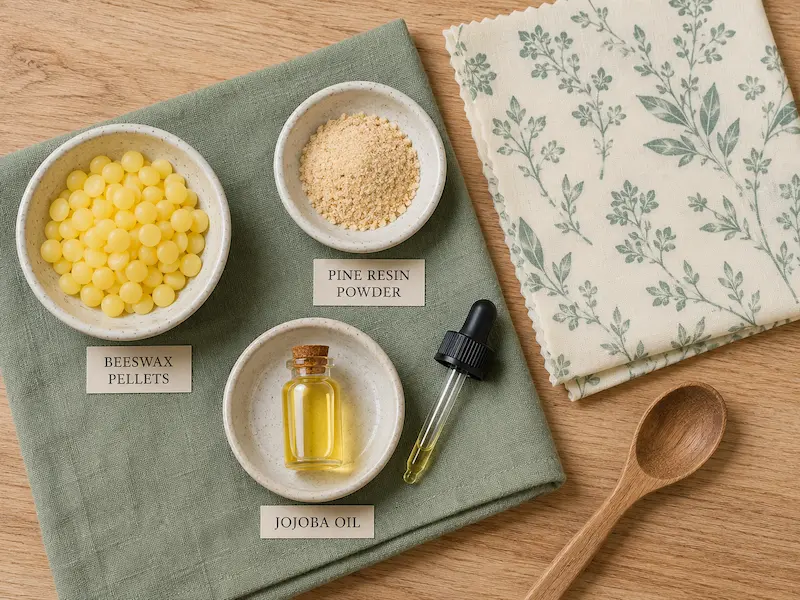
The plain fabric-and-beeswax version works fine on its own — plenty of people skip this step entirely. Adding pine resin and jojoba oil makes the finished wraps noticeably stickier and more pliable, which matters most in a cold kitchen where a straight beeswax wrap can feel stiff and reluctant to hold its fold.
A commonly used ratio by weight is 4 parts beeswax to 2 parts pine resin to 1 part jojoba oil — for a small batch, that's roughly 2 tbsp beeswax, 1 tbsp pine resin powder, and about a teaspoon of jojoba oil. Mix the dry ingredients before sprinkling them on, then add the oil in drops over the top. Resin melts slightly hotter than wax alone, so give it an extra couple of minutes either in the oven or under the iron. It's messier to clean up — dedicate an old brush and tray to it if you make resin wraps often.
A vegan alternative, if you'd rather skip the beeswax
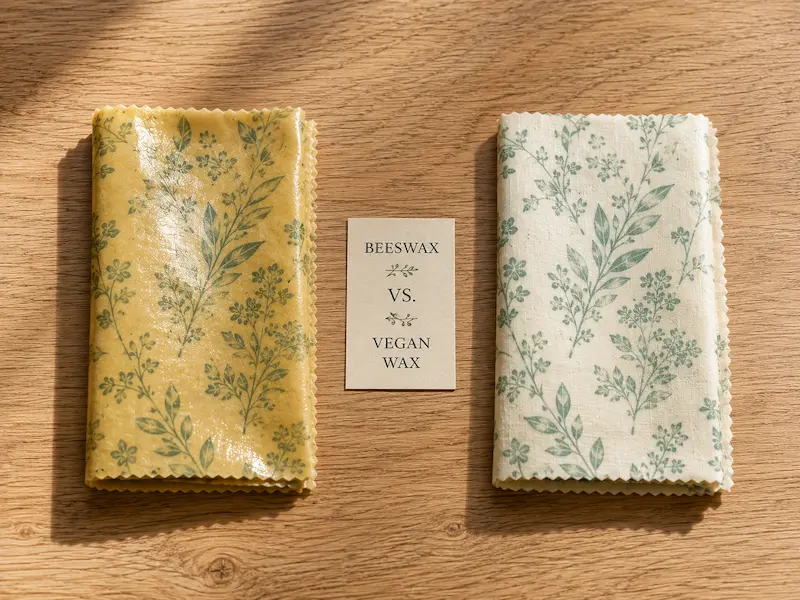
Candelilla wax or soy wax can stand in for beeswax in the same basic method, at roughly the same ratio, if you want a fully plant-based version. The texture tends to come out slightly less pliable than true beeswax, so adding a bit more jojoba oil than the standard ratio helps compensate. Everything else about the process — fabric prep, melting temperature, cooling time — stays the same.
Turning wraps into snack bags
Once the basic flat wrap feels easy, a natural next project is sewing fabric into a pouch shape before waxing it, rather than wrapping it around food afterward. Sew the bag first — a simple drawstring or snap-close shape works — and wax it exactly the same way as a flat wrap. It gives you something closer to a reusable snack bag than a piece of cling film, useful for things a flat wrap won't stay folded around, like crackers or trail mix.
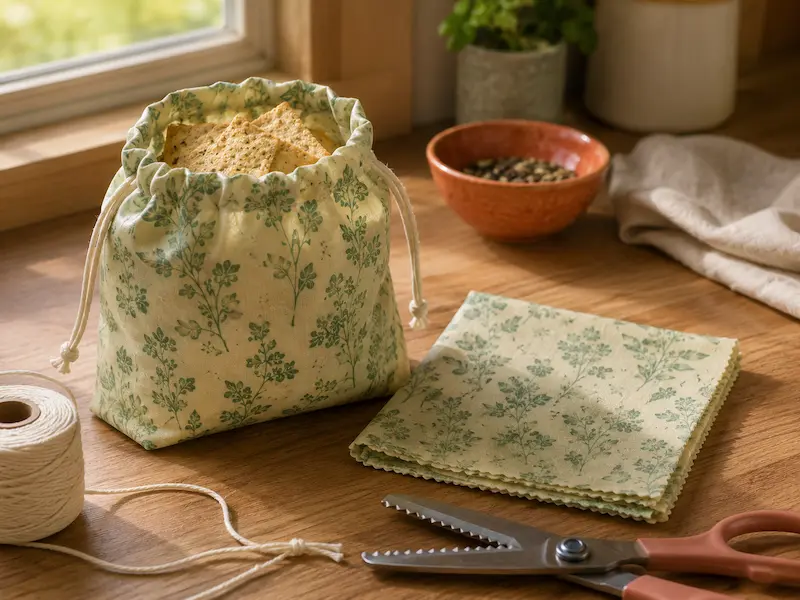
Getting the seal to actually hold
Beeswax wraps aren't as airtight as plastic cling film, and that's the most common disappointment people run into on their first try. For anything that needs a firmer seal — half an onion, a bowl of leftovers — wrap it as you normally would, then loop a rubber band or piece of string around the wrap to reinforce the closure. It's a small step that fixes most of the "it doesn't stay wrapped" complaints on the first attempt.
Using and washing them
Press the wrap over a bowl, around cut produce, or over bread with warm hands for 10 to 15 seconds — the warmth softens the wax just enough to make it grip, and it holds once you let go. Keep them away from raw meat or fish, since they're too porous to sanitize properly, and away from heat or the microwave, both of which melt the wax straight back off.
Wash in cold water with a little mild dish soap, never hot, then air dry rather than stacking them in a rack while still warm. Store folded in a drawer, away from anything giving off heat. Leftover wax scraped off the parchment or grater doesn't need to be thrown out — save it in a small jar and use it to top up a wrap the next time one starts wearing thin.
When it doesn't come out right
Is it actually worth making your own?
Financially, it's a modest win — a set of four to six wraps costs $1 to $2 per wrap in materials against $18 to $35 for a comparable store-bought three-pack. Compared to some other zero waste swaps, that's not dramatic: reusable paper towels save $50 to $75 a year for less setup time, and a DIY all-purpose cleaner cuts a recurring cost to pennies.
Where beeswax wraps earn their place is on the plastic side, not the cost side. Thin-film plastics as a category account for nearly half of new ocean-bound plastic waste, per research behind the Tom Ford/Lonely Whale Foundation initiative targeting this specific packaging type. A household that switches to wraps removes cling film from that equation entirely rather than buying a "better" version of it. Once a wrap is too worn to refresh, it composts along with everything else — the apartment composting guide covers what else can go in alongside it.