A large glass jar of fermenting kombucha on a wooden counter with a pale SCOBY disc at the top covered with linen cloth beside a bottle of finished golden kombucha and fresh ginger and lemon

How Do You Make Kombucha at Home? The Beginner’s Complete Brew Guide
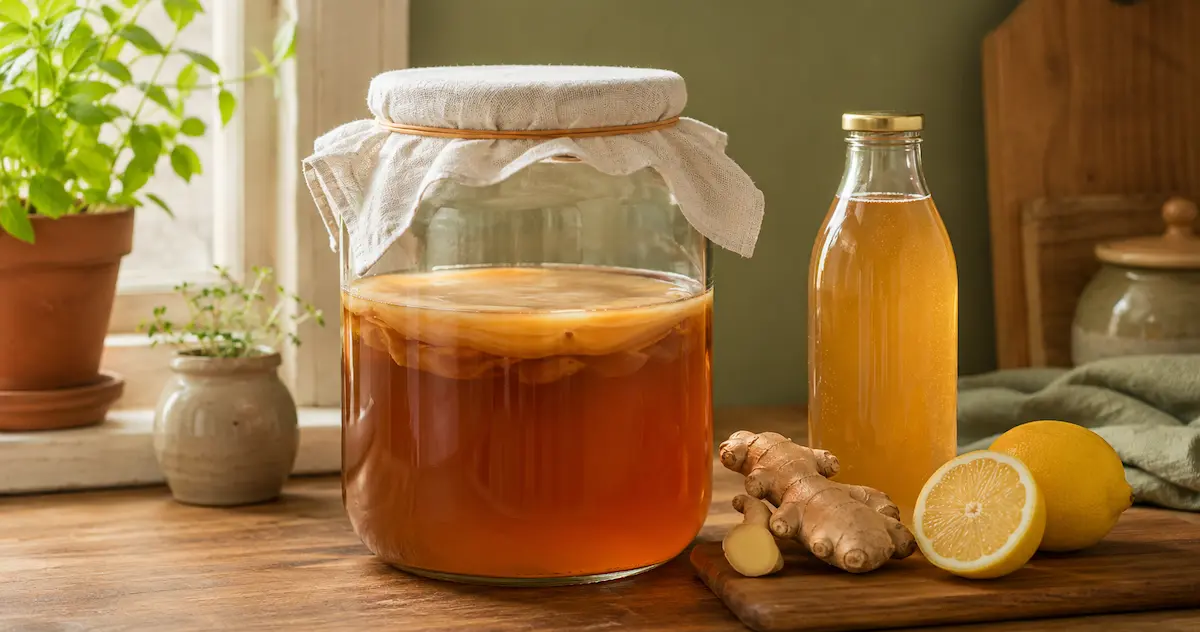
A large glass jar of fermenting kombucha on a wooden counter with a pale SCOBY disc at the top covered with linen cloth beside a bottle of finished golden kombucha and fresh ginger and lemon

How do you make kombucha at home? Fewer steps than you think, less equipment than every recipe online suggests, and nowhere near as fragile as most beginners expect.

Kombucha is fermented sweet tea. You brew black tea, dissolve sugar into it, let it cool completely, and add two things — a SCOBY and some starter liquid. Cover the jar with cloth and leave it alone for 7 to 14 days. That is the whole process. Everything else is refinement.

This guide covers getting a SCOBY, the exact recipe, the day-by-day fermentation timeline, how to build carbonation in the second ferment, and the six mistakes that ruin first batches.

What is a SCOBY and why do you need one?

SCOBY stands for Symbiotic Culture of Bacteria and Yeast. It is a rubbery, pale brown disc that looks strange and smells faintly vinegary. This is your brewing culture — the living starter that transforms sweet tea into kombucha by consuming the sugar and producing acids, carbon dioxide, and a range of probiotic compounds.

You can get a SCOBY three ways: buy one online from a fermentation supplier, get one from someone who already brews (every batch produces a new layer), or grow your own from a bottle of raw unflavoured store-bought kombucha — which takes 2 to 4 weeks but costs almost nothing.

The starter liquid matters as much as the SCOBY itself. Starter liquid is finished kombucha from a previous batch — it acidifies your new brew immediately, which prevents mould from taking hold before fermentation has time to establish itself. Never skip it.

What You Need Before You Start

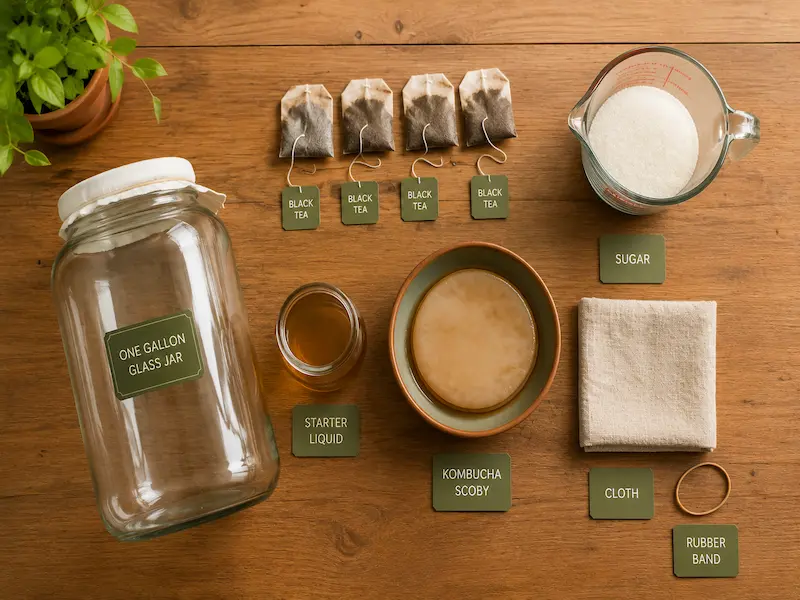
Homemade kombucha ingredients and equipment flat lay including wide-mouth glass jar black tea bags white sugar SCOBY in a bowl starter liquid linen cloth and rubber band on a wooden surface

The recipe — makes 1 gallon (3.8 litres):

Ingredients

  • 3.5 litres filtered water
  • 4 bags plain black tea
  • 200g (1 cup) white cane sugar
  • 1 SCOBY with its starter liquid
  • 240ml (1 cup) starter liquid (finished kombucha)

Equipment

  • 1-gallon wide-mouth glass jar
  • Clean cloth — linen, muslin, or coffee filter
  • Rubber band
  • Flip-top glass bottles (for second ferment)
  • Long spoon for stirring

Three things kill a batch before fermentation even starts: metal containers (kombucha acid reacts with metal — glass only), adding the SCOBY to hot tea (anything above 85°F / 30°C kills the culture), and skipping the starter liquid entirely (without it, pH stays high enough for mould to win).

How to Make Kombucha at Home — The Brew

Brew the sweet tea

Bring 1 litre of filtered water to a boil. Remove from heat and steep 4 black tea bags for 10 to 15 minutes. Remove the bags without squeezing — squeezing releases tannins that make the finished kombucha bitter. Add the sugar and stir until completely dissolved. Pour the concentrate into your gallon jar and top up with the remaining cool filtered water. The liquid must be below 85°F (30°C) before anything living goes in. Room temperature is ideal.

Add the starter liquid and SCOBY

Pour the starter liquid in first, then gently lower the SCOBY. It may sink, float sideways, or sit on top — all three are normal and none affect the outcome. The position of the SCOBY tells you nothing useful. The starter liquid is what determines whether fermentation establishes cleanly.

Cover and ferment

Cover the jar with a square of clean cloth secured with a rubber band. The cloth allows airflow — kombucha needs oxygen during first fermentation — while keeping out dust and insects. Never use an airtight lid during first fermentation. Place the jar somewhere dark, between 70°F and 78°F (21°C to 26°C). A kitchen cupboard or a shelf away from direct sunlight both work.

Temperature rule: Every 5°F warmer speeds fermentation by roughly one day. At 70°F expect 10 to 14 days. At 78°F expect 7 to 10 days. Never ferment above 85°F — it stresses the culture and produces off flavours.

Day by Day — What Actually Happens in the Jar
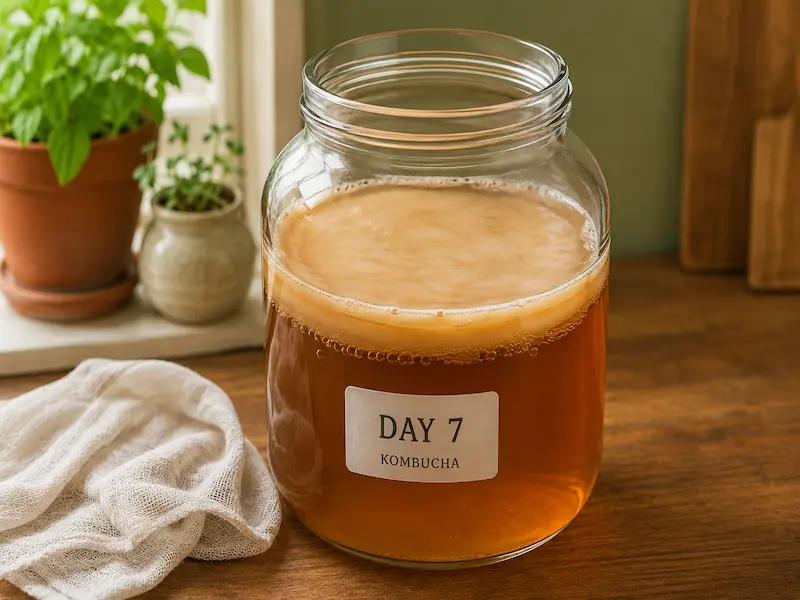
A glass jar of kombucha on day 7 of fermentation showing a new pale SCOBY disc forming across the surface of amber liquid with small bubbles visible underneath
Days 1–2
Quiet. Very little visible activity. The culture is establishing itself in the new liquid. Do not open the jar, do not stir, leave it completely alone.
Days 3–4
Small bubbles may appear on the underside of the SCOBY or rising through the liquid. A faint yeasty, vinegary smell when you lift the cloth is a good sign — fermentation is active.
Days 5–6
A new SCOBY layer may start forming across the surface — a thin, slightly translucent film. The liquid will darken from tea-brown toward amber. Still hands-off.
Day 7
First taste test. Use a clean straw or spoon. You want a balance of sweet and tart — not purely sweet (needs more time) and not purely vinegary (gone too far). If it tastes like lightly tart iced tea, it is close. Keep tasting daily from here.
Days 8–14
Bottle when ready. Taste daily until the balance feels right. Sweeter kombucha suits most beginners; tangier suits experienced drinkers. There is no single correct endpoint. When you like it, bottle it.
Day 14+
Very sour kombucha is not wasted — it makes excellent strong starter liquid for the next batch. Reserve it and start fresh rather than drinking something unpleasant.

Second Fermentation — Carbonation and Flavour

First fermentation produces flat, tangy kombucha. The second fermentation builds the fizz. Reserve the SCOBY and 240ml of finished kombucha as your starter for the next batch, then pour the rest into sealed flip-top glass bottles leaving 3cm of headspace. Add flavouring, seal airtight, and leave at room temperature for 2 to 4 days. Open each bottle briefly over a sink once daily to release pressure. When you hear a healthy hiss on opening and the bottle feels firm, move everything to the fridge.

Five flavour combinations that work well:

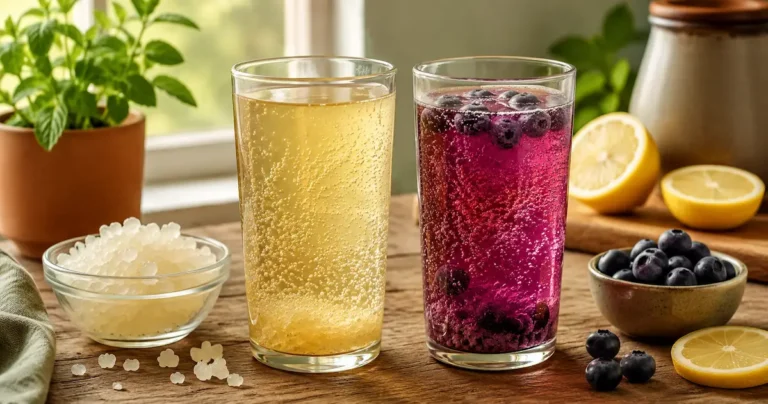
  • Ginger and lemon — 1 tsp grated fresh ginger plus a squeeze of lemon per 500ml. The most popular combination for a reason
  • Blueberry — 2 tbsp blueberry juice per 500ml. Deep purple, strong carbonation
  • Mango and chilli — 2 tbsp mango juice plus a thin chilli slice. Unusual but genuinely good
  • Raspberry and mint — 6 fresh raspberries plus 3 mint leaves per bottle
  • Plain — nothing added. The cleanest way to taste what you actually brewed

Six Mistakes That Ruin First Batches

Adding the SCOBY to hot tea.
The most common first-batch mistake. The tea must be below 85°F before you add anything living. When in doubt, wait longer — cool tea never hurts the brew.

Not enough starter liquid.
Starter liquid keeps the pH low enough to prevent mould from establishing before fermentation does. One cup per gallon is the minimum. If you do not have enough finished kombucha, GT's Synergy Original (raw and unflavoured) is the most widely available reliable substitute.

Using flavoured or pasteurised kombucha as starter.
Pasteurised kombucha has no live cultures. Flavoured versions can introduce ingredients that interfere with fermentation. Raw and unflavoured only.

Using Earl Grey, chai, or herbal teas.
The oils in Earl Grey and spices in chai damage the SCOBY over repeated batches. Plain black tea, green tea, or a blend is the safe starting point for your first several batches.

Sealing the jar during first fermentation.
First fermentation needs airflow. Carbon dioxide building up under a sealed lid creates pressure and can force liquid out or distort the SCOBY's environment. Cloth in first ferment, sealed bottles in second.

Bottling in thin or standard glass jars.
Carbonation pressure during second fermentation is significant. Flip-top glass bottles or recycled commercial kombucha bottles are designed for it. A mason jar with a standard lid can crack.
Frequently Asked Questions

How do you make kombucha at home without a SCOBY?

Brew 500ml of sweet black tea, cool it completely, then add a whole bottle of raw unflavoured store-bought kombucha. Cover with cloth and leave at room temperature for 2 to 4 weeks. A new SCOBY disc will form on the surface. Wait until it reaches at least a quarter inch thick before using it to brew a full batch — thinner than that and it may not be strong enough to reliably ferment a gallon.

How long does homemade kombucha keep in the fridge?

Bottled kombucha stored cold lasts 1 to 3 months. It keeps fermenting slowly even in the fridge, becoming gradually more tart and less sweet — which some people actually prefer at the 6-week mark. The SCOBY itself lasts indefinitely in starter liquid as long as it is fed regularly.

What if I see mould on my SCOBY?

Discard everything — SCOBY, liquid, all of it. True mould shows as fuzzy growth in green, black, or white. Do not try to scoop it off and continue. Mould at the surface has already sent filaments through the liquid that you cannot see or remove. Start again with a new SCOBY, more starter liquid, and cleaner equipment. This is rare when the starter liquid is adequate from the start.

Is homemade kombucha safe to drink?

Made correctly, yes. The acidic environment fermentation creates actively prevents harmful pathogens from surviving — which is why kombucha has been brewed safely for centuries without refrigeration. The practical safety rules are: use enough starter liquid to lower pH immediately, keep equipment clean, use glass not metal, and discard anything with mould. Worth noting that kombucha contains trace amounts of alcohol, typically under 1%, which is relevant if you are avoiding alcohol entirely.

How is kombucha different from water kefir?

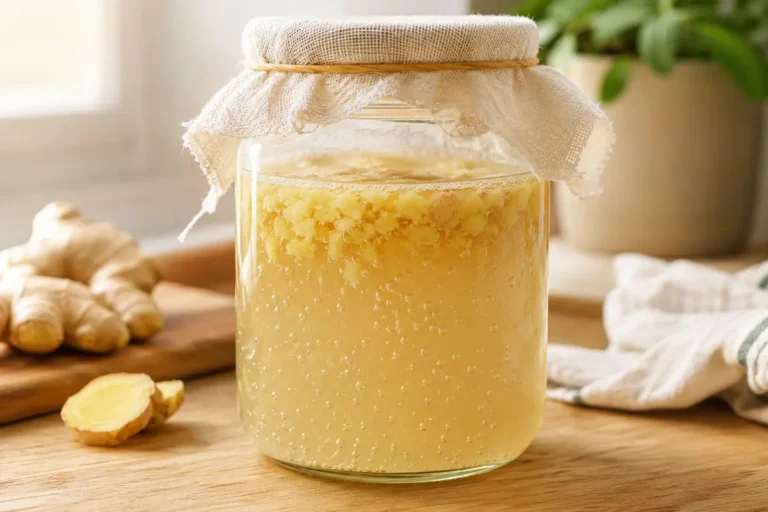
Kombucha uses a SCOBY to ferment tea over 7 to 14 days and produces a complex, vinegary, tea-forward flavour. Water kefir uses grain cultures to ferment sugar water in 24 to 48 hours and produces something milder and more lightly fizzy. If the 7 to 14 day timeline feels like a lot for a first ferment, our water kefir recipe is a good starting point — the bottling and second fermentation skills transfer directly.

Keep the Fermentation Going

💧

Water kefir — ready in 48 hours

Same probiotic payoff as kombucha, a fraction of the wait. Good starting point if 14 days feels like a long time to commit to a first batch.

Water Kefir Recipe →
🌶️

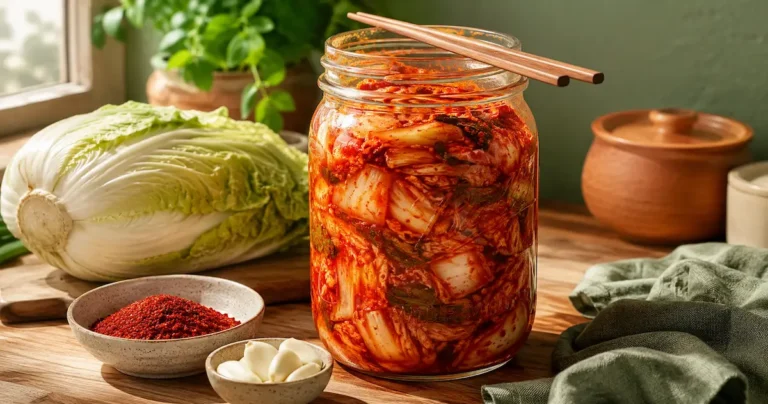
Easy kimchi in 2 days

Bold, crunchy, lacto-fermented cabbage in a mason jar — no fish sauce needed and no specialist equipment beyond what you already have.

Easy Kimchi Recipe →
🫙

Sauerkraut — the foundation ferment

Just cabbage and salt. The simplest introduction to lacto-fermentation and the one that makes every other ferment easier to understand.

Sauerkraut Recipe →
🍶

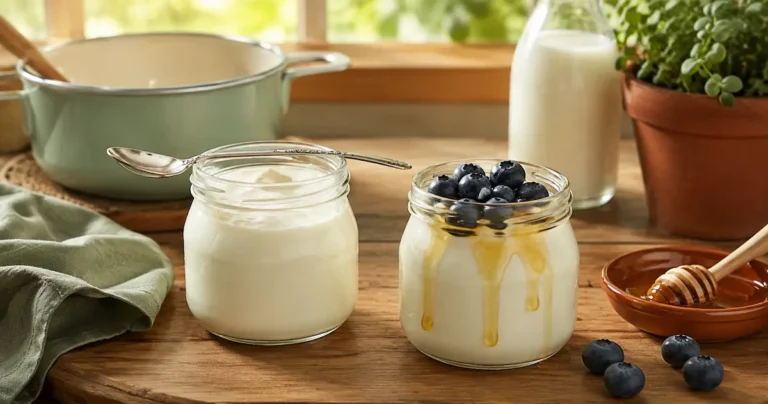
Homemade yogurt — no yogurt maker needed

Two ingredients and your oven light — thick, creamy yogurt without any specialist equipment.

Homemade Yogurt Recipe →
🌱

Fermentation in the bigger picture

Brewing kombucha at home is one of six apartment homesteading skill areas — see how the whole system connects.

Apartment Homesteading Guide →

Similar Posts

Leave a Reply

Your email address will not be published. Required fields are marked *