Homemade Yogurt Recipe: 2 Ingredients, No Yogurt Maker Needed
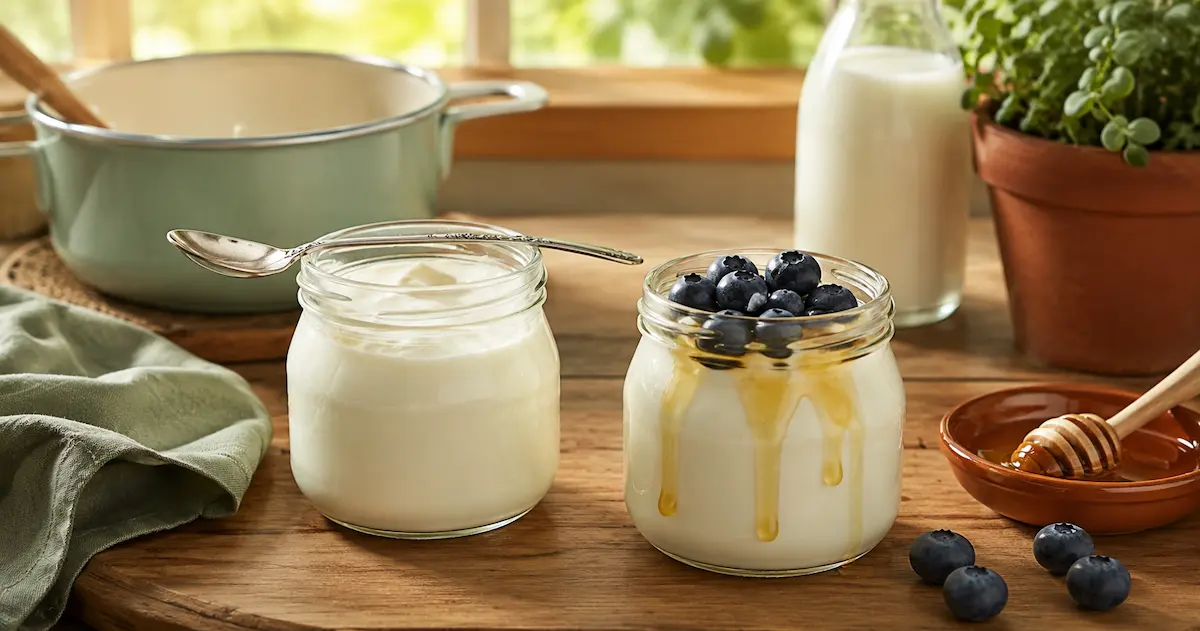
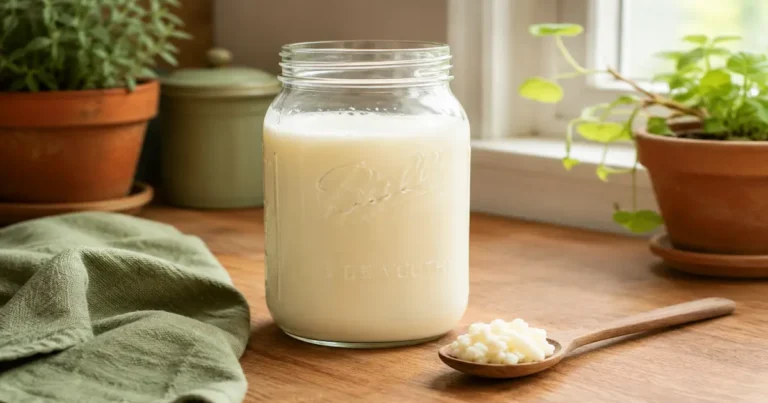
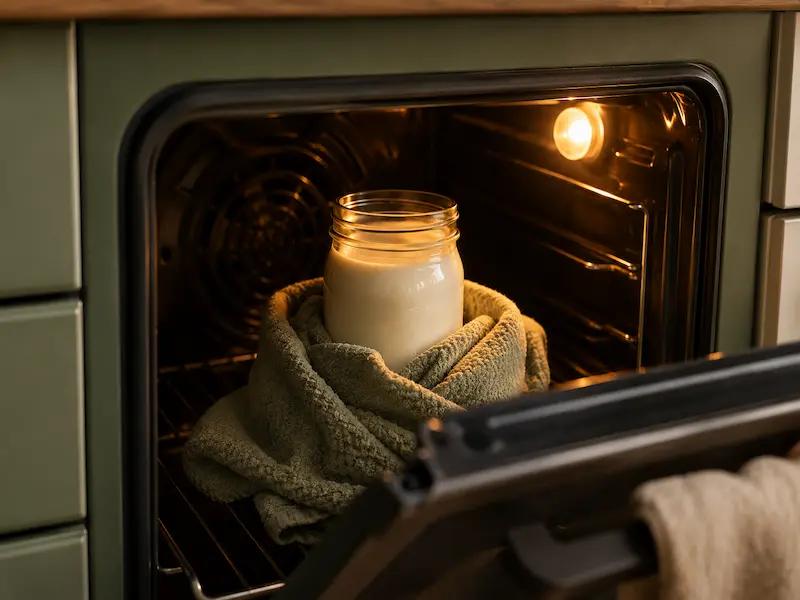
This homemade yogurt recipe uses two ingredients — milk and a spoonful of plain yogurt — and produces a thick, creamy result that tastes better than anything from a supermarket. No yogurt maker required. No specialist equipment. Just a saucepan, a mason jar, and your oven light.
Making homemade yogurt is one of the most practical fermentation projects for apartment homesteaders. The cost per batch works out to a fraction of store-bought yogurt, you control exactly what goes into it, and once you have one successful batch the yogurt from that batch becomes the starter for the next — meaning you can make fresh homemade yogurt indefinitely for the cost of milk alone.
This guide covers the exact temperatures, the stovetop method step by step, five ways to incubate without a yogurt maker, and every common problem with a clear fix.
Why Temperature Is Everything in This Recipe
What You Need
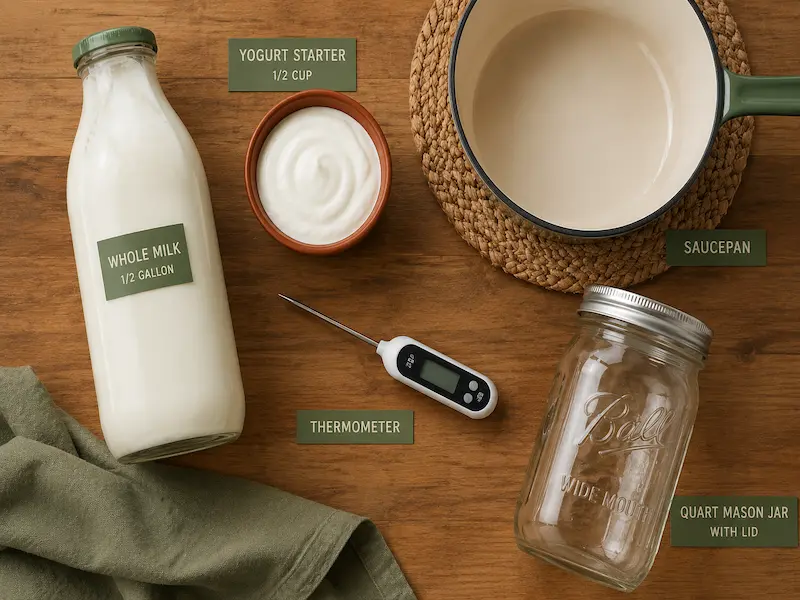
On the starter yogurt: Either Greek or regular yogurt is fine, but avoid any flavorings — stick to plain, unflavored yogurt. Different strains of bacteria have different health benefits, so look for the yogurt with the most cultures listed — some common ones are L. Bulgaricus, S. Thermophilus, L. Acidophilus, Bifidus, and L. Casei. Once you have made your first homemade yogurt batch, save 3 tablespoons to use as the starter for the next one.
On the milk: Whole milk produces the thickest, creamiest homemade yogurt. 2% milk works and produces a lighter result. Skim milk produces a thin, watery yogurt that most people find unsatisfying. For your first plain yogurt recipe, use whole milk
The Homemade Yogurt Recipe — Step by Step
5 Ways to Incubate Homemade Yogurt Without a Yogurt Maker
How to Make Greek Yogurt From This Recipe
Strain your finished plain yogurt recipe through a muslin cloth or clean tea towel set over a bowl. Leave in the fridge for 2 hours for thick Greek-style yogurt or overnight for an even denser, cream-cheese-like consistency. The liquid that drains off is whey — save it and use it in smoothies, bread dough, or soups. Nothing is wasted.
Variations to Try After Your First Batch
Troubleshooting Your Homemade Yogurt Recipe
Yogurt did not set — still liquid after 8 hours. The most common causes are inactive culture, incubation temperature too high or too low, or inhibitor substances such as detergent residue from dishes. Check that your starter yogurt contained live active cultures, that the milk was cooled to 110°F before adding the starter, and that your jars were rinsed thoroughly. If your kitchen is cold, the incubation environment may simply not have been warm enough — try the oven light method next time.
Yogurt is very runny and thin. Skim or low-fat milk produces thin homemade yogurt. Whole milk gives the best results. You can also add 2 tablespoons of powdered milk to the heated milk before cooling — this increases the protein content and produces a noticeably thicker result.
Yogurt tastes too sour. Incubation time was too long or temperature too high. The longer yogurt sits, the thicker and more tart it becomes. If this is your first time making yogurt, start checking it after 4 hours and stop when it reaches a flavour and consistency you like.
Watery liquid pooling on top. This is whey separating from the curds — completely normal, not a sign of failure. You can either drain this off or whisk it back into the yogurt before transferring to containers.
Starter yogurt has become weak after several batches. After somewhere between 5 to 10 batches where you are using the yogurt from the last batch to make the next, your yogurt will start tasting slightly off. At that point the culture has become weak and you need to restart with a new container of store-bought yogurt.