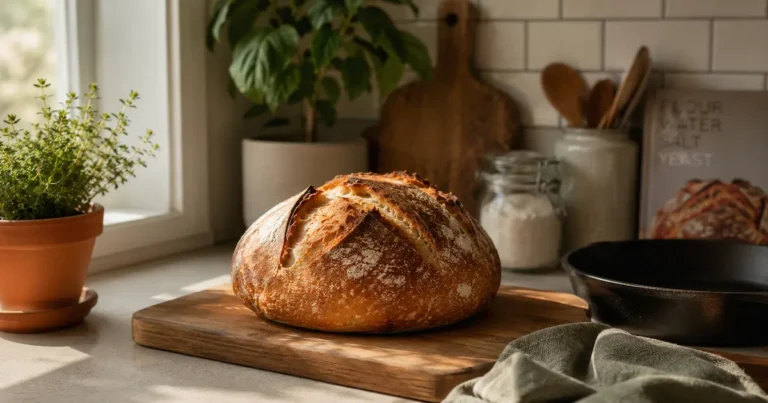
Finished no-knead bread loaf on a wooden board with crackly golden crust and open crumb

No-Knead Bread for Beginners: 4 Ingredients, Zero Skill Required
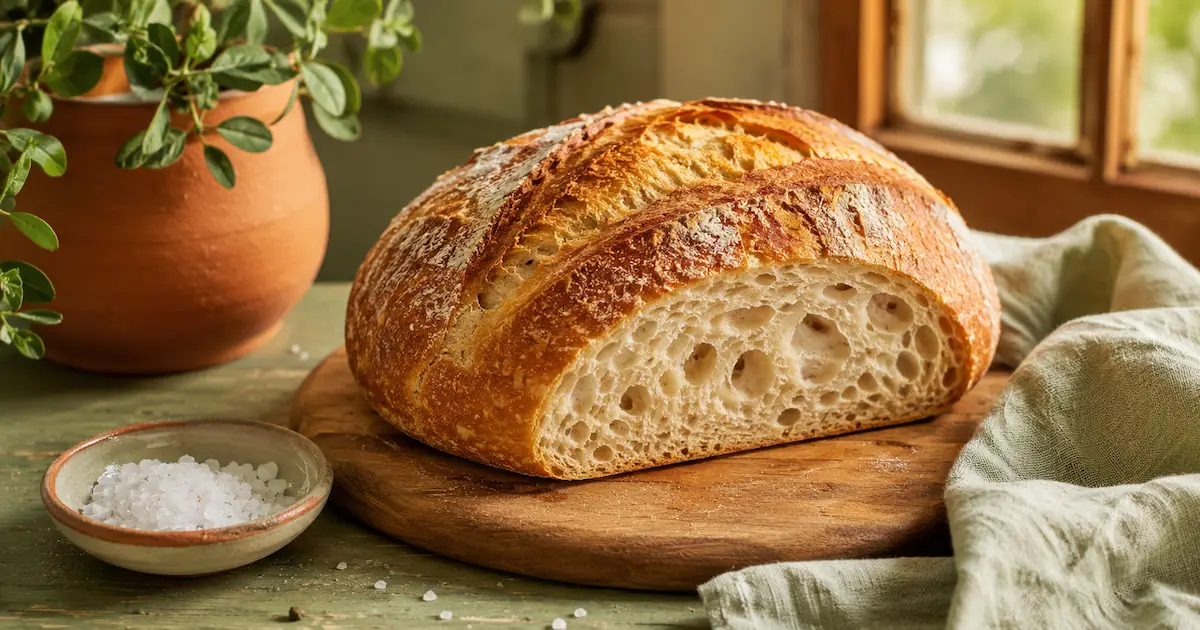
Finished no-knead bread loaf on a wooden board with crackly golden crust and open crumb

Most people think bread is hard to make. Kneading, proofing, scoring, steam injection — the whole process sounds like it belongs in a professional bakery, not a rented apartment with a basic oven.

No-knead bread changes all of that.

Four ingredients. Five minutes of hands-on time. Twelve to eighteen hours of doing nothing. One loaf of proper, crackly-crusted, open-crumbed bread that tastes like something from an artisan bakery.

This is the recipe that convinced an entire generation of people that they could actually bake bread.

No-Knead Bread — At a Glance

Hands-on Time 5 minutes
Rise Time 12–18 hours
Bake Time 45 minutes
Difficulty Beginner
Makes 1 loaf
Keeps 2–3 days

Why This Bread Needs No Kneading

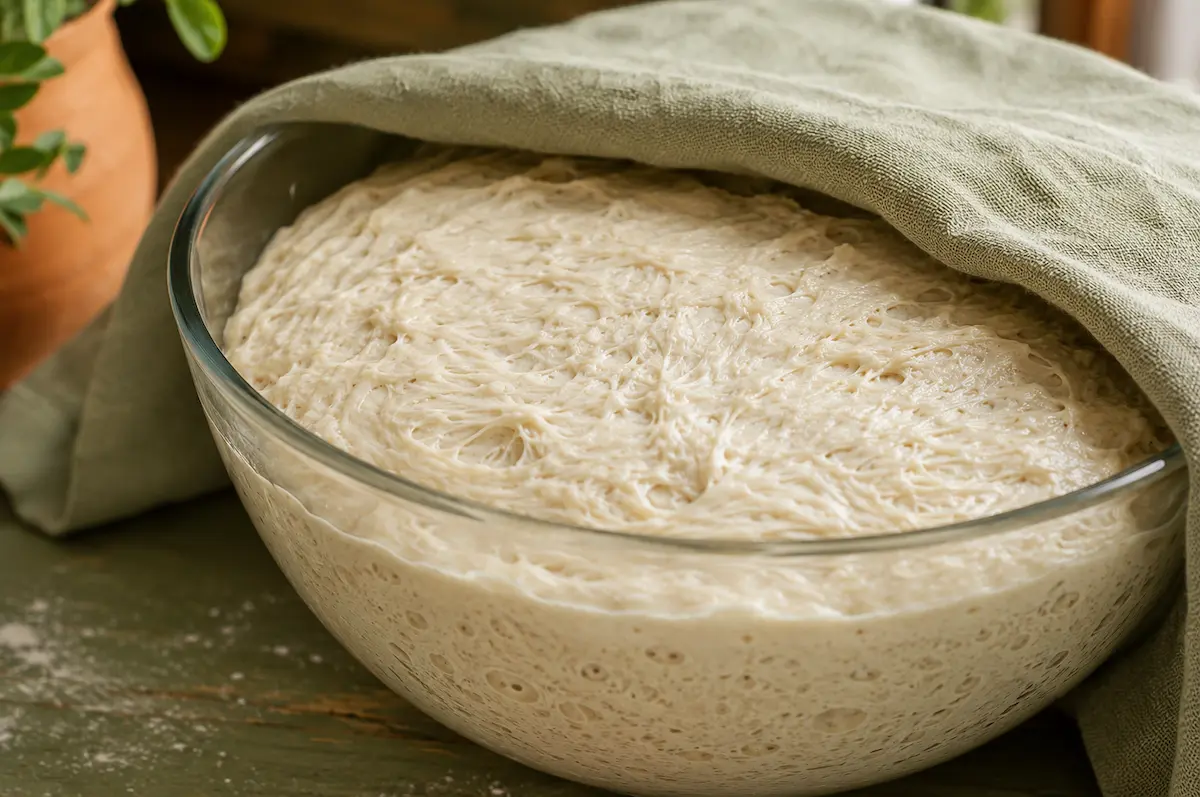
Bubbly no-knead bread dough in a glass bowl after 18 hour overnight rise

Traditional bread recipes call for ten or more minutes of kneading because your hands are doing a specific job: aligning the gluten molecules in the flour so they link together into an elastic network capable of trapping the gas bubbles that make bread rise.

No-knead bread skips this entirely by using two things instead — time and water.

The long, slow rise does over hours what intensive kneading does in minutes: it brings the gluten molecules into side-by-side alignment to maximize their opportunity to bind to each other and produce a strong, elastic network. The wetness of the dough is an important part of this because the gluten molecules are more mobile in a high proportion of water, and so can move into alignment more easily than if the dough were stiff.

The science in plain English

Wet dough + time = the same result as kneading. The gluten develops on its own overnight. You do nothing. The bread does the work.


The dough is much wetter than traditional bread dough, typically around 75% hydration — meaning 75 grams of water for every 100 grams of flour. The extended fermentation period of 12 to 18 hours allows the yeast to slowly break down the starches in the flour, creating complex flavours as well as the gluten structure the bread needs.
This is why no-knead bread often tastes better than bread made the traditional way — the slow fermentation builds flavour that fast kneading cannot.

What You'll Need

Ingredients

  • 400g bread flour (or all-purpose)
  • 8g fine sea salt (about 1¼ tsp)
  • 1g instant yeast (about ¼ tsp)
  • 300ml cool water

Equipment

  • Large mixing bowl
  • Wooden spoon or spatula
  • Cling film or plate to cover
  • Oven-safe pot with a lid
  • Parchment paper
  • Kitchen towel or tea cloth

A note on the yeast: The quantity looks tiny at ¼ teaspoon — that's intentional. A small amount of yeast working slowly over 12 to 18 hours produces dramatically more flavour than a large amount working quickly. Do not increase it.

A note on flour: Bread flour has a higher protein content than all-purpose, which gives a slightly chewier crumb and taller rise. All-purpose flour works and produces an excellent loaf — just expect a slightly softer texture.

The Method
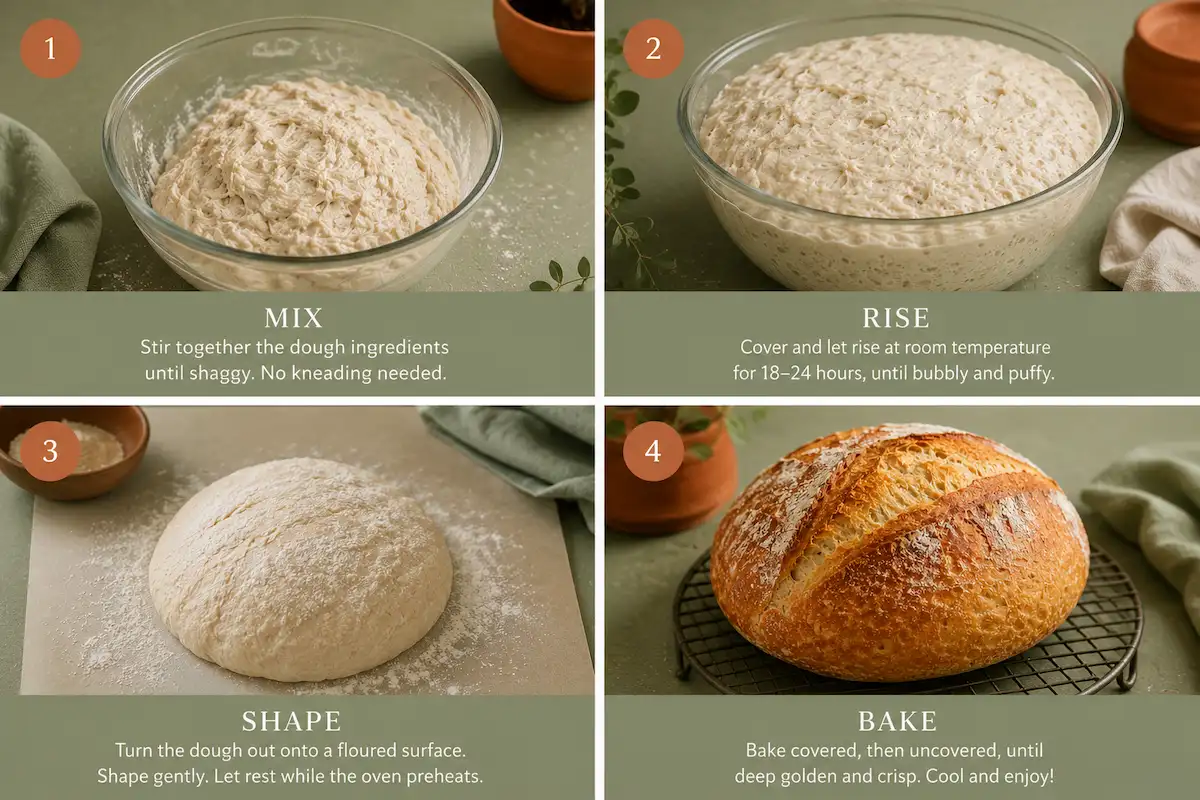
Four step sequence showing no-knead bread process from shaggy dough to finished loaf
1

Mix the dough — 5 minutes

Combine the flour, salt, and yeast in a large bowl and stir briefly. Add the water and mix with a wooden spoon or spatula until everything comes together into a shaggy, rough, sticky dough. There should be no dry flour left in the bowl. It will look messy — this is correct.

Tip: Do not add extra flour to make it easier to handle. The stickiness is what makes this bread work.
2

Cover and rest — 12 to 18 hours

Cover the bowl tightly with cling film or a plate and leave it at room temperature for 12 to 18 hours. The longer end produces more flavour. After this time the dough should have roughly doubled in size, look wet and bubbly on the surface, and smell faintly yeasty and tangy.

Tip: Mix the dough the evening before you want to bake. Leave it overnight and bake the next morning — it fits naturally into any routine.
3

Shape — 2 minutes

Flour a work surface lightly and scrape the dough out of the bowl. Fold it over itself two or three times from the outside in, then turn it seam-side down and gently shape it into a rough ball. Do not overwork it — a few folds is all it needs. Place the dough seam-side down on a piece of parchment paper, dust the top lightly with flour, and cover loosely with a clean kitchen towel.

4

Second rest — 1 to 2 hours

Leave the shaped dough to rest for one to two hours while your oven and pot preheat. The dough should puff slightly but will not double in size — this is expected.

Tip: While the dough rests, place your oven-safe pot with its lid inside the oven and preheat everything together to 450°F (230°C) for at least 30 minutes. The screaming-hot pot is what creates the crackly crust.
5

Bake covered — 30 minutes

Carefully remove the hot pot from the oven. Using the parchment paper as a sling, lower the dough into the pot. Slash the top once with a sharp knife or scissors — this controls where the loaf opens. Put the lid on and return to the oven for 30 minutes. During this phase the trapped steam keeps the crust soft so the bread can rise fully before setting.

Tip: The pot is extremely hot. Use thick oven gloves and move deliberately.
6

Bake uncovered — 15 minutes

Remove the lid and bake for a further 15 minutes until the crust is a deep golden brown. The loaf is done when it sounds hollow when tapped on the base, or when an instant-read thermometer inserted into the centre reads 190 to 200°F (88 to 93°C).

Tip: Let the loaf cool on a wire rack for at least 30 minutes before slicing. Cutting too early makes the crumb gummy — the inside is still finishing its bake from residual heat.

No Dutch Oven? Here's What to Use Instead

A Dutch oven works because it does two things: traps steam in the first half of baking so the crust stays soft long enough for the loaf to rise, then crisps the crust once the lid comes off. You can replicate both effects with what you already own.

Best alternative

Any oven-safe pot with a lid

Stainless steel, enamelled, or ceramic — if it has a lid and is safe above 450°F, it works. Preheat it with the oven for 30 minutes.

Best alternative

Casserole dish with foil

Cover tightly with a double layer of heavy-duty foil instead of a lid. Remove the foil for the last 15 minutes to crisp the crust.

Works well

Cast iron skillet + foil

Place the dough on parchment in a hot cast iron skillet and cover tightly with foil. The cast iron retains heat well and produces good oven spring.

Works well

Baking sheet + steam

Bake the loaf on a sheet and place a tray of boiling water on the oven floor for the first 20 minutes to create steam. Remove the tray for the second half.

One thing not to use: Glass bakeware. Glass can shatter when exposed to sudden extreme heat. Stick to metal, ceramic, or enamelled vessels.

Variations Once You've Made Your First Loaf

The base recipe is deliberately plain — once you have one successful loaf, flavour variations are just additions to the mixing step.
  • Rosemary and sea salt — add 1 tablespoon of chopped fresh rosemary and a pinch of flaky sea salt to the dough and on top before baking
  • Olive and garlic — fold in a handful of chopped olives and 2 minced garlic cloves during the shaping step
  • Whole wheat — replace up to 30% of the bread flour with whole wheat flour; expect a slightly denser crumb and nuttier flavour
  • Overnight cold rise — after the initial 12 to 18 hours at room temperature, move the dough to the fridge for another 8 to 24 hours. The cold slows fermentation and builds even more complex flavour
  • Seeded crust — brush the top of the shaped loaf lightly with water and press sesame seeds, sunflower seeds, or rolled oats into the surface before the second rest

Frequently Asked Questions

My dough doesn't look bubbly after 18 hours. What went wrong?

Usually the yeast. If your yeast is old or has been stored somewhere warm and humid it can lose potency. Try a fresh packet. Also check your room temperature — if your kitchen is colder than 65°F the dough may need a few extra hours. Move the bowl somewhere slightly warmer and check again.

Can I use active dry yeast instead of instant yeast?

Yes. Use the same ¼ teaspoon amount but dissolve it in the water first and let it sit for 5 to 10 minutes before adding to the flour. It will foam slightly when active. If it doesn't foam, the yeast is dead and needs replacing.

My bread came out dense and heavy. What happened?

Three most likely causes: the dough didn't rise enough during the 12 to 18 hour rest (yeast issue or too cold), the oven or pot wasn't hot enough before baking, or you cut into the loaf too early. Our guide to why bread goes dense covers each cause in detail.

Can I mix the dough and bake it the same day?

Not with this recipe. The 12 to 18 hour fermentation is what does the work of kneading and builds the flavour. A same-day version would require a completely different method with much more yeast and active kneading — which is a different bread entirely.

How is this different from sourdough?

No-knead bread uses commercial instant yeast for its rise. Sourdough uses a living culture of wild yeast and bacteria that you maintain in your kitchen — it takes more time to develop and produces a more complex, tangier flavour. No-knead bread is a great first step if you want to eventually try sourdough. Our complete guide to sourdough bread without an oven is the natural next step.

How do I store leftover bread?

Wrap the cut end in a clean cloth or paper bag and store at room temperature for 2 to 3 days. Do not refrigerate — cold air stales bread faster than room temperature. For longer storage, slice the whole loaf and freeze in a zip-lock bag. Toast slices directly from frozen.

Ready to Go Further?

🍞

Try sourdough next

No-knead bread is the warm-up. Sourdough is the skill that keeps giving — and you don't even need an oven to make it.

Sourdough Without an Oven →
🌱

Ready to build a starter?

Sourdough uses the same "time does the work" principle as this recipe, just with a living culture instead of commercial yeast.

The Complete Starter Guide →
🌿

See the bigger picture

Baking from scratch is one of six pillars of apartment homesteading. See how it all fits together.

The Complete Guide →

Similar Posts

Leave a Reply

Your email address will not be published. Required fields are marked *