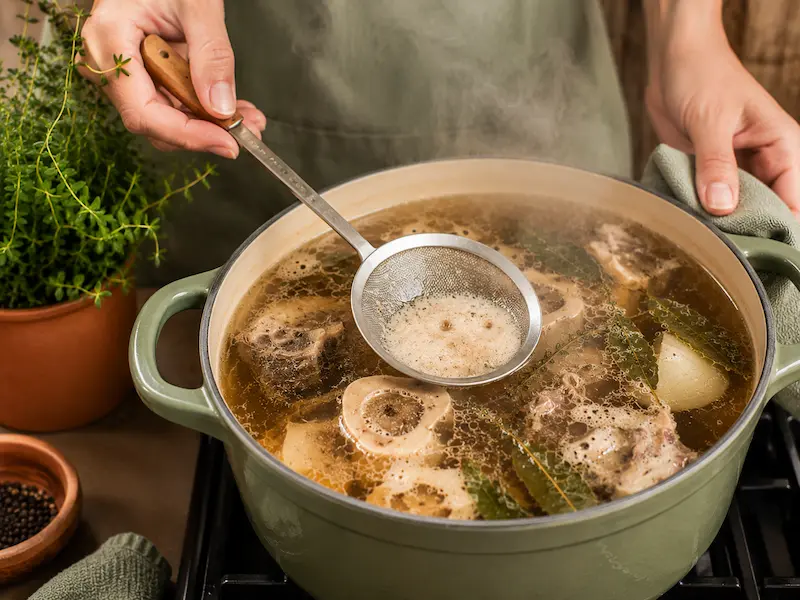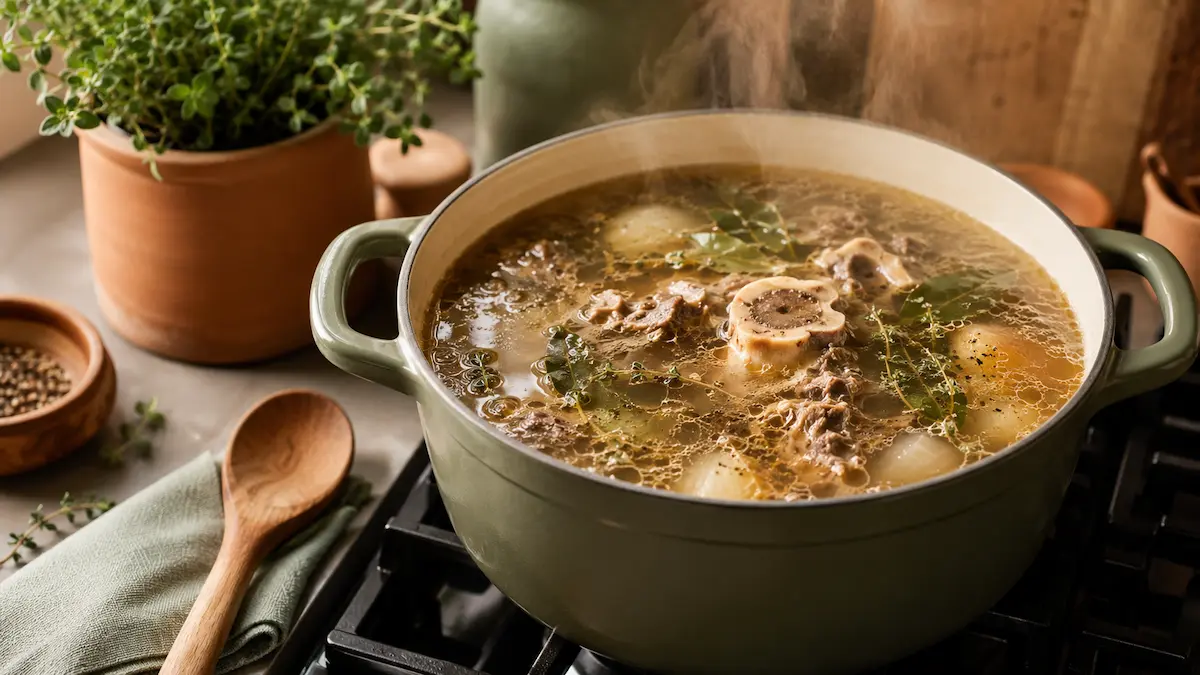
A large stockpot of golden bone broth simmering gently on a stovetop, steam rising, with bones and herbs visible through the liquid

Bone Broth on the Stovetop: The Complete Beginner’s Guide
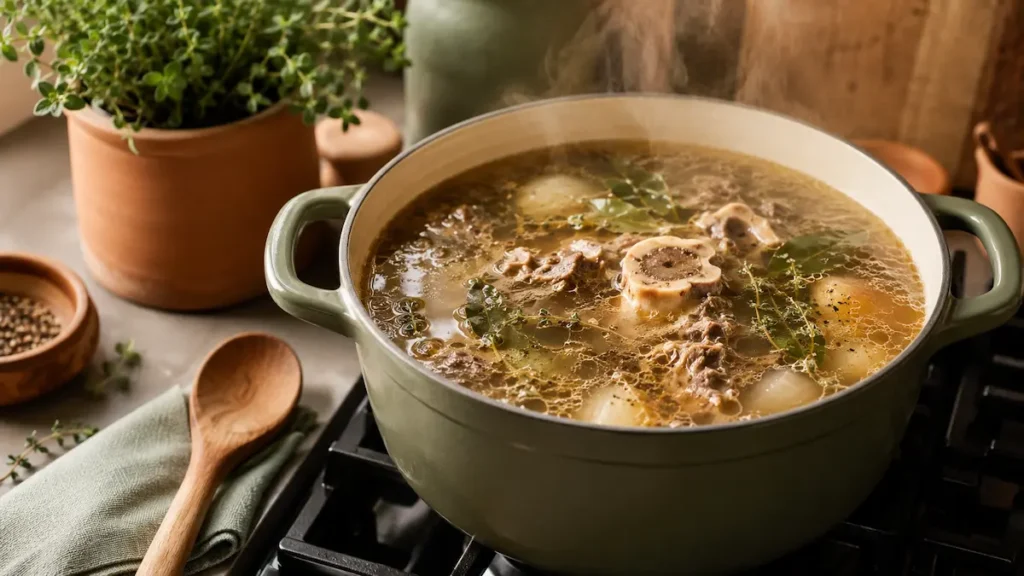
A large stockpot of golden bone broth simmering gently on a stovetop, steam rising, with bones and herbs visible through the liquid

Bone broth is one of the few apartment homesteading projects that turns something most people throw away — bones — into a kitchen staple worth several dollars a cup at the grocery store.

It needs no special equipment beyond a pot you probably already own, and it runs almost entirely unattended once it's going. The only real skill involved is understanding temperature and time, since that's what separates a rich, gelatinous broth from a thin, flavorless one — and it's also the part that matters most for food safety.

This guide covers the full stovetop method from start to finish, with the exact simmer times and temperatures that actually produce good results, not just "cook until it smells right."

  • What bone broth actually is and why simmer time matters
  • What equipment and ingredients you need
  • Step-by-step stovetop instructions
  • Exact simmer times for chicken, beef, and fish bones
  • The food safety rules that actually matter
  • How to tell when your broth is done — the gel test
  • Storage, freezing, and common troubleshooting

What Is Bone Broth, Really?

Bone broth is made by simmering animal bones — along with some meat, vegetables, and aromatics — in water for an extended period, far longer than a typical soup stock. That extended time is the entire point.

Collagen conversion begins around 160°F, but the most effective range for breaking that collagen down into gelatin sits between 180°F and 200°F, sustained over many hours. This is a slow chemical process, not something that happens just by getting the water hot. In the first few hours, water-soluble nutrients and minerals leach out of the bones; the gelatin extraction that gives broth its signature body and richness happens gradually, over a much longer stretch of time.

This is also why bone broth differs from regular stock. A quick two-hour stock extracts flavor. A proper bone broth, simmered for 12 to 24 hours, extracts the deep collagen and minerals locked inside the bone itself.

What You'll Need
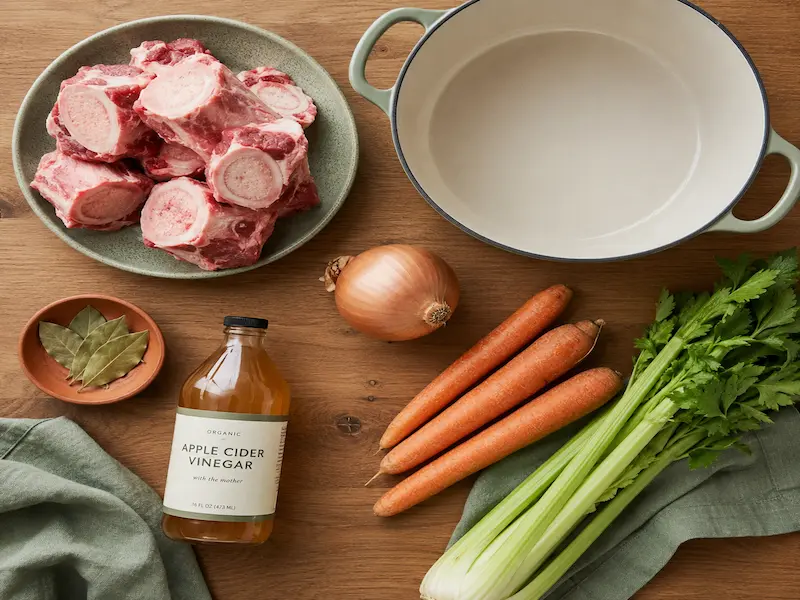
Bone broth equipment flat lay including raw beef bones, a stockpot, onion, carrots, celery, bay leaves, and apple cider vinegar on a wooden counter
  • 2 to 3 lbs of bones — chicken carcass and feet, beef marrow and knuckle bones, or fish heads and frames. Mix bone types if you like; the principle is the same
  • A large stockpot with a heavy bottom — heavy-bottomed pots distribute heat more evenly and reduce the risk of scorching during a long simmer
  • A tight-fitting lid — helps maintain a steady temperature and reduces evaporation over a long cook
  • 1 to 2 tablespoons of apple cider vinegar — the acid helps draw minerals out of the bone over the long simmer. If you've made your own from scraps, this is a perfect use for it
  • Aromatics — a roughly chopped onion, 2 to 3 carrots, 2 to 3 celery stalks, a couple of bay leaves, and whole peppercorns are the classic base
  • A fine mesh skimmer or large spoon — for removing foam during the first hour of cooking
  • A fine mesh strainer or cheesecloth — for straining the finished broth
  • A food thermometer — the single most useful tool for getting this right consistently, especially for your first few batches

Step-by-Step Instructions

Close-up of hands skimming foam from the surface of simmering bone broth with a fine mesh skimmer
  1. Optional — roast the bones first. For beef or other red meat bones, roasting at 450°F for 20 to 25 minutes before simmering deepens the flavor and produces a darker, richer broth. This is a flavor preference, not a safety requirement, and chicken bones are usually skipped straight to the pot.
  2. Add the bones to the pot. Place the bones in your stockpot and add cold or lukewarm water until it covers the bones by about 2 inches.
  3. Add the vinegar. Stir in the apple cider vinegar and let the pot sit for 20 to 30 minutes before turning on the heat. This gives the acid a head start on softening the bone surface.
  4. Bring to a boil. Turn the heat to high and bring the pot to a full boil, uncovered.
  5. Skim the foam. As the water comes to a boil, grey foam will rise to the surface. Skim this off with your mesh skimmer for the first 30 to 60 minutes — this step is what produces a clear broth instead of a cloudy one.
  6. Reduce to a gentle simmer. Lower the heat until the broth shows only small, occasional bubbles breaking the surface — not a rolling boil. Add the onion, carrots, celery, bay leaves, and peppercorns at this point. Check your water level periodically and top up with hot water if it drops below the bones.
  7. Maintain the simmer. Keep the broth at this gentle simmer, partially covered, for the appropriate time for your bone type — see the table below.
  8. Strain. Once finished, remove the pot from heat and strain the broth through a fine mesh strainer or cheesecloth into a large bowl or pot, discarding the solids.
  9. Cool quickly. This is the most important food safety step in the entire process — see the safety section below before you do anything else with your finished broth.

Exact Simmer Times by Bone Type

Different bones need different amounts of time to fully break down and release their collagen. Going shorter than the minimum leaves you with a thin broth; going longer than the maximum doesn't add meaningful benefit and can eventually turn the broth bitter.

Bone TypeSimmer TimeNotes
Fish bones / heads4–6 hoursBreaks down fastest; longer cooking can turn it bitter
Chicken bones12–18 hoursA whole carcass with feet gives the richest gel
Beef / red meat bones18–24 hoursRoasting first deepens flavor and color
Mixed or vegetable stock2–4 hoursVegetable tissue breaks down much faster than bone

The Food Safety Rules That Actually Matter

Bone broth's long, low simmer makes it different from most cooking projects, and that raises real food safety questions worth answering directly rather than glossing over.

Keep the temperature in the safe zone throughout the simmer. The broth needs to stay hot enough, consistently, to prevent bacterial growth over such a long cook. Most experienced bone broth makers maintain a simmering temperature in the 180°F to 185°F range, and the broth should never be allowed to drop below 140°F at any point during cooking. A food thermometer removes the guesswork here, especially while you're still learning what a "gentle simmer" looks like on your specific stove.

Never leave it unattended on a gas stove overnight, full stop. This is a genuine fire safety issue, not just a food safety one. If you want to run a multi-hour or overnight simmer safely, a slow cooker or programmable multi-cooker set to maintain temperature is the safer choice for unattended cooking — both because it removes the open-flame risk and because the USDA recommends keeping these appliances at or above 140°F throughout the process specifically to prevent bacterial growth. On a stovetop, plan to be home and awake to monitor the pot, or switch it to a slow cooker before you leave or go to bed.

Cool the finished broth quickly — this is the step people skip. Once your broth is done, the single most important food safety step is cooling it fast rather than leaving the hot pot sitting on the counter or stove for hours, which is exactly the temperature range bacteria multiply fastest in. The fastest way to do this at home is to strain the broth into a few smaller, shallower containers rather than one large pot, since smaller volumes lose heat far faster. Placing those containers in an ice bath, or even just spreading the bones and solids out on a tray to cool separately from the liquid, speeds things up considerably. Aim to get the broth refrigerated within a couple of hours of finishing.

Once refrigerated, use it within 4 days, or freeze it. Cooked bone broth doesn't last indefinitely in the fridge. If you won't use it within four days, freeze it — broth freezes extremely well and loses very little quality.

How to Tell When It's Done — The Gel Test
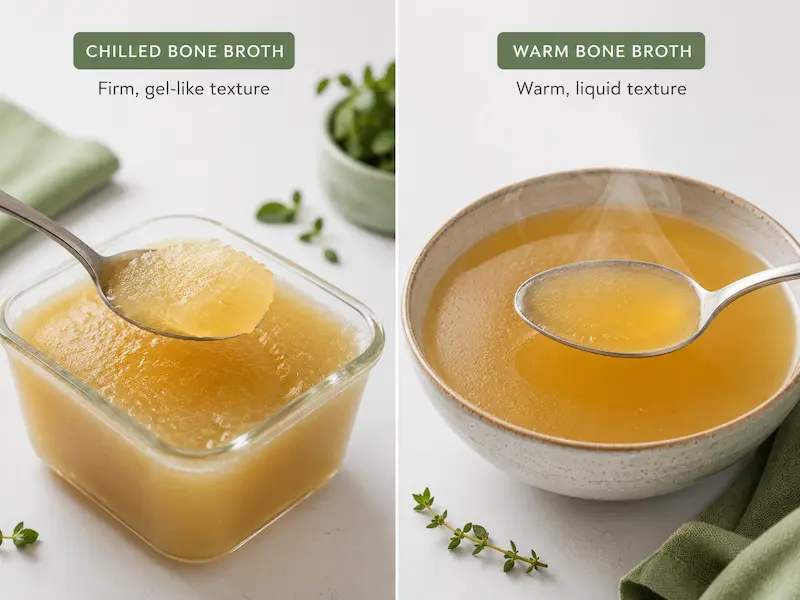
Side-by-side comparison of a spoonful of chilled bone broth showing a firm jelly-like gel texture next to a warm bowl of golden broth

The most reliable way to know your broth has cooked long enough has nothing to do with the clock — it's the gel test.

Spoon a small amount of the finished broth into a dish and chill it in the fridge for an hour. Properly cooked broth, rich in extracted collagen, will set into a firm, jelly-like consistency once cold. If it stays completely liquid even when chilled, the collagen extraction is incomplete, and the broth would benefit from more time on the next batch — or in this one, if it's still simmering.

A few other cues worth checking alongside the gel test: the broth should coat the back of a spoon with noticeable body, chicken broth should have turned a deep golden color, and beef broth should be a rich amber. Meat and connective tissue should also separate easily from the bones by the time you strain it.

Common Troubleshooting

My broth is cloudy instead of clear. This almost always means the broth boiled too vigorously at some point rather than holding a gentle simmer. Keep the temperature below a rolling boil throughout the cook, and skim the foam thoroughly during that first hour — both make a noticeable difference in clarity.

My broth didn't gel at all. Most commonly this means the simmer time was too short for the bone type, or too few bones were used relative to the amount of water. Try increasing the bone-to-water ratio next time, and make sure you're hitting the full simmer time range for whatever bones you're using.

My broth tastes bitter. Overcooking is the usual cause — simmering well past the recommended range can break proteins down too far and turn the flavor bitter and overly mineral-heavy. This happens most often with fish broth, which cooks faster than people expect.

I'm nervous about leaving it simmering for that long. That instinct is reasonable, especially on a gas stove. Switch to a slow cooker or a programmable multi-cooker for any simmer you can't personally supervise — both hold a safe, steady temperature without the fire risk of an unattended open flame.

Storage and Freezing

Bone broth is one of the most freezer-friendly things you can make at home. Once cooled and refrigerated, portion it into freezer-safe containers, silicone cube trays for small portions, or freezer bags laid flat to save space. Frozen bone broth keeps well for several months and thaws quickly in the fridge or directly in a pot over low heat. Freezing in smaller portions — a cup at a time, or ice cube portions for cooking — means you can pull out exactly what you need without thawing an entire batch.
Frequently Asked Questions

Is it safe to leave bone broth simmering on the stove overnight?

On a gas stove, this isn't recommended — it's a genuine fire safety risk to leave an open flame unattended for hours while you sleep. If you want an overnight or multi-hour simmer you can't personally supervise, a slow cooker or programmable multi-cooker is the safer option, since it holds a steady, safe temperature without an open flame and without needing to be watched.

What temperature should bone broth simmer at?

Aim for a gentle simmer in the 180°F to 185°F range, where you see small, occasional bubbles rather than a rolling boil. The broth should never be allowed to drop below 140°F at any point during the cook, since that's the threshold below which bacterial growth becomes a concern over a long cooking time.

How do I know when my bone broth is actually done?

The most reliable test is chilling a small spoonful in the fridge for about an hour. If it sets into a firm, jelly-like gel, the collagen has properly broken down and your broth is ready. If it stays liquid even when cold, it needs more time.

Can I reuse the same bones for a second batch of broth?

Yes, this is sometimes called a "second broth." The bones will have given up most of their collagen and minerals by the end of a full simmer, so a second batch will be noticeably lighter and less gelatinous than the first, but it's still a useful, flavorful base for soups and is a good way to extract every bit of value from the bones before discarding them.

How long does bone broth last in the fridge or freezer?

Once properly cooled and refrigerated, use bone broth within about 4 days. For longer storage, freeze it — properly frozen bone broth keeps well for several months with very little loss in quality, and portioning it into smaller containers or ice cube trays makes it easy to use exactly what you need.

Why does my broth need to be cooled quickly after cooking?

A pot of hot broth left sitting out for hours sits directly in the temperature range where bacteria multiply fastest. Straining the broth into smaller, shallower containers rather than one large pot, and using an ice bath if possible, cools it much faster and gets it safely into the fridge within a couple of hours rather than leaving it out on the counter or stove.

Final Thoughts

Bone broth is the kind of project that feels intimidating before you start and almost completely hands-off once it's actually going. The bones do most of the work — your job is mostly just keeping the temperature steady and being patient.

It's also one of the more natural extensions of a zero-waste kitchen. The carcass from a roast chicken, the bones leftover from a cut of beef, even the trimmings from vegetables you'd otherwise toss — all of it has a second life here instead of going straight in the bin.

🥬

New to apartment homesteading? Read our complete Apartment Homesteading Guide to see how projects like this fit into the bigger picture.

🥒

Already making the most of your scraps? Try our guide to Small-Batch Sauerkraut in a Mason Jar — another zero-cost project built from simple ingredients.

🍎

Looking for more ways to use kitchen scraps? Read our guide to Apple Cider Vinegar from Scraps — and use a splash of your own homemade ACV in your next batch of broth.

Similar Posts

Leave a Reply

Your email address will not be published. Required fields are marked *