Bokashi Composting: The Fermentation Method That Handles Meat and Dairy
Open a bokashi bucket for the first time and the smell surprises most people — not rot, not garbage, but something closer to sauerkraut gone slightly sharp. That single detail explains much of how this method works, and why it can handle materials such as cooked meat, dairy, and small bones that conventional home composting generally avoids.
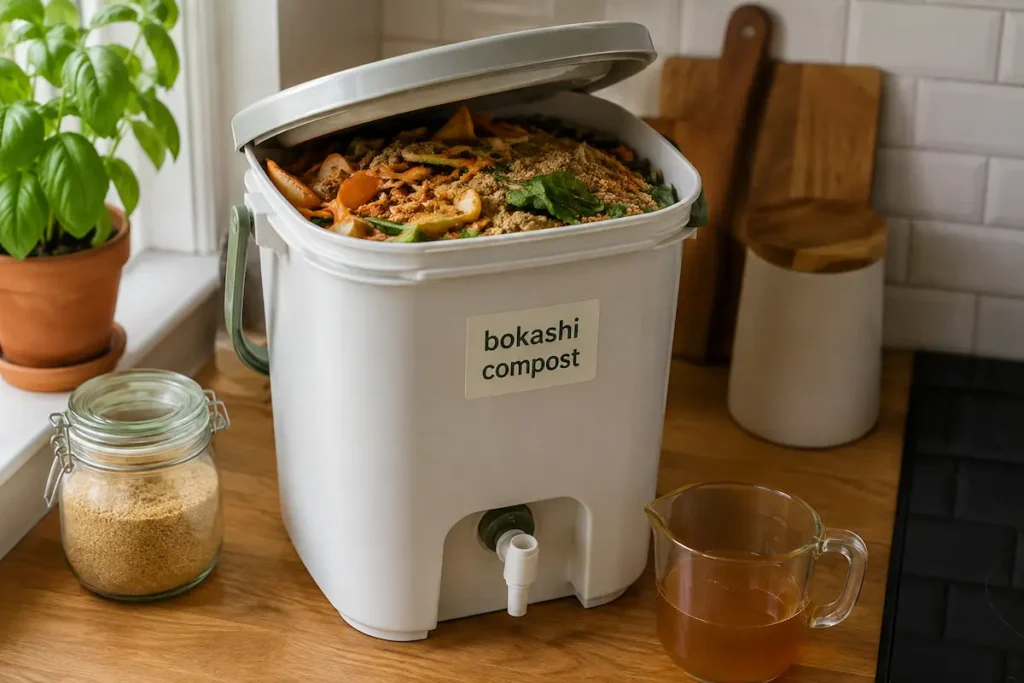
How Bokashi Works, in Eight Steps
Before the detail below, here’s the process in outline:
- Add food scraps to the bucket in a thin layer.
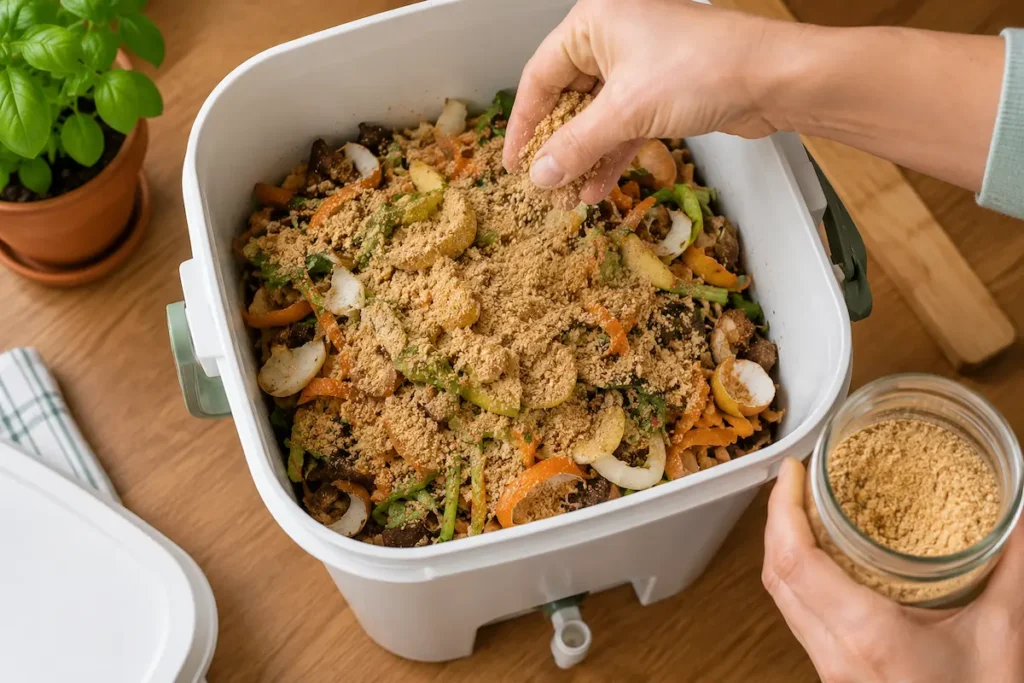
- Sprinkle bokashi bran over the layer.
- Press down firmly to remove trapped air.
- Seal the lid tightly.
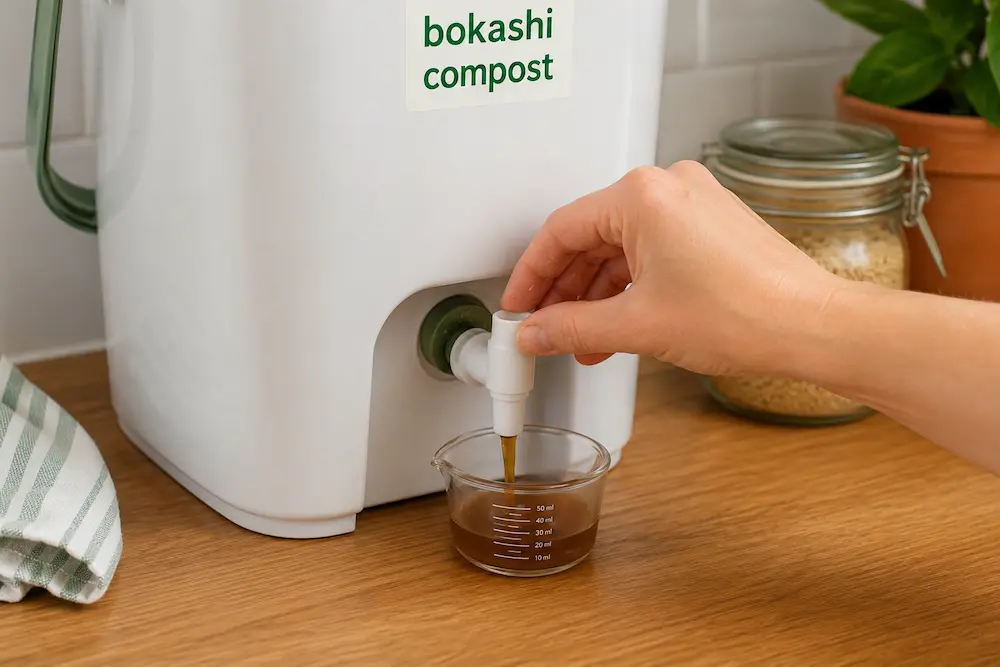
- Drain accumulated liquid every couple of days.
- Repeat daily until the bucket is full.
- Seal completely and let it ferment undisturbed for about two weeks.
- Bury or otherwise finish the fermented material in soil.
Everything past this point explains why each of these steps matters and where beginners typically run into trouble.
Fermentation, Not Decomposition
Ordinary composting is aerobic decomposition — oxygen and heat breaking organic matter down, which is exactly why meat and dairy get banned from a compost pile. They rot before they decompose cleanly, and rot in an open system means odor and pests. Bokashi removes oxygen from the equation. Scraps go into a sealed, airtight bucket layered with bran inoculated with a microbial culture — commonly marketed as Effective Microorganisms (EM), though the exact composition varies by product — and instead of rotting, the waste ferments.
One distinction worth being clear on from the start: bokashi doesn’t produce finished, plant-ready compost by itself. What comes out after two weeks is a fermented pre-compost — pickled, not yet broken down into a usable soil amendment. It still needs a second stage, buried in soil, to finish. Expecting garden-ready compost straight out of the bucket is a common source of disappointment with this method, and the finishing process is covered in detail further down.
What You’ll Need
| Item | Why it matters |
|---|---|
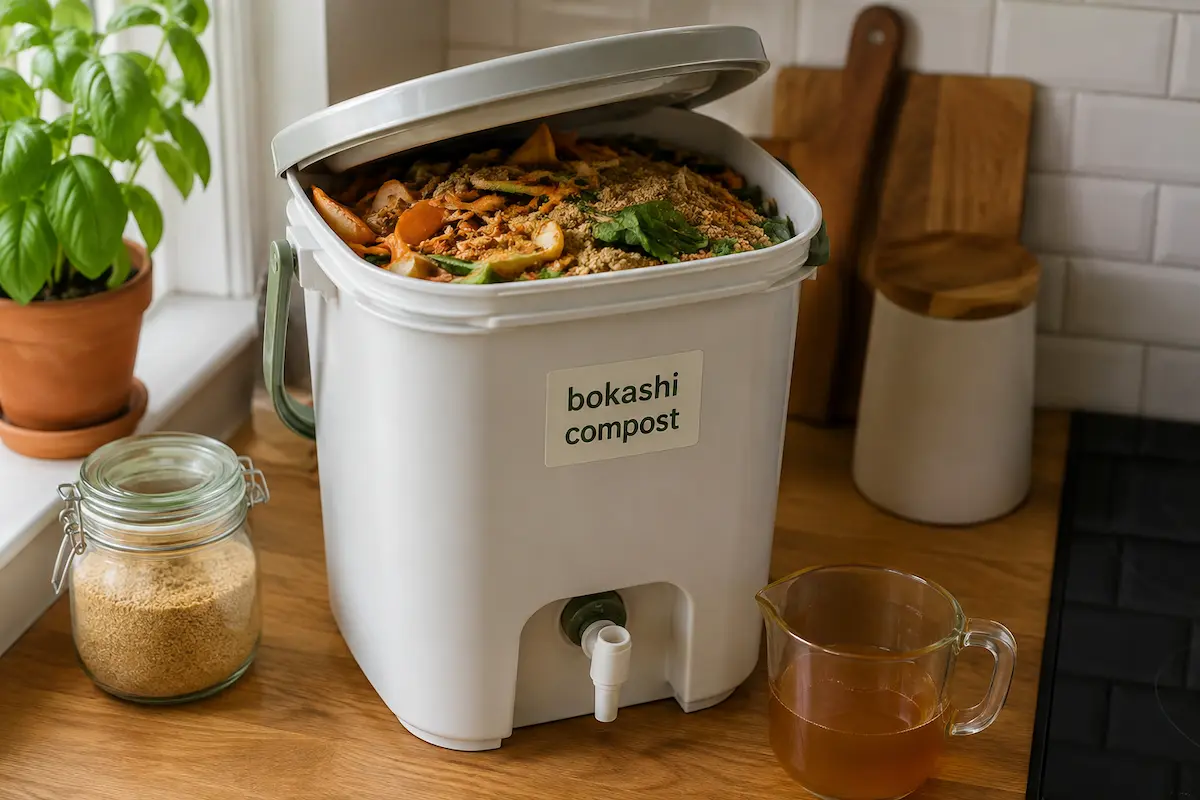
| Airtight bucket with a spigot | A false bottom keeps scraps separated from the pooling liquid; the spigot lets you drain without breaking the seal on the lid |
| A second bucket | Lets one ferment undisturbed while the other stays in daily use — most people end up wanting this within the first few weeks |
| Bokashi bran | Grain bran inoculated with a microbial culture; one standard bag typically lasts 1–3 months depending on household size |
| A flat presser | A plate, masher, or your hand — used to compress each layer and push out trapped air |
| A finishing spot | Soil, a garden bed, or a worm bin — where the fermented material completes its second stage |
The Two-Bucket Rhythm
Each addition to an active bucket follows the same short sequence: scraps go in as a thin, even layer, followed by a light sprinkle of bran over the top, then firm pressing down before sealing the lid again. That pressing step matters — air pockets left behind are one of the main causes of an off, rotten smell, though moisture levels, bran quantity, and how well the lid seals also play a role.
Chopping larger scraps into smaller pieces speeds fermentation along, though it’s not strictly required. For strong-smelling additions like fish trimmings, a slightly heavier sprinkle of bran helps keep things in check. Once a bucket is full, seal it completely and set it aside to ferment undisturbed for roughly two weeks while a second bucket takes over daily duty.
What Goes In
Bokashi’s broad acceptance list is its main advantage over a worm bin or open pile:
- Raw and cooked vegetables and fruit
- Meat and fish scraps, including small bones
- Dairy and cheese
- Eggs and eggshells
- Bread, grains, and pasta
- Coffee grounds and tea
- Small amounts of citrus and onion — categories most worm bins reject outright
Successful fermentation of these categories still depends on correct moisture, adequate bran, thorough pressing, and a proper seal — bokashi expands what’s possible, but it isn’t foolproof regardless of what goes in. The one thing worth moderating rather than avoiding: heavily salted or processed leftovers. Whatever sodium and preservatives were present carry through into the liquid byproduct, which matters once that liquid is used around plants.
The Liquid Byproduct: Bokashi Leachate
Every couple of days, liquid collects at the bottom of the bucket — commonly called bokashi tea or leachate. Its exact composition varies depending on what’s been fermenting, but it’s consistently high in salt and acidity, which is why it should never be applied to plants undiluted. Sources on this vary somewhat, but 1:100 (leachate to water) is the ratio most commonly cited across composting guides and extension resources, applied to soil rather than foliage. Some sources recommend an even weaker dilution, such as 1:300 or 1:1000, for seedlings and sensitive plants. Undiluted leachate is also commonly suggested as a drain treatment, though this is a secondary use rather than the main point of collecting it.
Because leachate composition tracks whatever was fermenting, a batch that processed a lot of salty leftovers is worth using more sparingly, or skipping on sensitive plants. It’s generally recommended for use within about a day of draining, since its microbial content diminishes with time and exposure to air.
Reading the Bucket
A working batch smells sharp and vinegary, sometimes with a thin white or grayish film across the surface — both generally normal signs of active fermentation. A different picture points to a problem:
| What you notice | What it means |
|---|---|
| A sharp, sweet-and-sour smell | Normal — consistent with healthy fermentation |
| White or grayish film on the surface | Often a normal part of fermentation, though worth monitoring for change |
| A putrid, rotten smell | Likely means fermentation hasn’t proceeded normally — check the seal, pressing, moisture level, and bran amount before starting the next batch |
| Fuzzy green, blue, or black mold | Treat as contamination — don’t use this batch around edible plants, distinct from the flatter white/gray film that’s more often normal |
| No liquid collecting at all | Can be normal depending on scrap moisture, but worth checking the lid is actually airtight |
No Yard? Here’s What Actually Finishes It
The standard advice — bury the fermented scraps in your garden — assumes ground access most apartment dwellers don’t have. A few things work as substitutes:
A large plastic tote or fabric grow bag filled with soil functions as a stand-in trench. Bury the fermented material several inches down and leave it two to four weeks. Once no recognizable food remains and the material has fully broken down, it can be incorporated into soil or used as a soil amendment — time alone isn’t the marker of readiness, so check the material itself rather than just counting weeks. A community garden plot, if one’s available nearby, gives the material a proper trench without needing your own outdoor space.
In smaller amounts, fermented bokashi material can also go into an active worm bin, though it starts out quite acidic. Introduce it gradually, mixed well with plenty of bedding rather than added as a concentrated mass, and watch the worms’ behavior over the following days before adding more.
Frequently Asked Questions
Does bokashi composting smell in an apartment?
Not under normal conditions. The smell is sharp and vinegary, closer to a fermented food than anything associated with garbage. A foul odor suggests something in the process — the seal, pressing, moisture, or bran amount — needs attention.
How long does the whole process take, start to finish?
Two stages: about two weeks of active fermentation once a bucket is sealed and full, then a further two to four weeks (or longer, depending on conditions) of finishing time once the fermented material is buried in soil.
Do I need a spigot bucket specifically, or will any sealed container work?
A spigot makes managing the liquid significantly easier day to day, but a well-sealed container without one can work if you’re willing to tip and drain it manually. The airtight seal matters more to the fermentation itself than the spigot does.
Can bokashi and a worm bin run at the same time in one apartment?
Yes — bokashi handles the meat, dairy, and cooked scraps a worm bin generally can’t, and finished bokashi material can be added to an active worm bin in small, gradual amounts once it’s fully fermented.
Where This Fits Alongside Other Composting Methods
If you’re still deciding between bokashi and a worm bin rather than committing to one, the full apartment composting overview compares both side by side along with the simpler countertop-collection option. For a dedicated deep dive on the worm side of that comparison, apartment worm composting covers setup through harvesting. And if the lease or landlord side of running a fermentation bucket in a rented space is what’s giving you pause, that’s addressed directly in homesteading for renters.